Step by Step Guide: Deploy Your FYP on the Faculty Server
1. Server IP Address
- The server IP address is 10.65.200.8. You can access it through browser https://10.65.200.8
- These server IPs are only accessible within the local UTHM network — either via UTHM Wi-Fi or Eduroam on campus.
- The username and password for all services (phpMyAdmin, File Browser) is your matric number.
- Access examples to the services:
- phpMyAdmin - To open the database client:
https://10.65.200.8/phpmyadmin
- File Browser (no HTTPS) - To upload and manage project files:
http://10.65.200.8:3000/filebrowser
2. Export Your Local Database
- Login to your local phpMyAdmin.
Select your project database. The figure below shows an example of a project database named
webdev_week_10_1_20242025.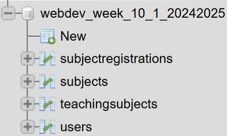
Select the Export tab, and click Export at the bottom.
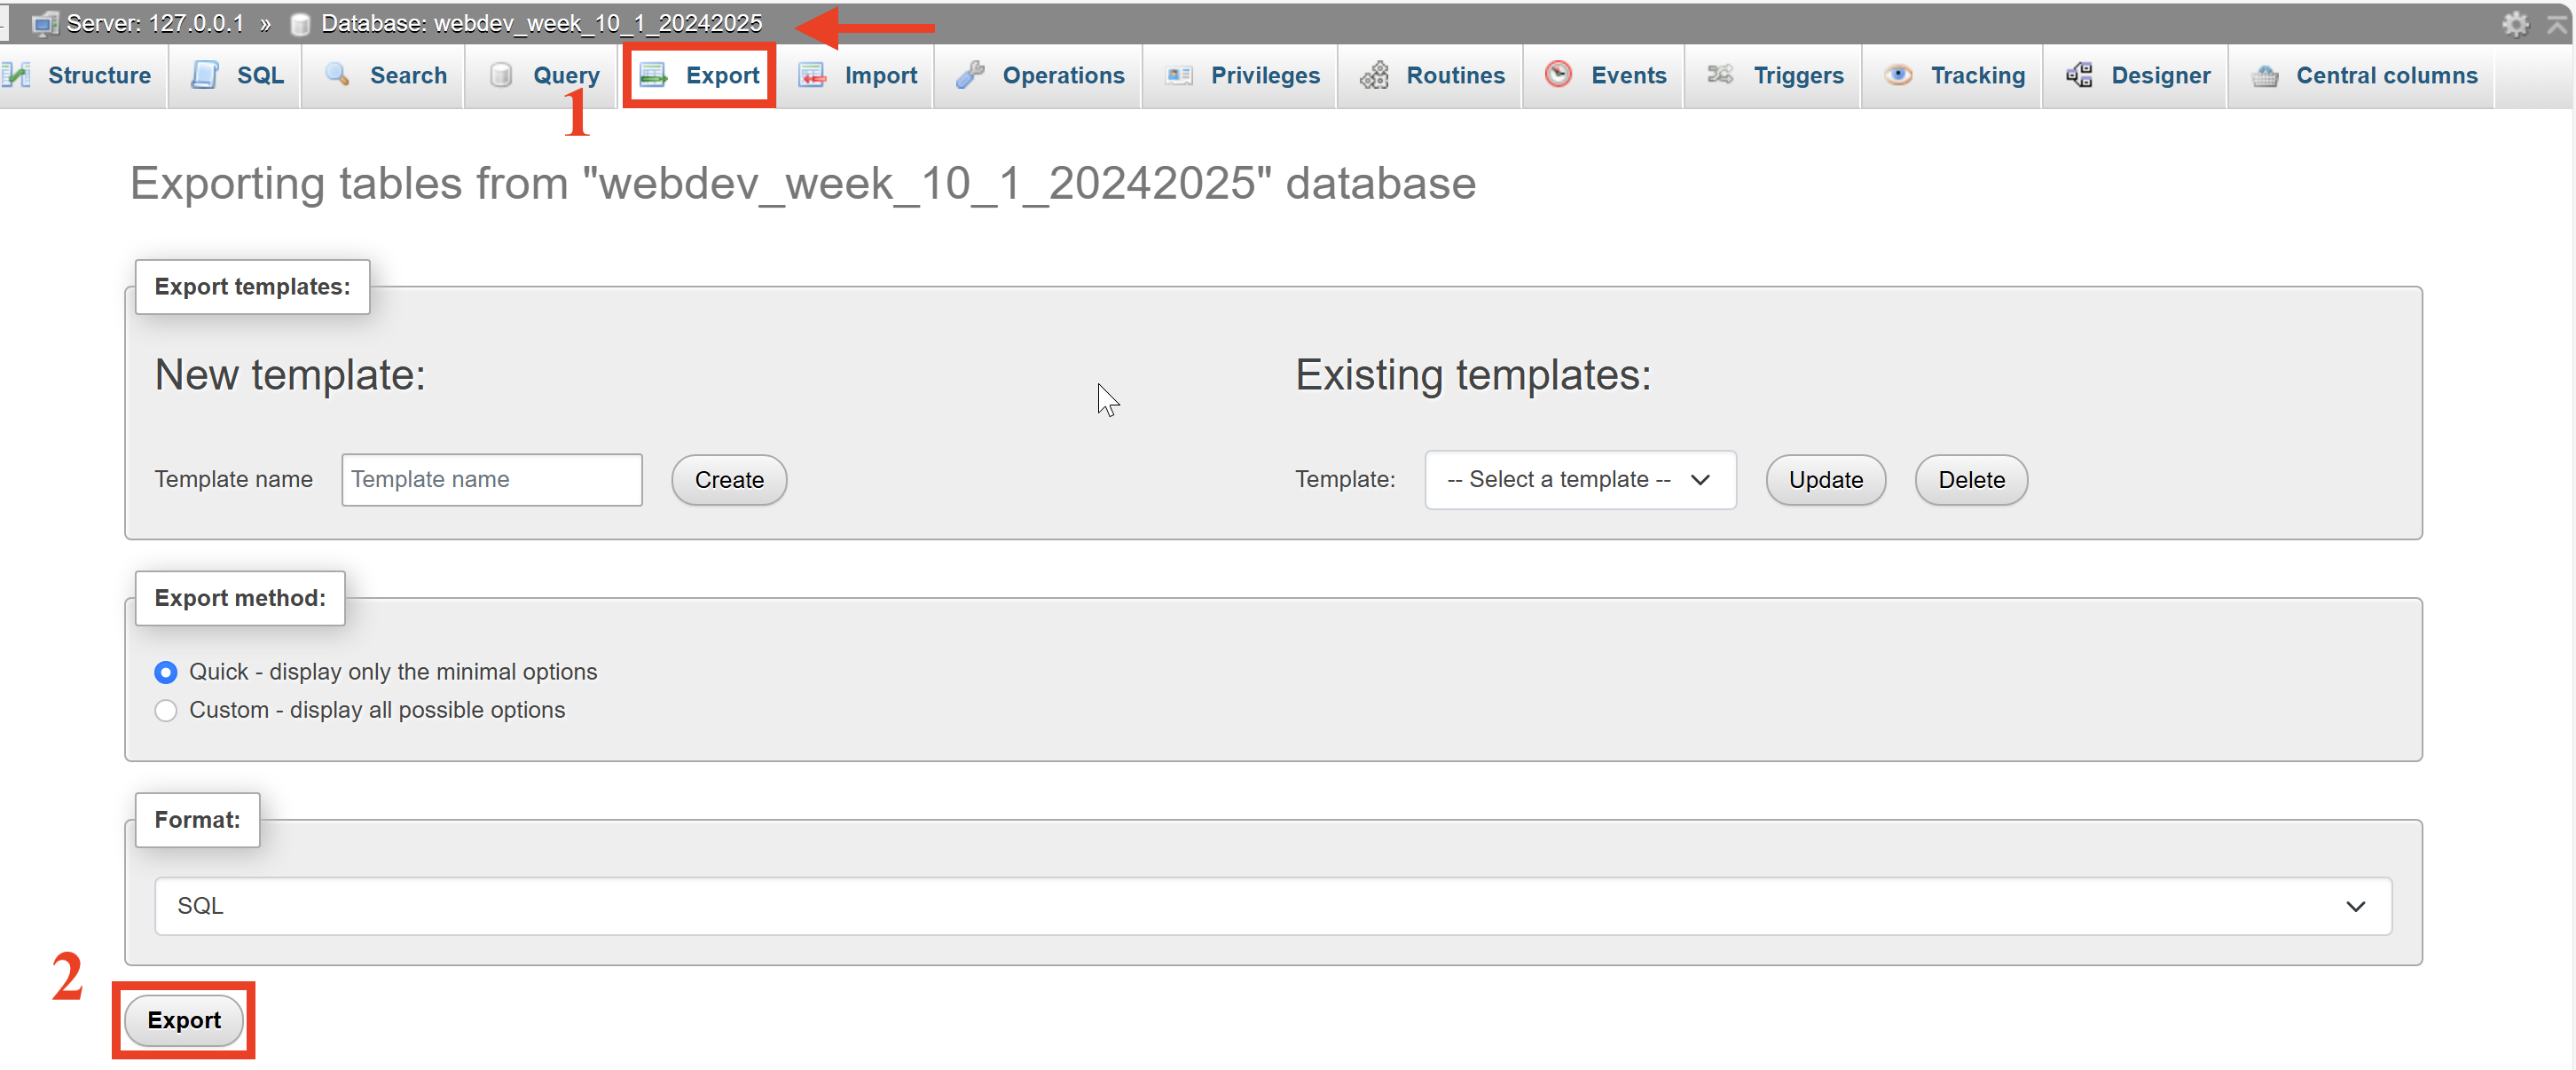
You will see an
.sqlfile has been generated.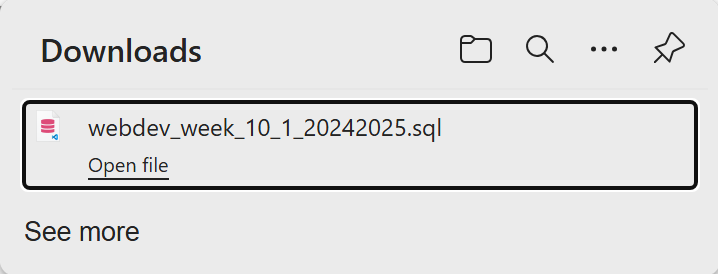
3. Import the Database on the Server
- Browse to
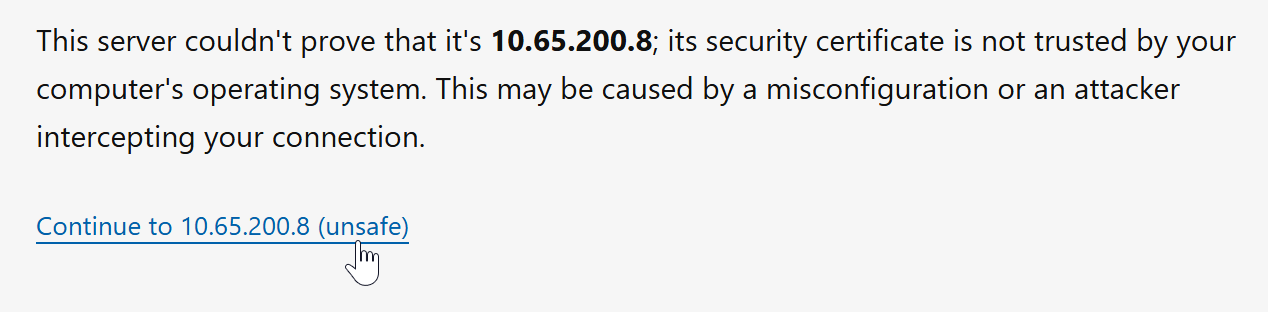
https://10.65.200.8/phpmyadminand login. If a warning appears, click Advanced or equivalent (browser-dependant) and choose Continue.
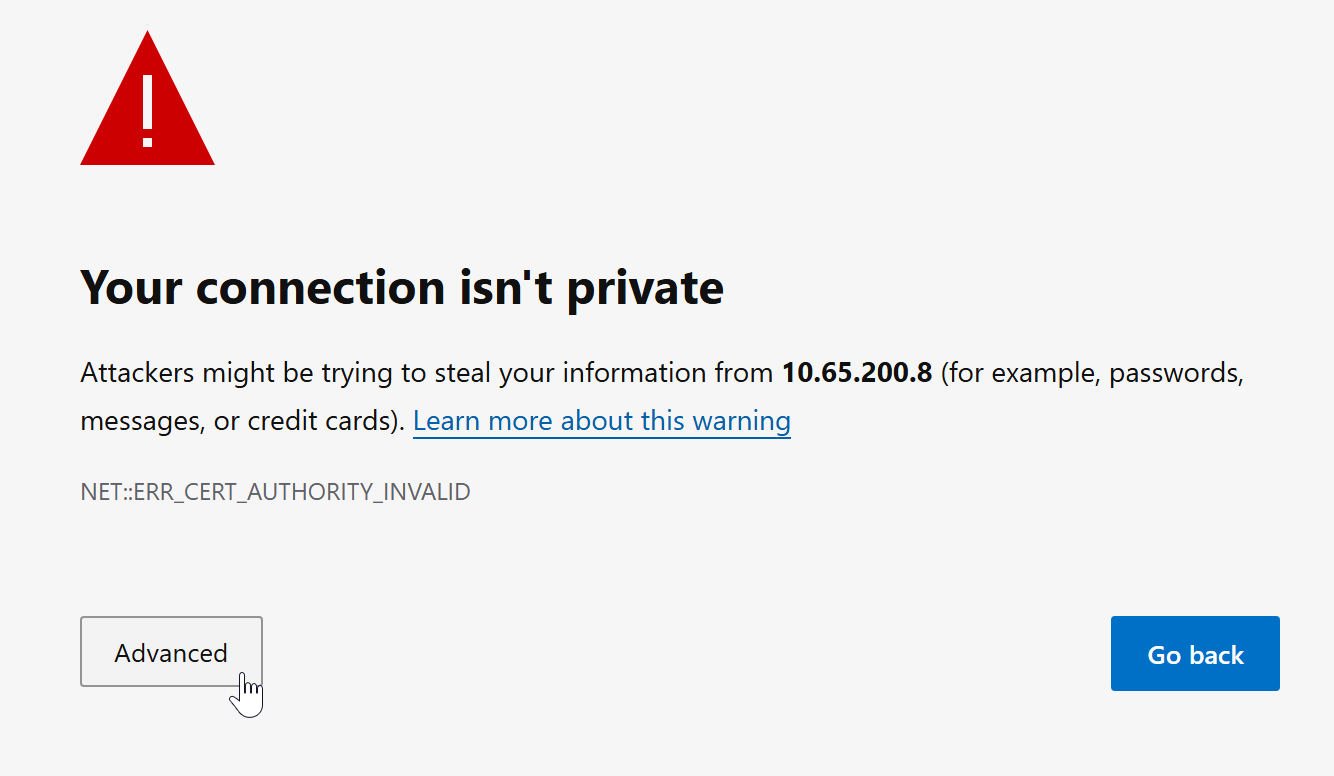
Enter your login details on the
PhpMyAdminlogin page.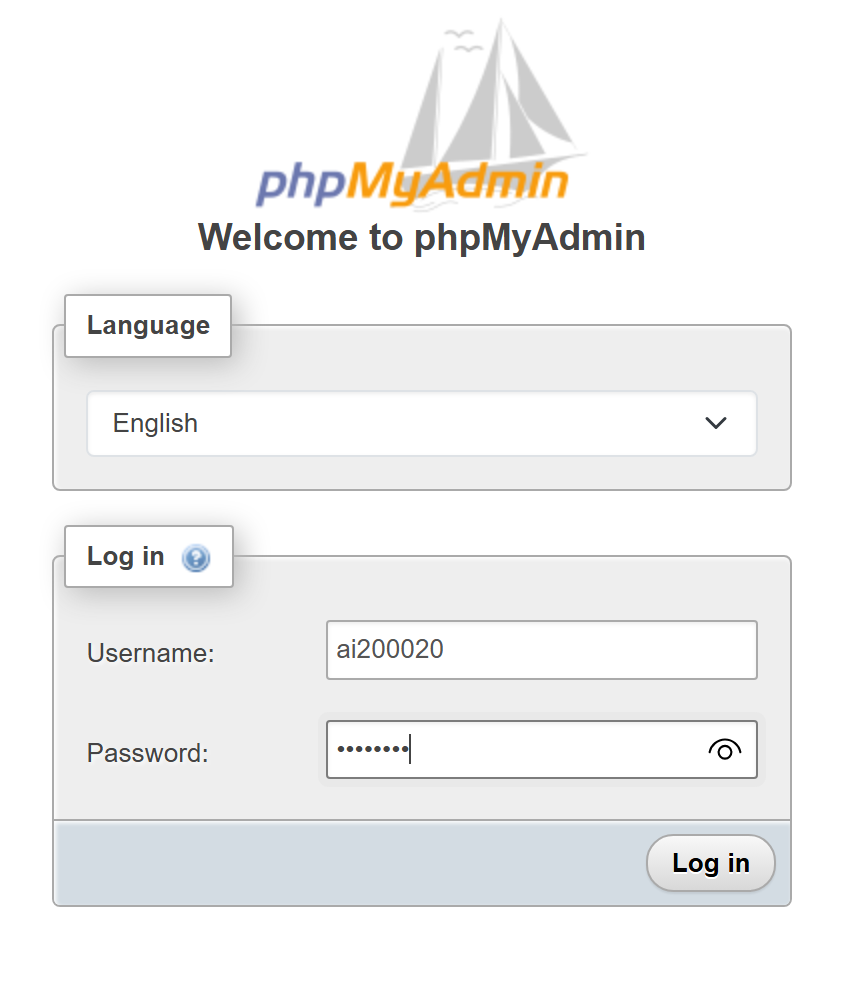
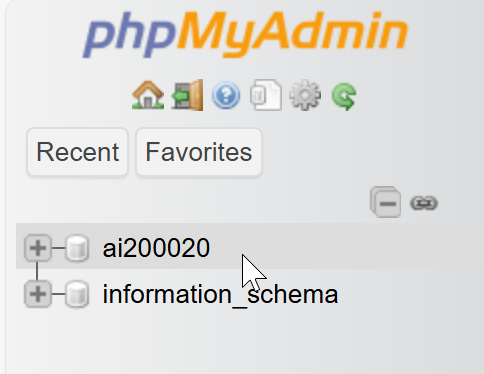
Select your database (named with your matric number).
Go to the Import tab. Click Choose File and pick the SQL file you exported earlier.
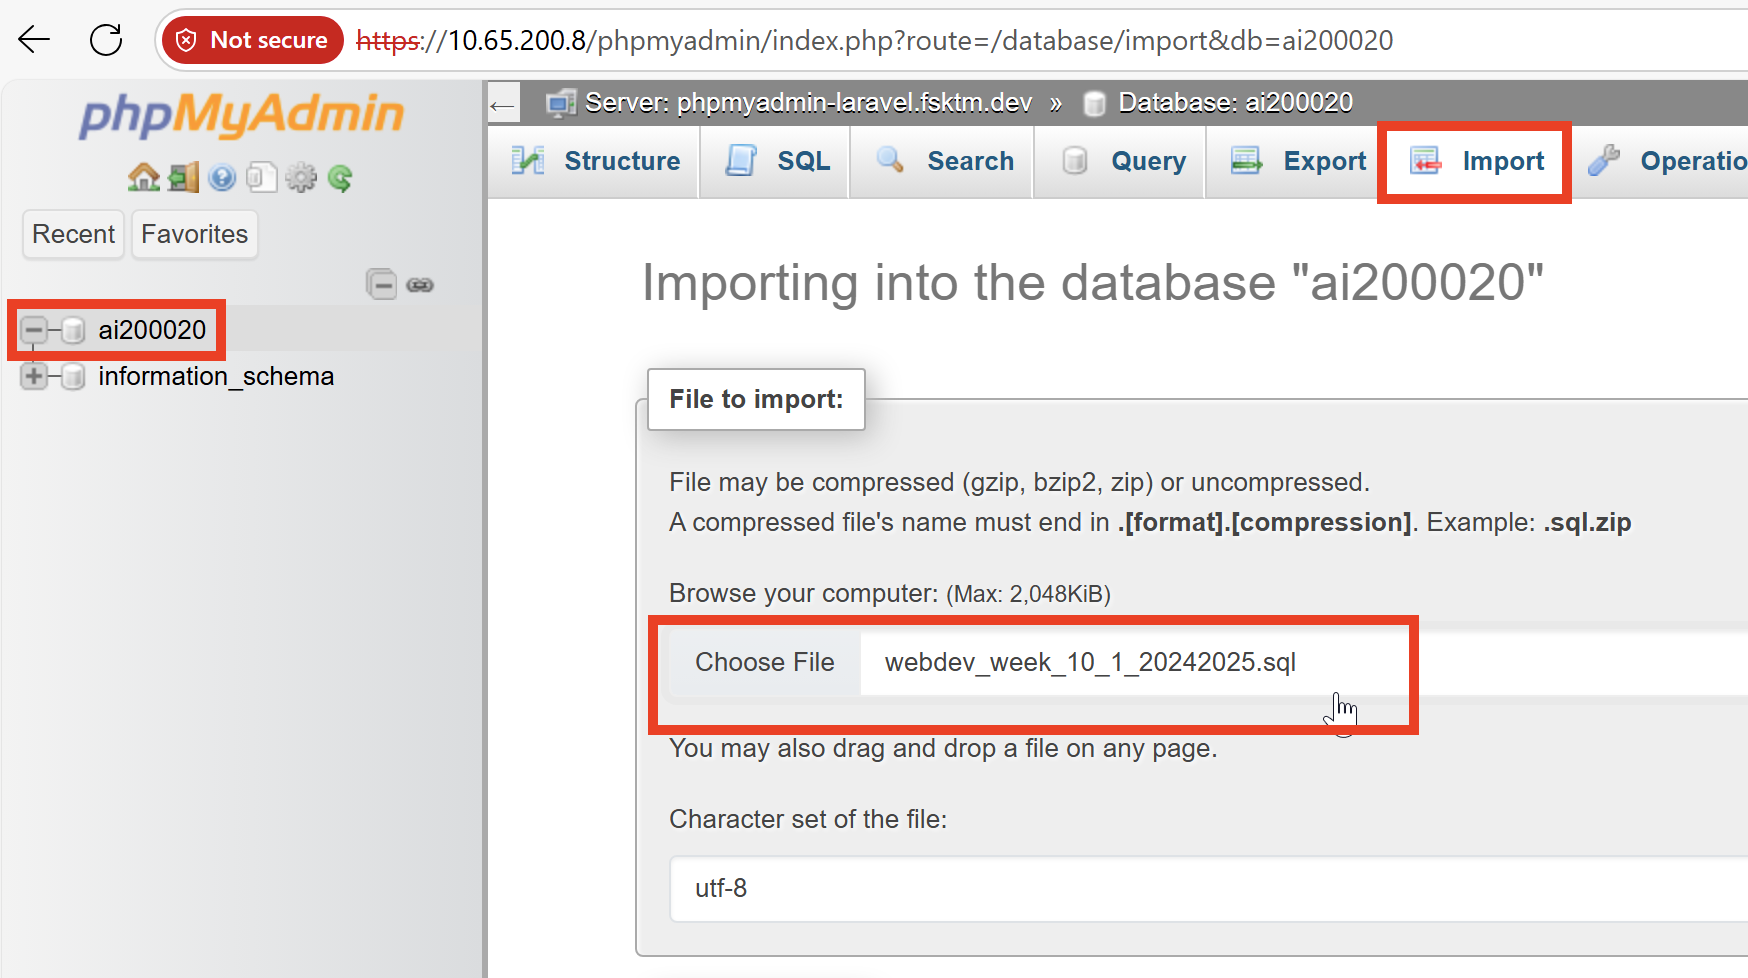
- Click Import at the bottom.
You will see all the tables under within your database.
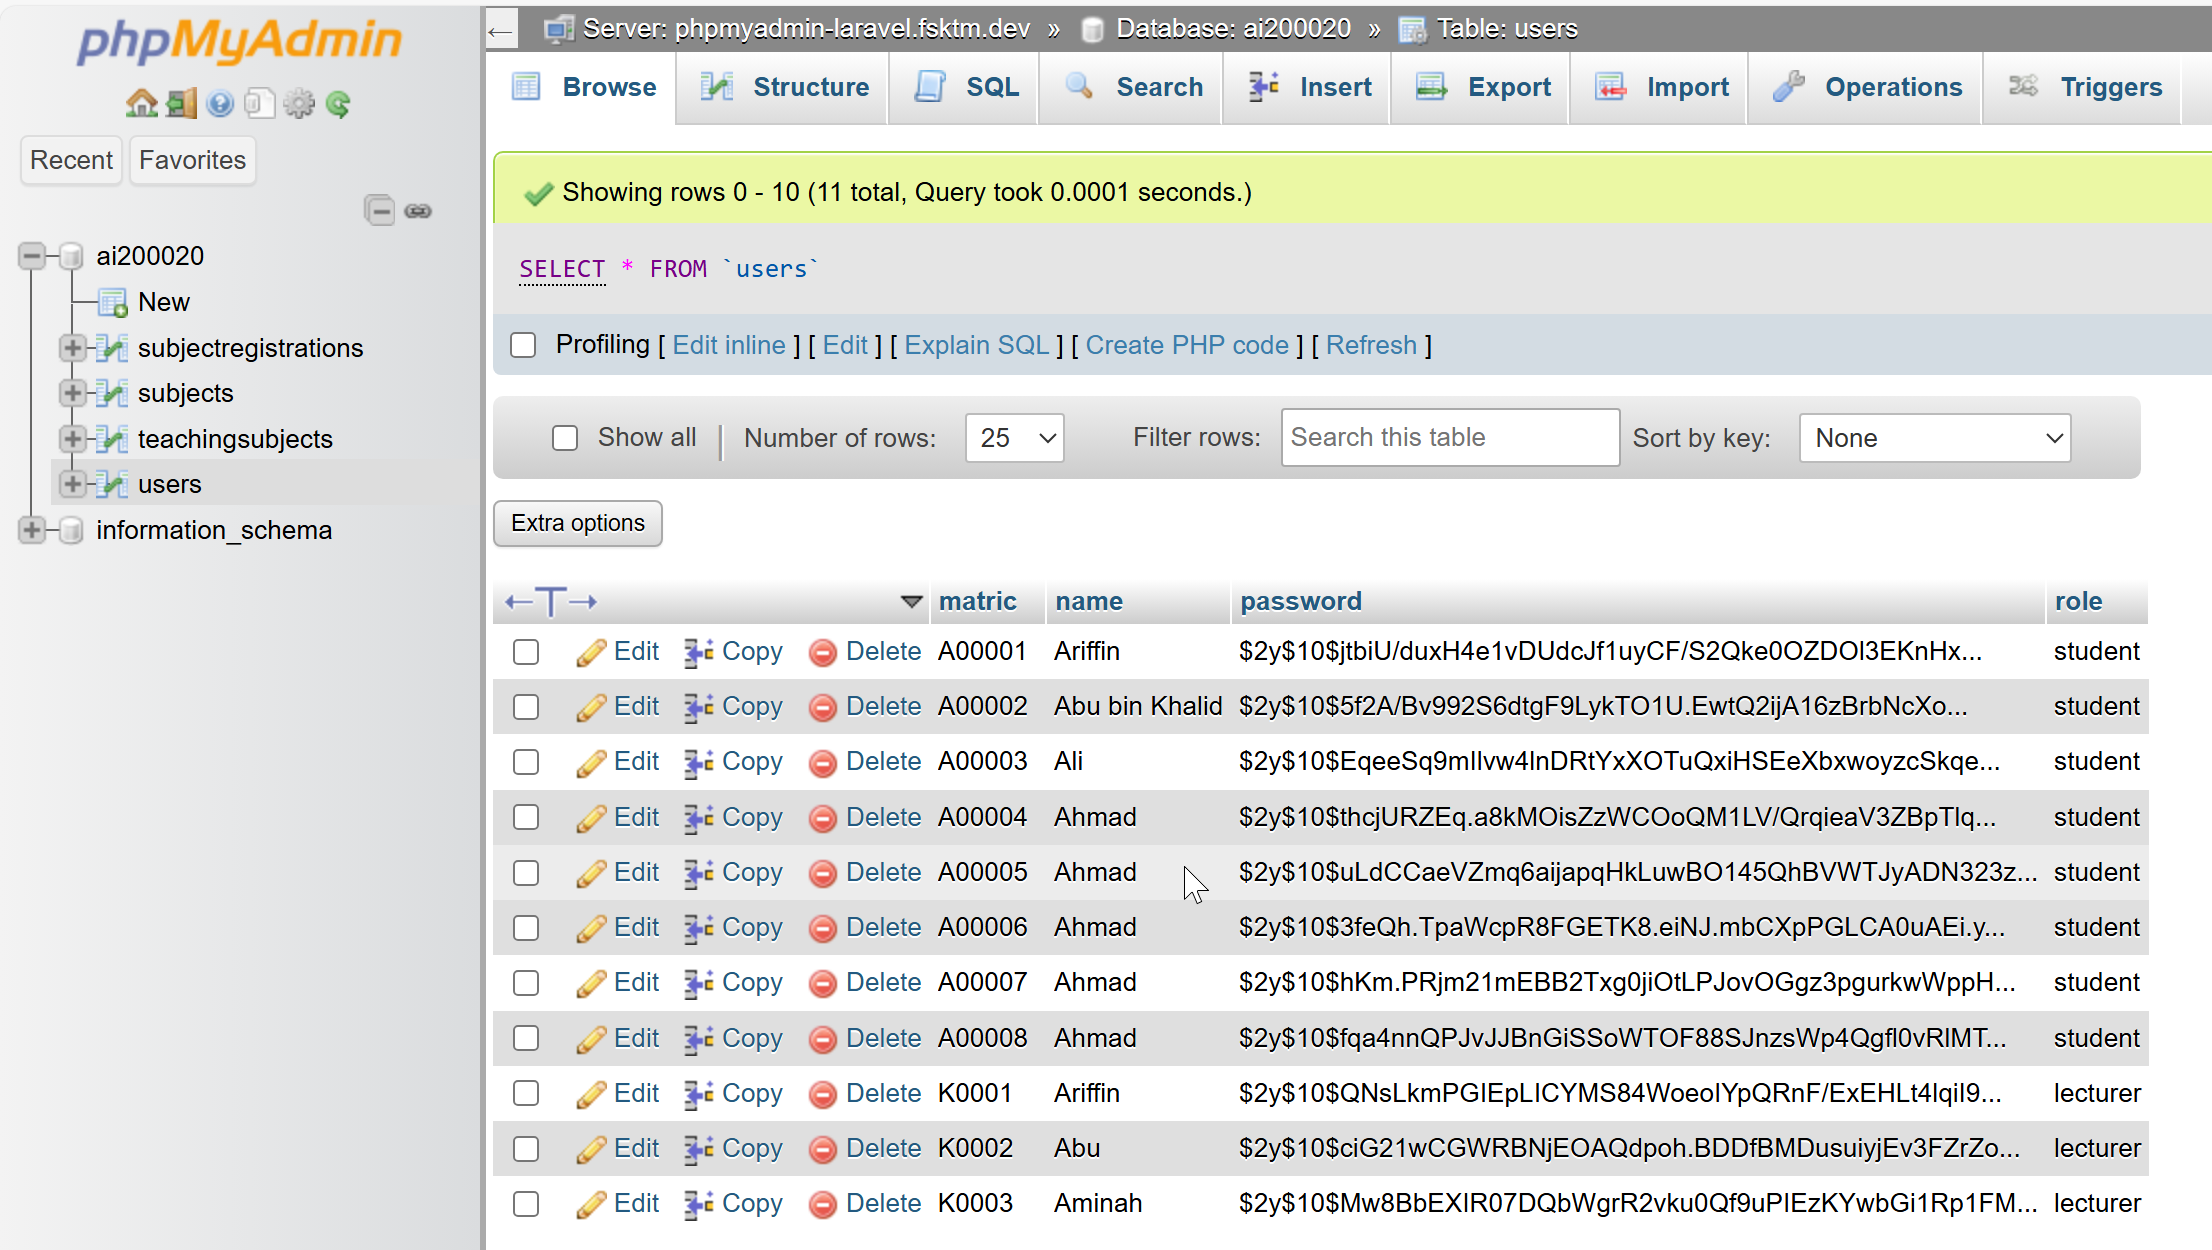
4. Upload Your Project Files
Open
http://10.65.200.8:3000/filebrowserand login using the same login details as previous.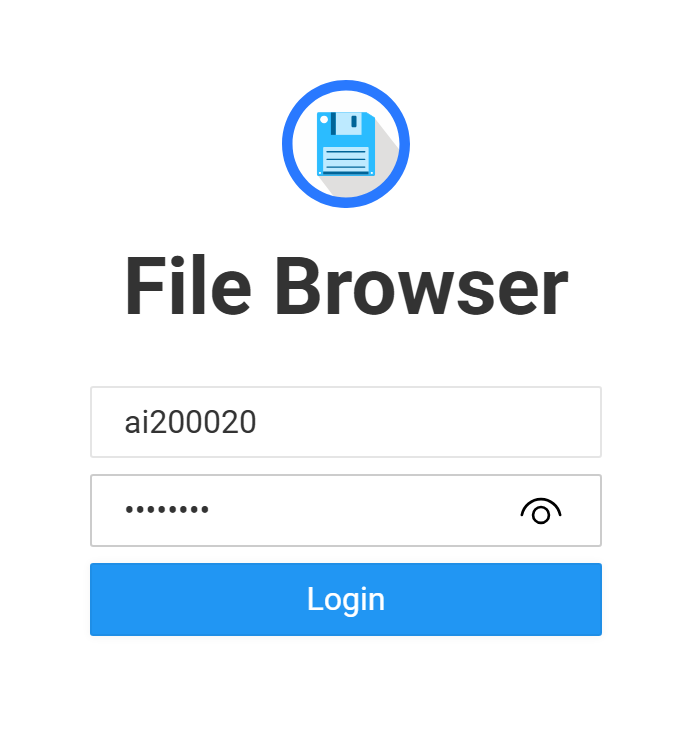
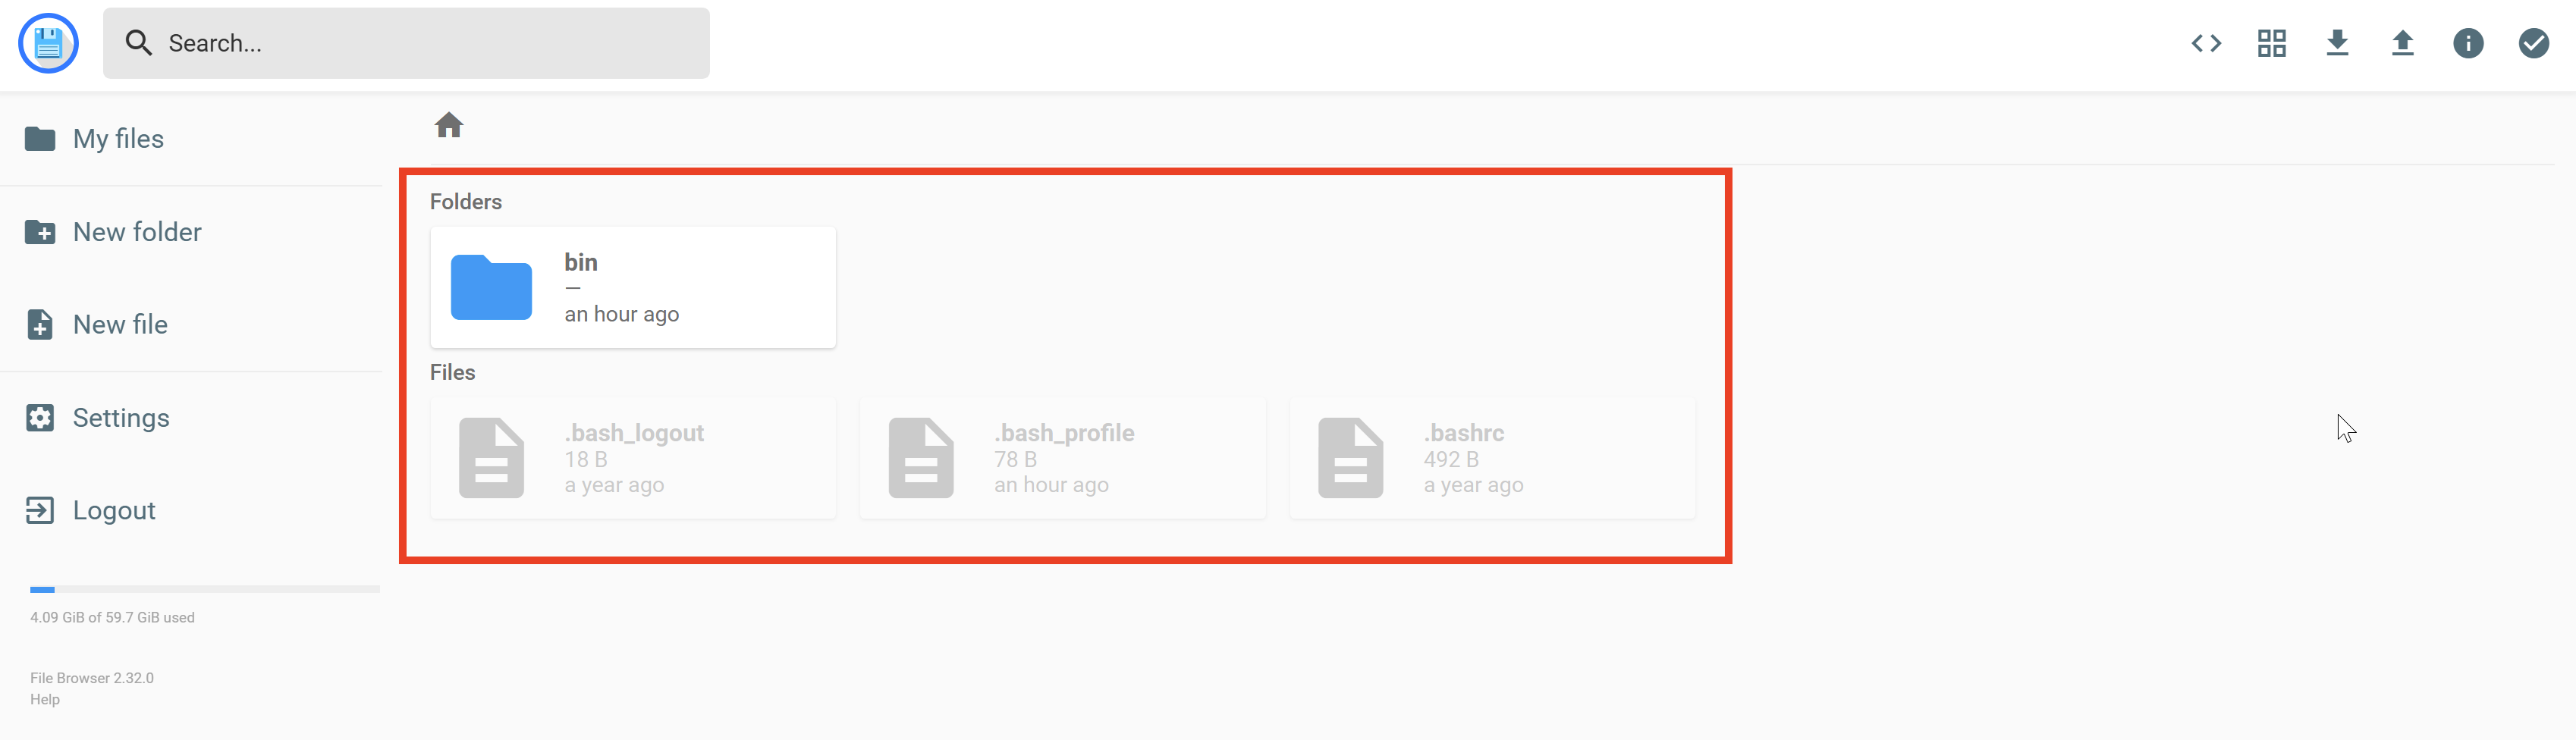
On the landing page, you will see several existing files. Do not delete them.
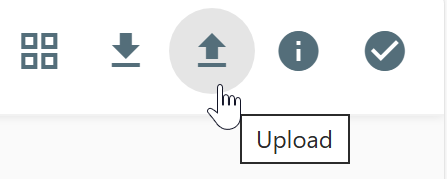
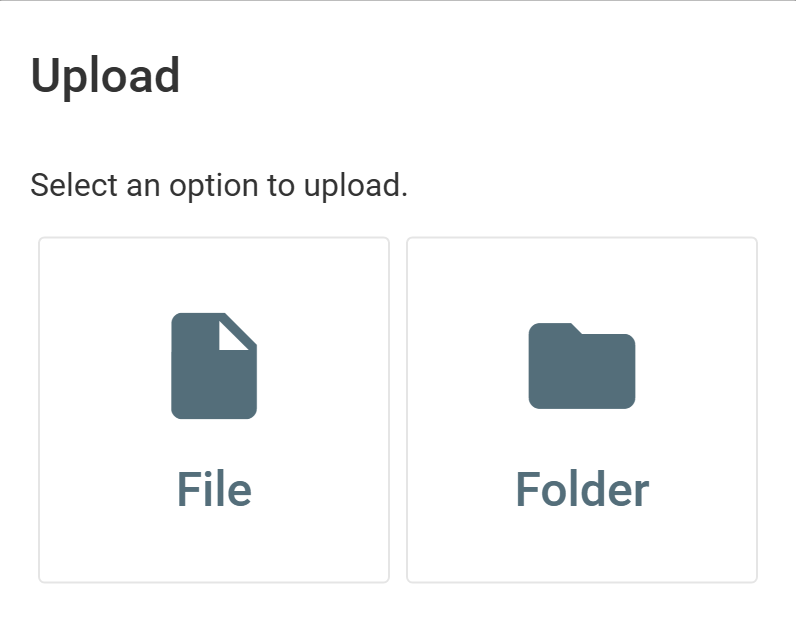
Click the Upload Button at the top-right corner.
Click Upload Files, select all your project files, then Upload. Again, click Upload Folders, select your directories, then Upload.
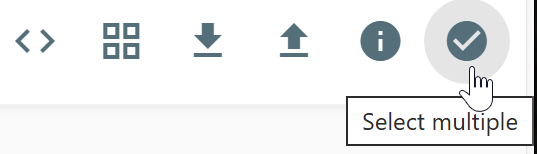
Click the Select Multiple button if you want to delete one or more files or folders.
Double-click any file to open it in the built-in code editor. You can edit and save changes directly within the interface.
5. Configure Database Connection in Your Code
In your PHP (database connection or config) file, set:
1
2
3
4
5
6
7
```php
$host     = "localhost";
$db_name  = "yourmatricnumber";
$username = "yourmatricnumber";
$password = "yourmatricnumber";
//please mind that the variable name could be different from yours
``` ---
6. Access Your Web Application
- Ensure your entry page is named
index.phporindex.html. - Visit your deployed application at:
https://10.65.200.8/yourmatricnumber. - Done! Your FYP is now live on the faculty server.
Tip: You must trust the server’s self-signed certificate in your browser before you can load the site over HTTPS without warnings.