Hosting a Laravel Web App on Digital Ocean: Step by Step Guide
⚠️ Read This First — Prerequisites & Mind-set
This guide is deliberately hands-on and mirrors what professional developers do in the real world.
Only continue if you’re comfortable with, or willing to commit to, the following:
- GitHub repository ready – your Laravel project must already live on GitHub (public).
- Basic Linux – you should know essentials like
cd,ls,nano,chmod,chown, etc.- Payment method – you will enter a credit/debit card to pay small fees at GoDaddy & DigitalOcean (≈ RM30/month combined; you can cancel any time).
- Perseverance & curiosity – expect to troubleshoot and learn; copy-and-paste won’t make you industry-ready.
If that sounds overwhelming, there are easier “one-click” hosting tutorials that you can search on YouTube which abstract all the complexity and technicality for non-IT users - feel free to start there.
Why stick with this tutorial?
• Real hands-on experience with VPS provisioning and deployment
• Concrete up-skilling in Git, SSH and server control panel (CloudPanel)
• Exposure to industry-standard practices you’ll use on the job
• Freedom to customize and extend your stack later (domains, CI/CD, server tuning, etc.)
• Builds a solid base for your long-term career in software engineering & DevOps
1. Purchase a Domain from GoDaddy
- Log in or create an account on GoDaddy.
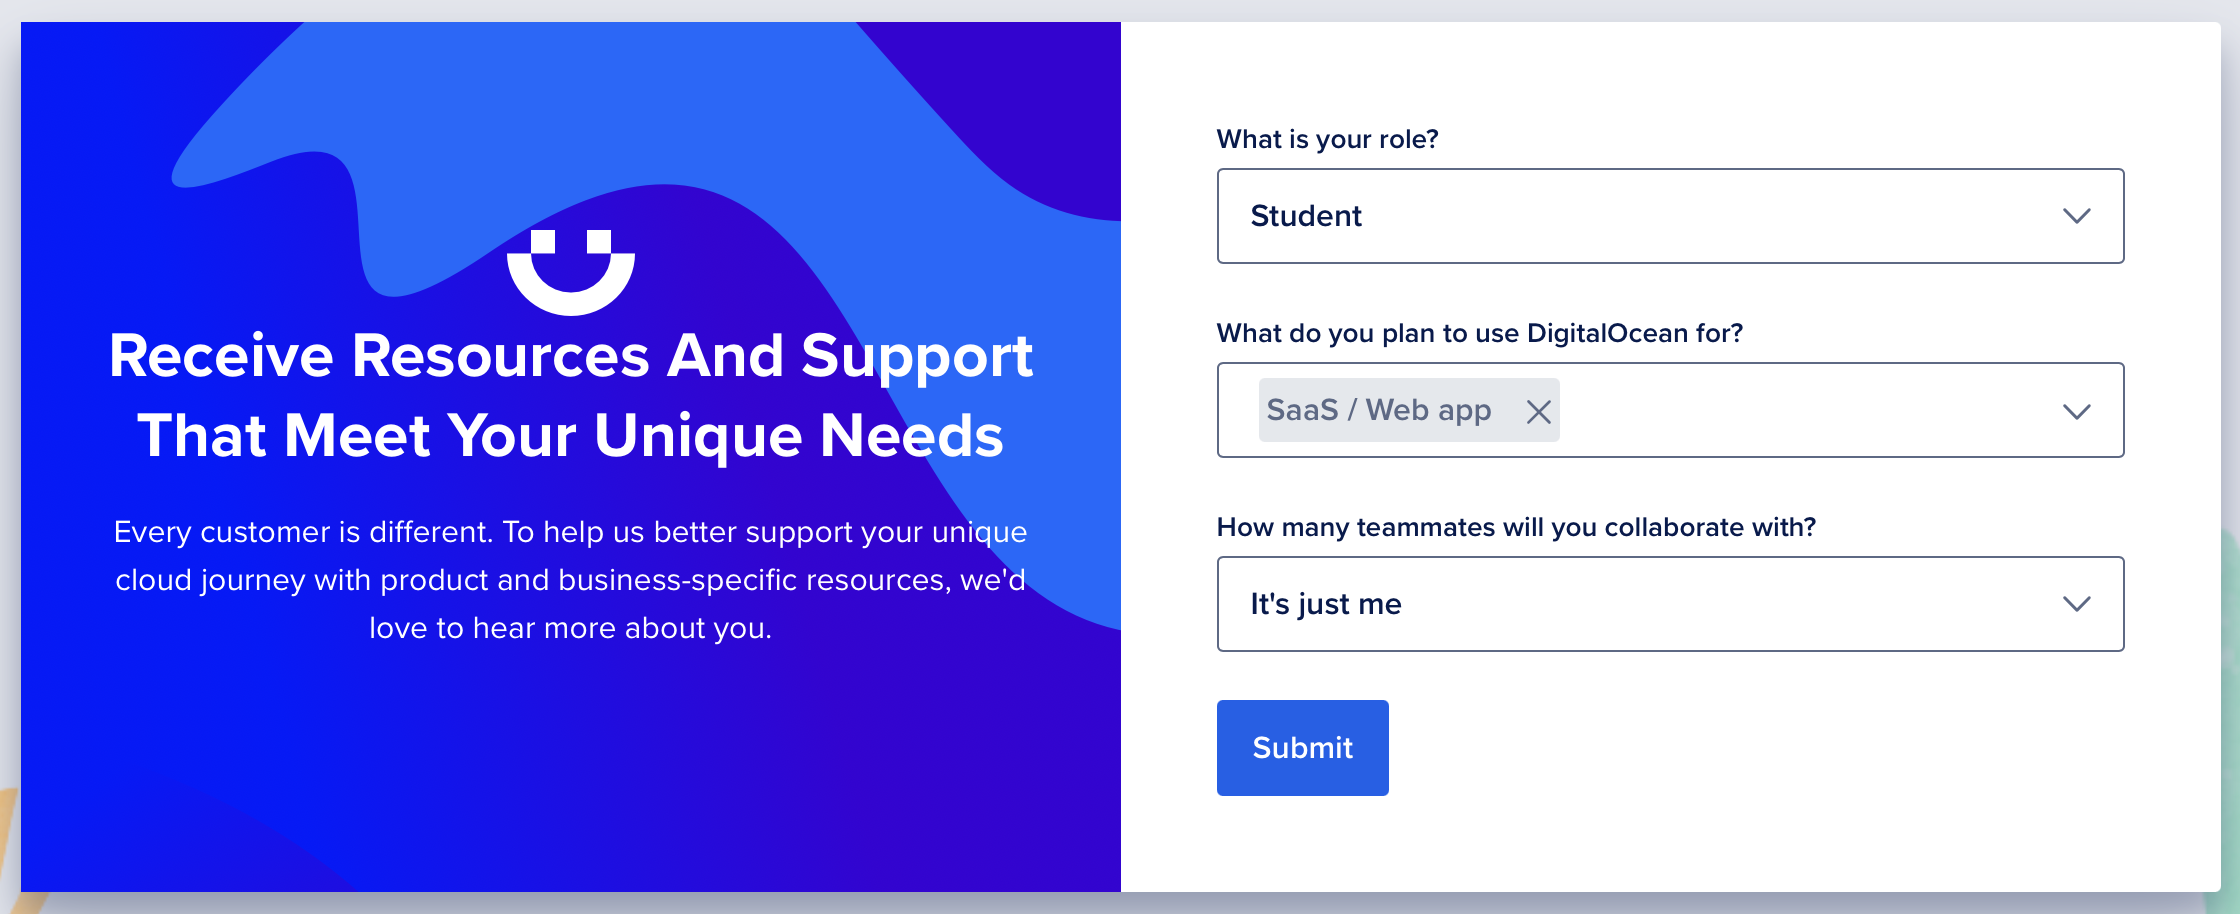
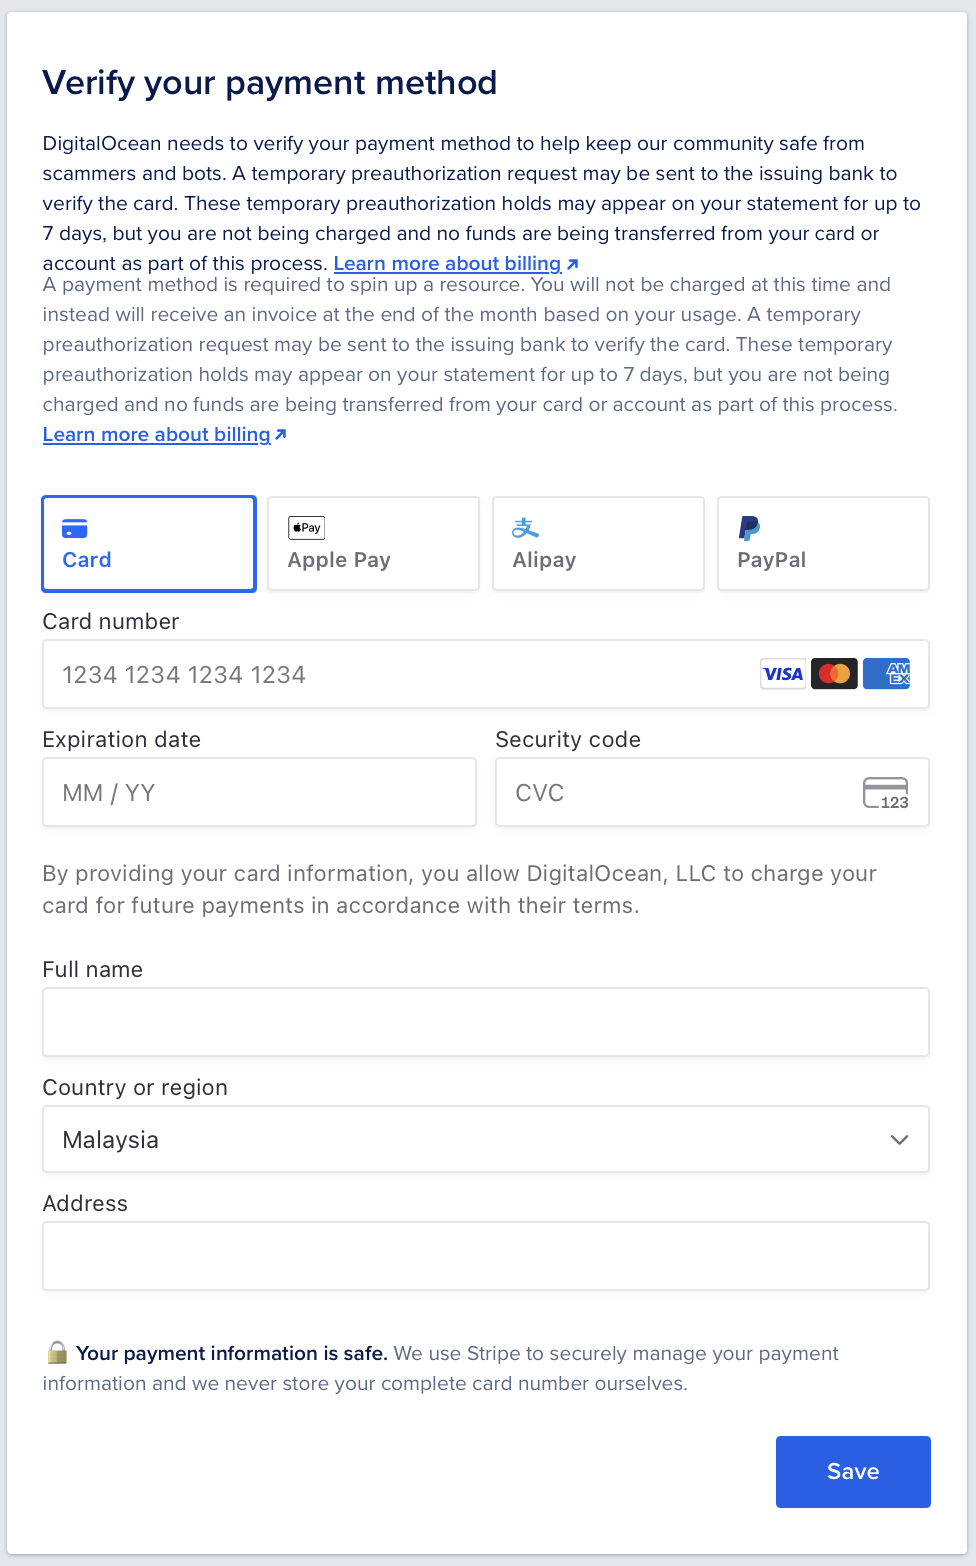
During the registration, it will ask you to answer some surveys and followed by filling the payment method.
- Use the domain search to find an available domain name. You can pick any domain name ranging from your name, the web application name, stakeholder’s name, etc as long it is available.
For an FYP project, you can choose a cheap extension like
.online, .store, .co, .site, .xyz,etc.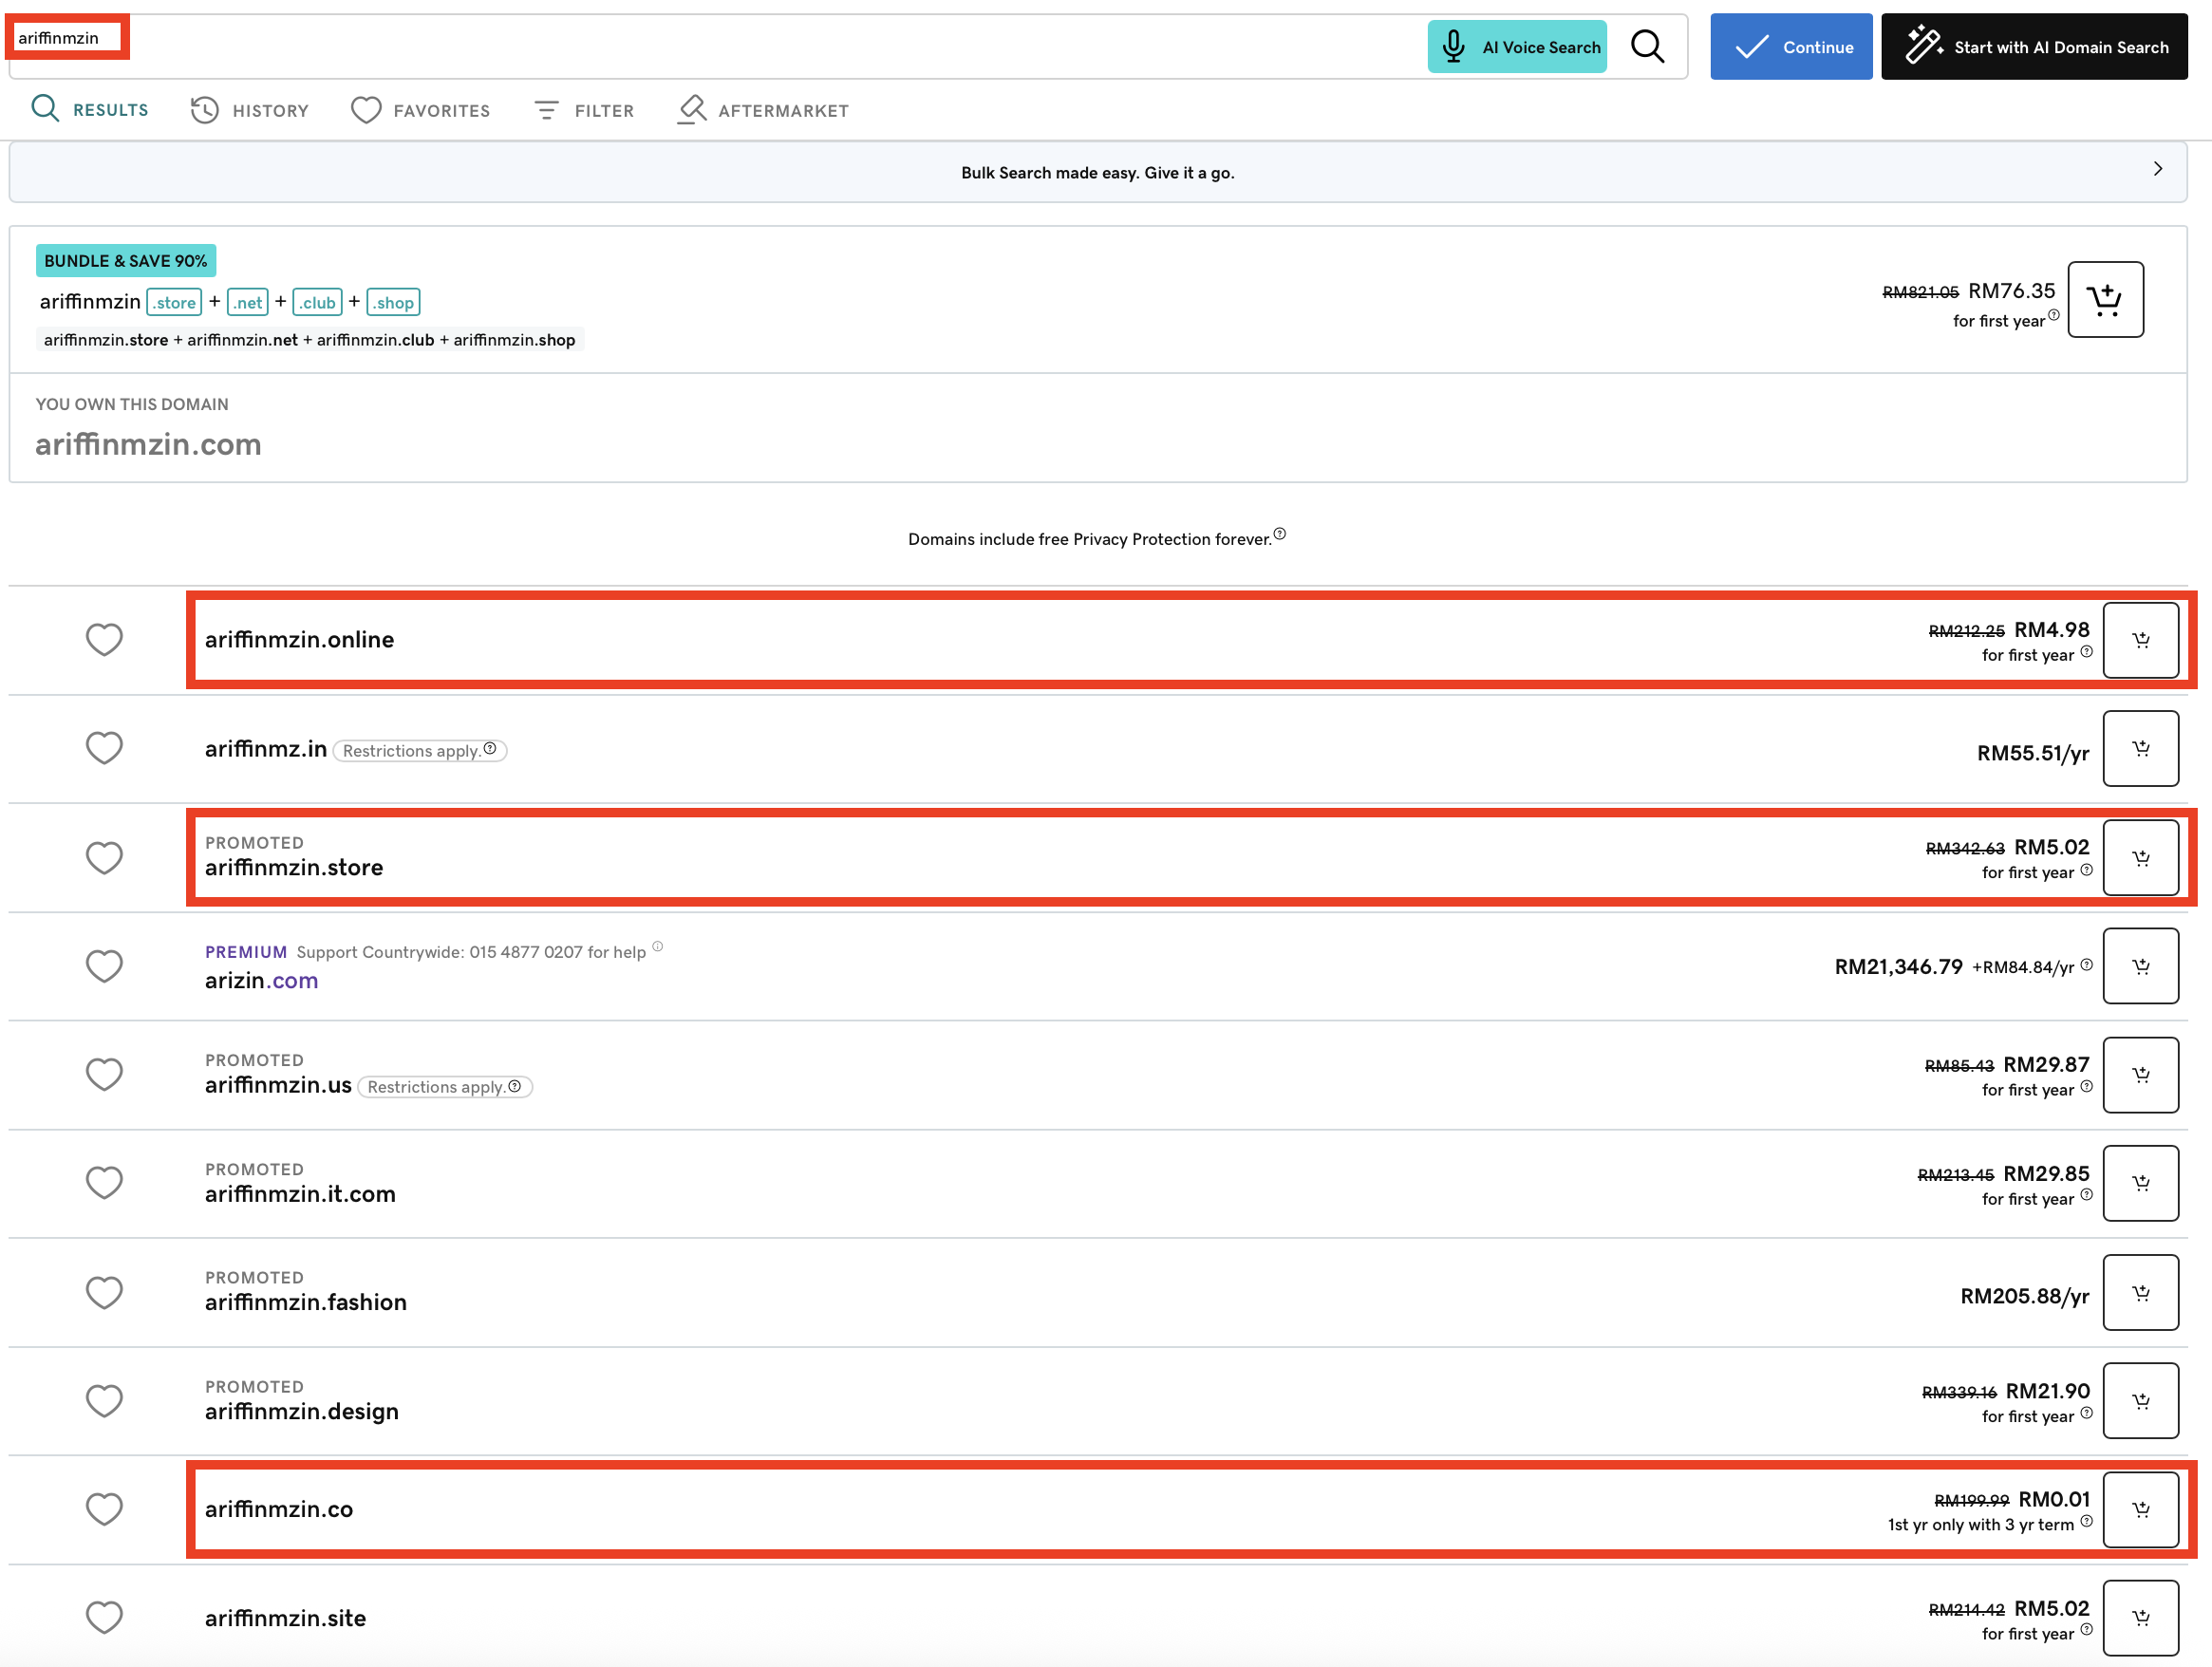
- Add the domain to your cart and complete the purchase.
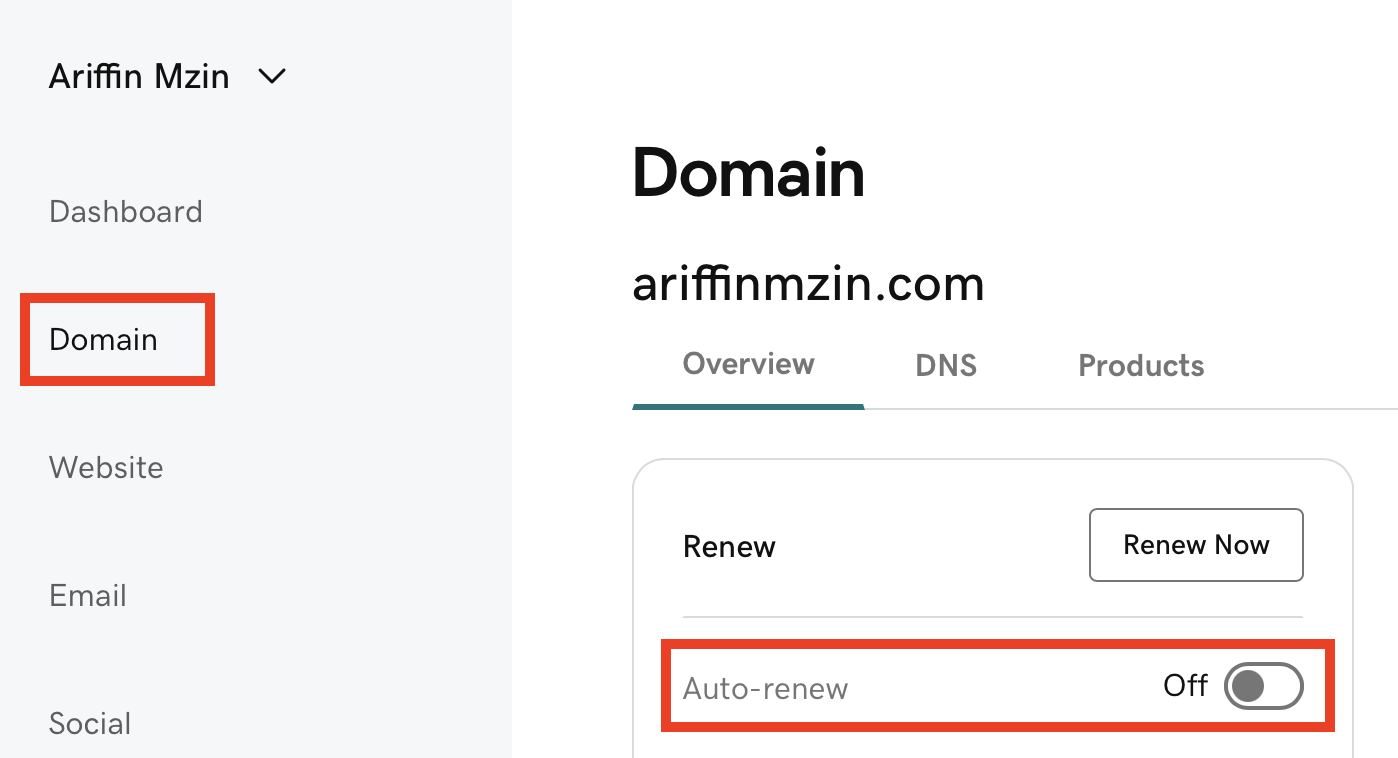
Once you have purchased, make sure the auto renew option is off to avoid automatic renewal after a year. Skip this step if you wish otherwise.
2. Create a VPS on DigitalOcean (Droplet)
- Sign up a Digital Ocean account.
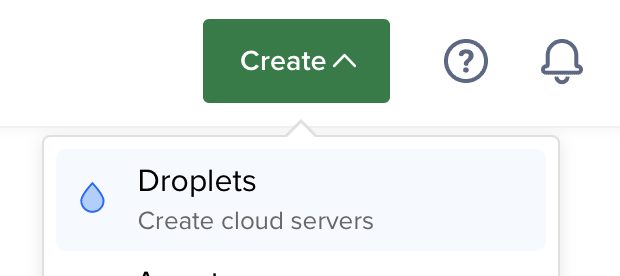
In the dashboard, click Create in the top menu, then click Droplet.
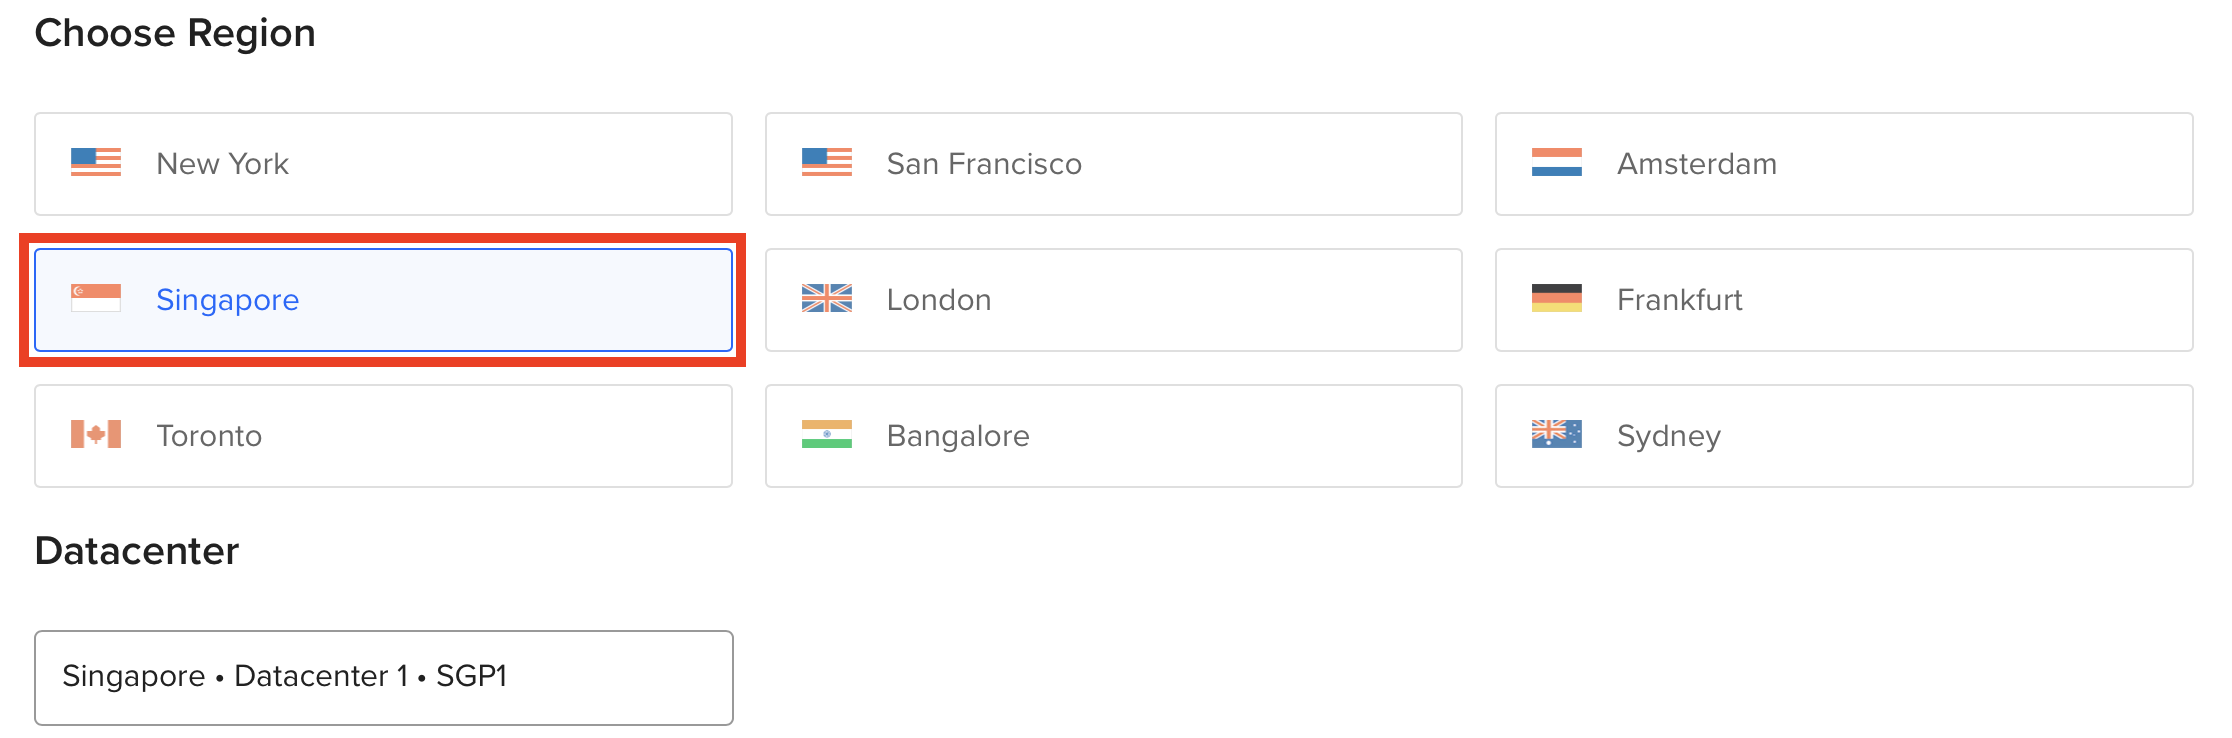
Select a data center region. Choose a region close to you or your users for best performance. In this case Singapore region is chosen.
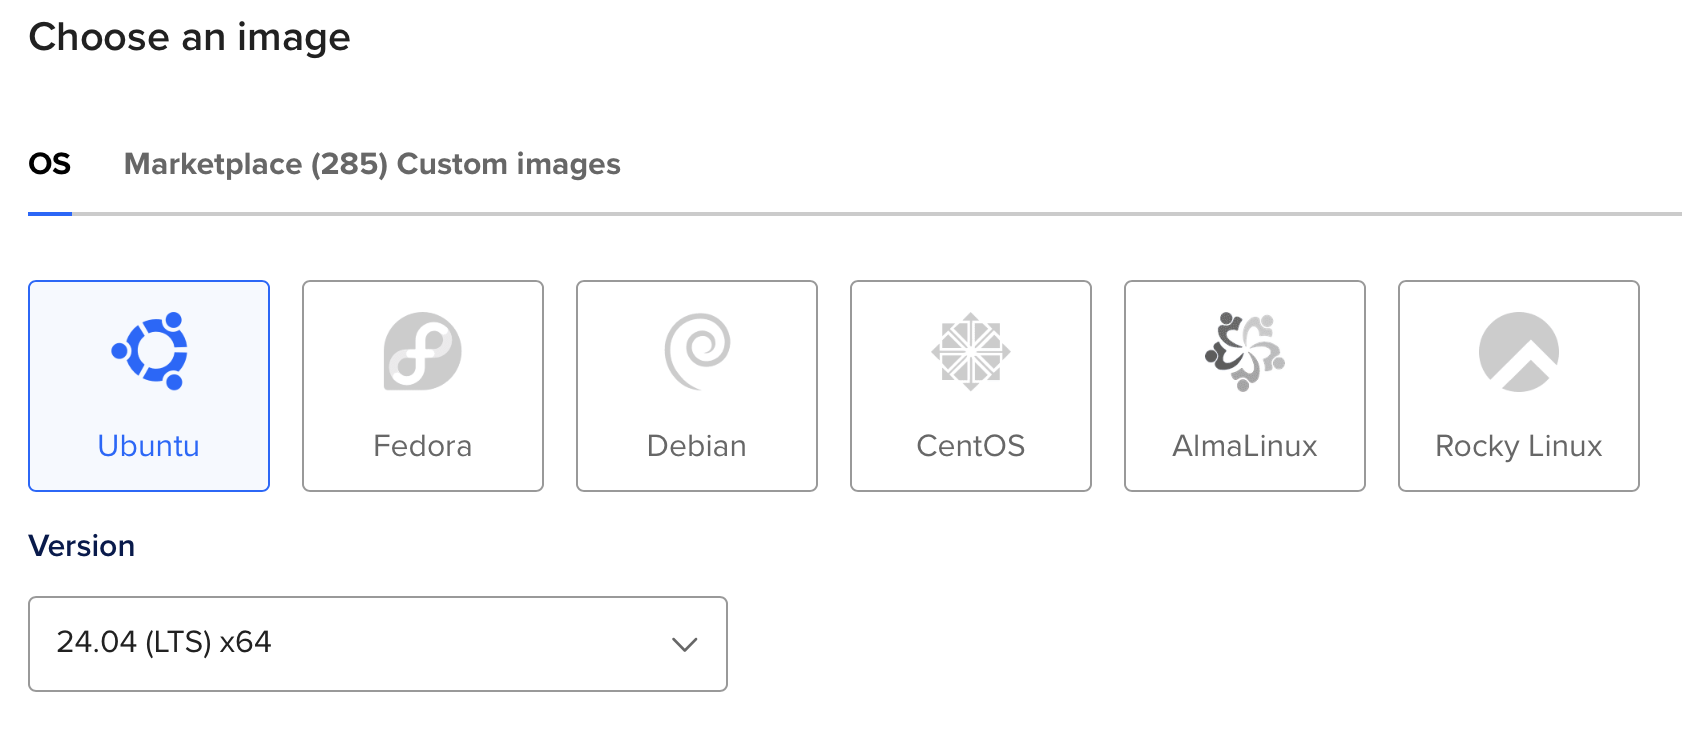
Under Choose an image, pick Ubuntu 24.04 (LTS).
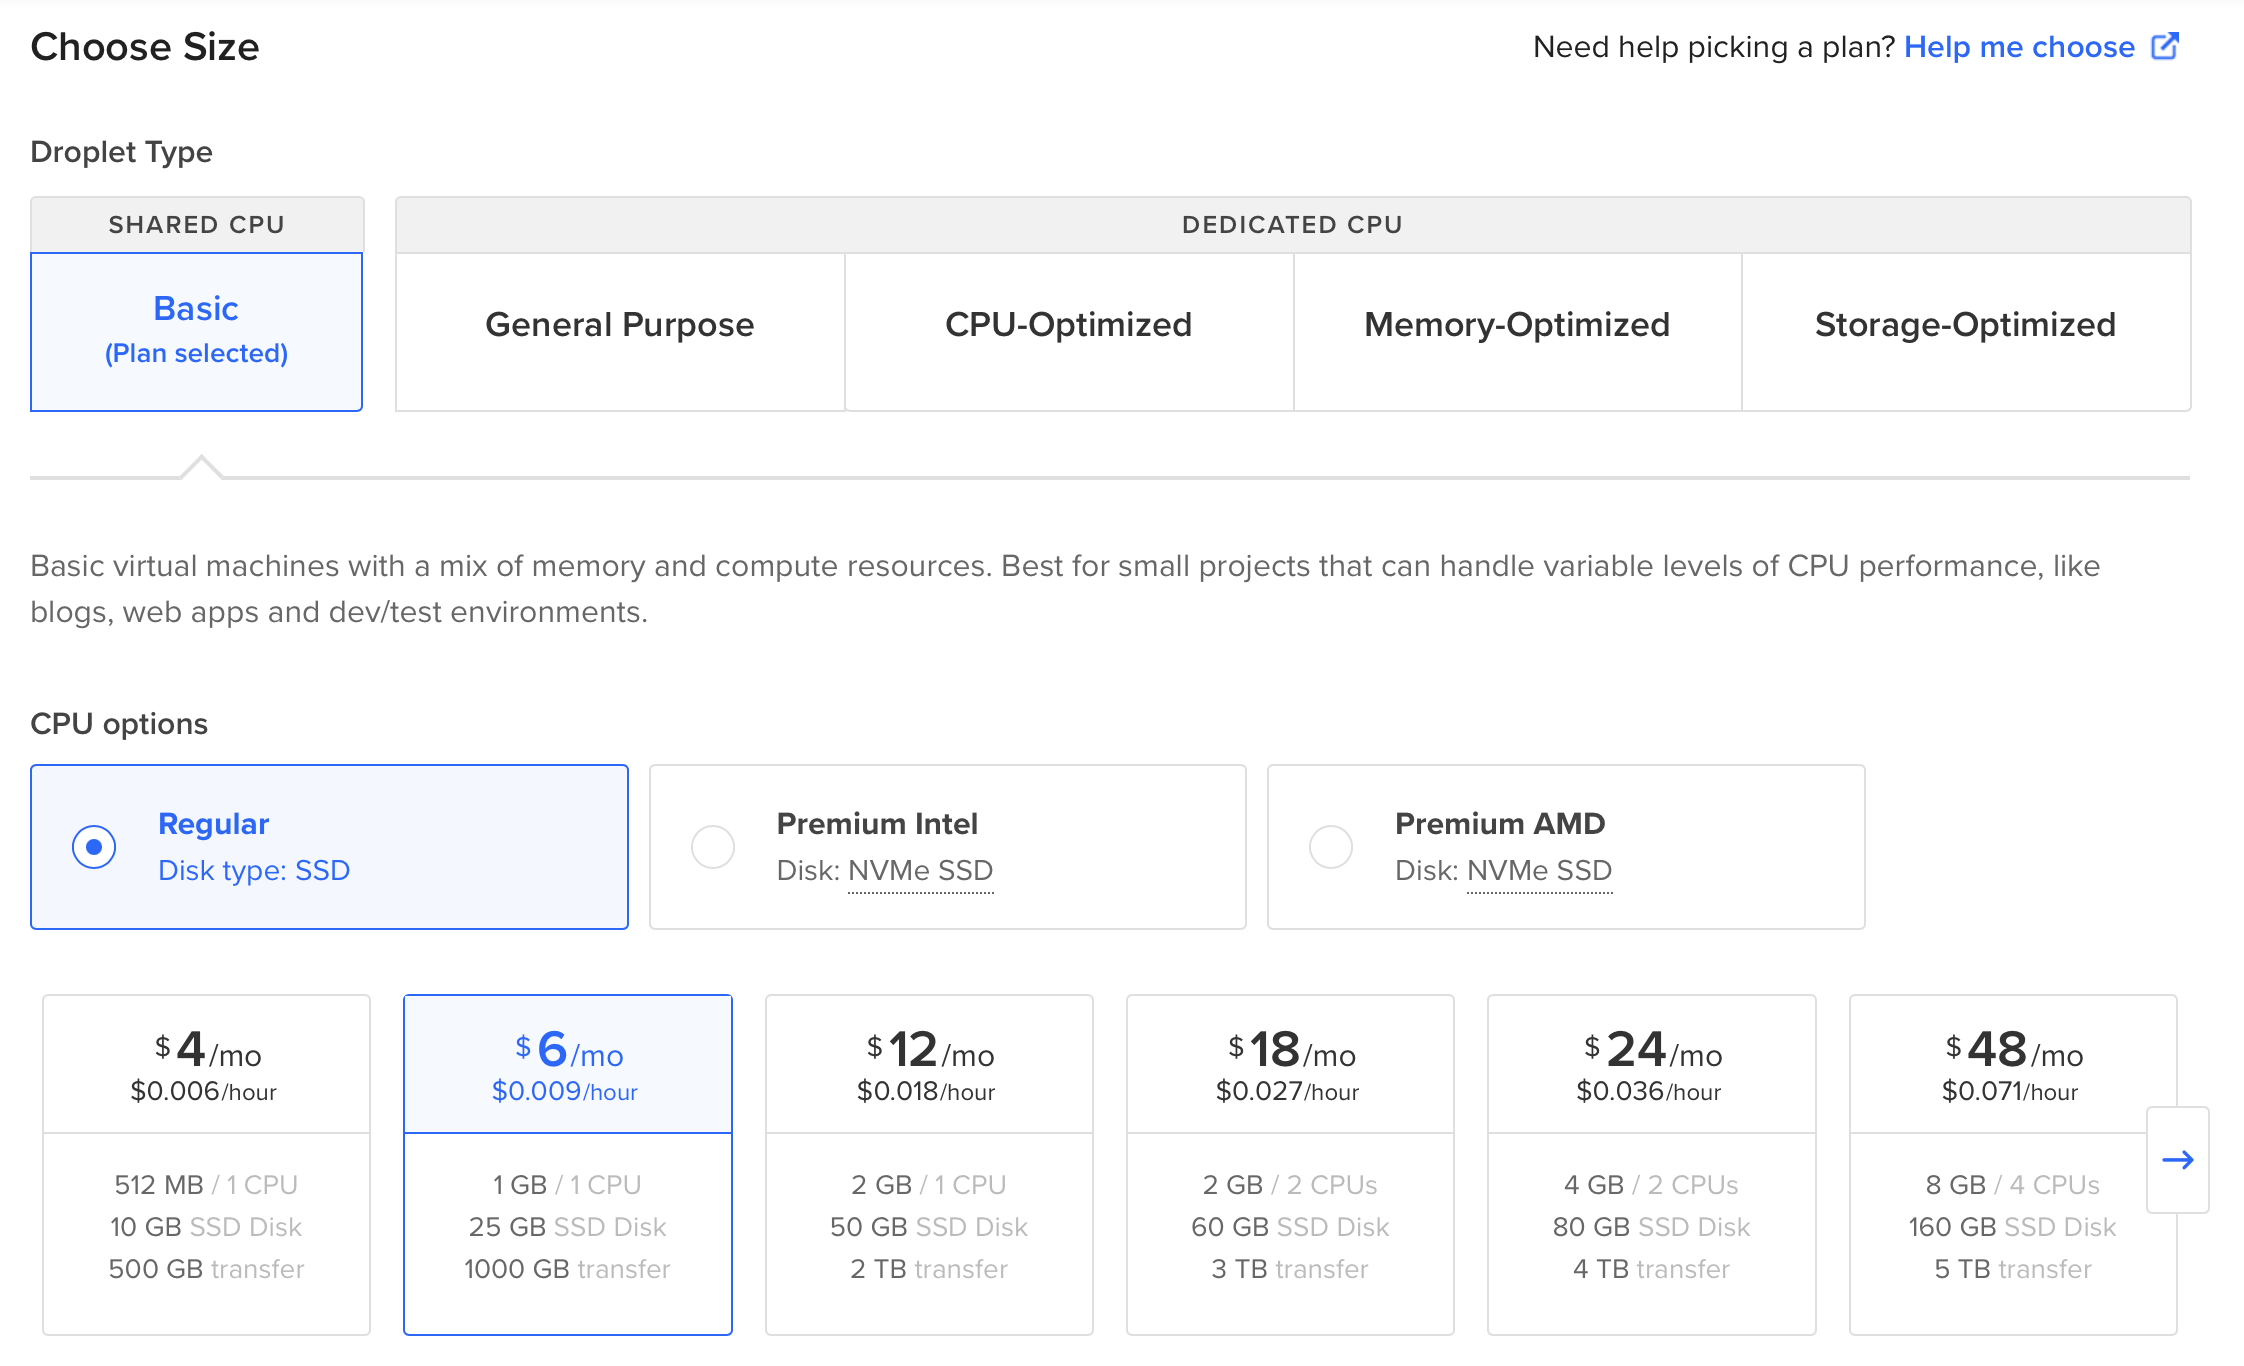
For the cheapest plan, choose a Basic Droplet with minimal specs. A 1 GB RAM, 1 CPU Droplet (shared CPU) is sufficient for an FYP Laravel app. This costs $6 per month (RM25). You can always scale up later if needed. Otherwise, you are free to select any plan that suits your budget and requirements.
- Skip the Additional Storage and Backups unless if you need it.
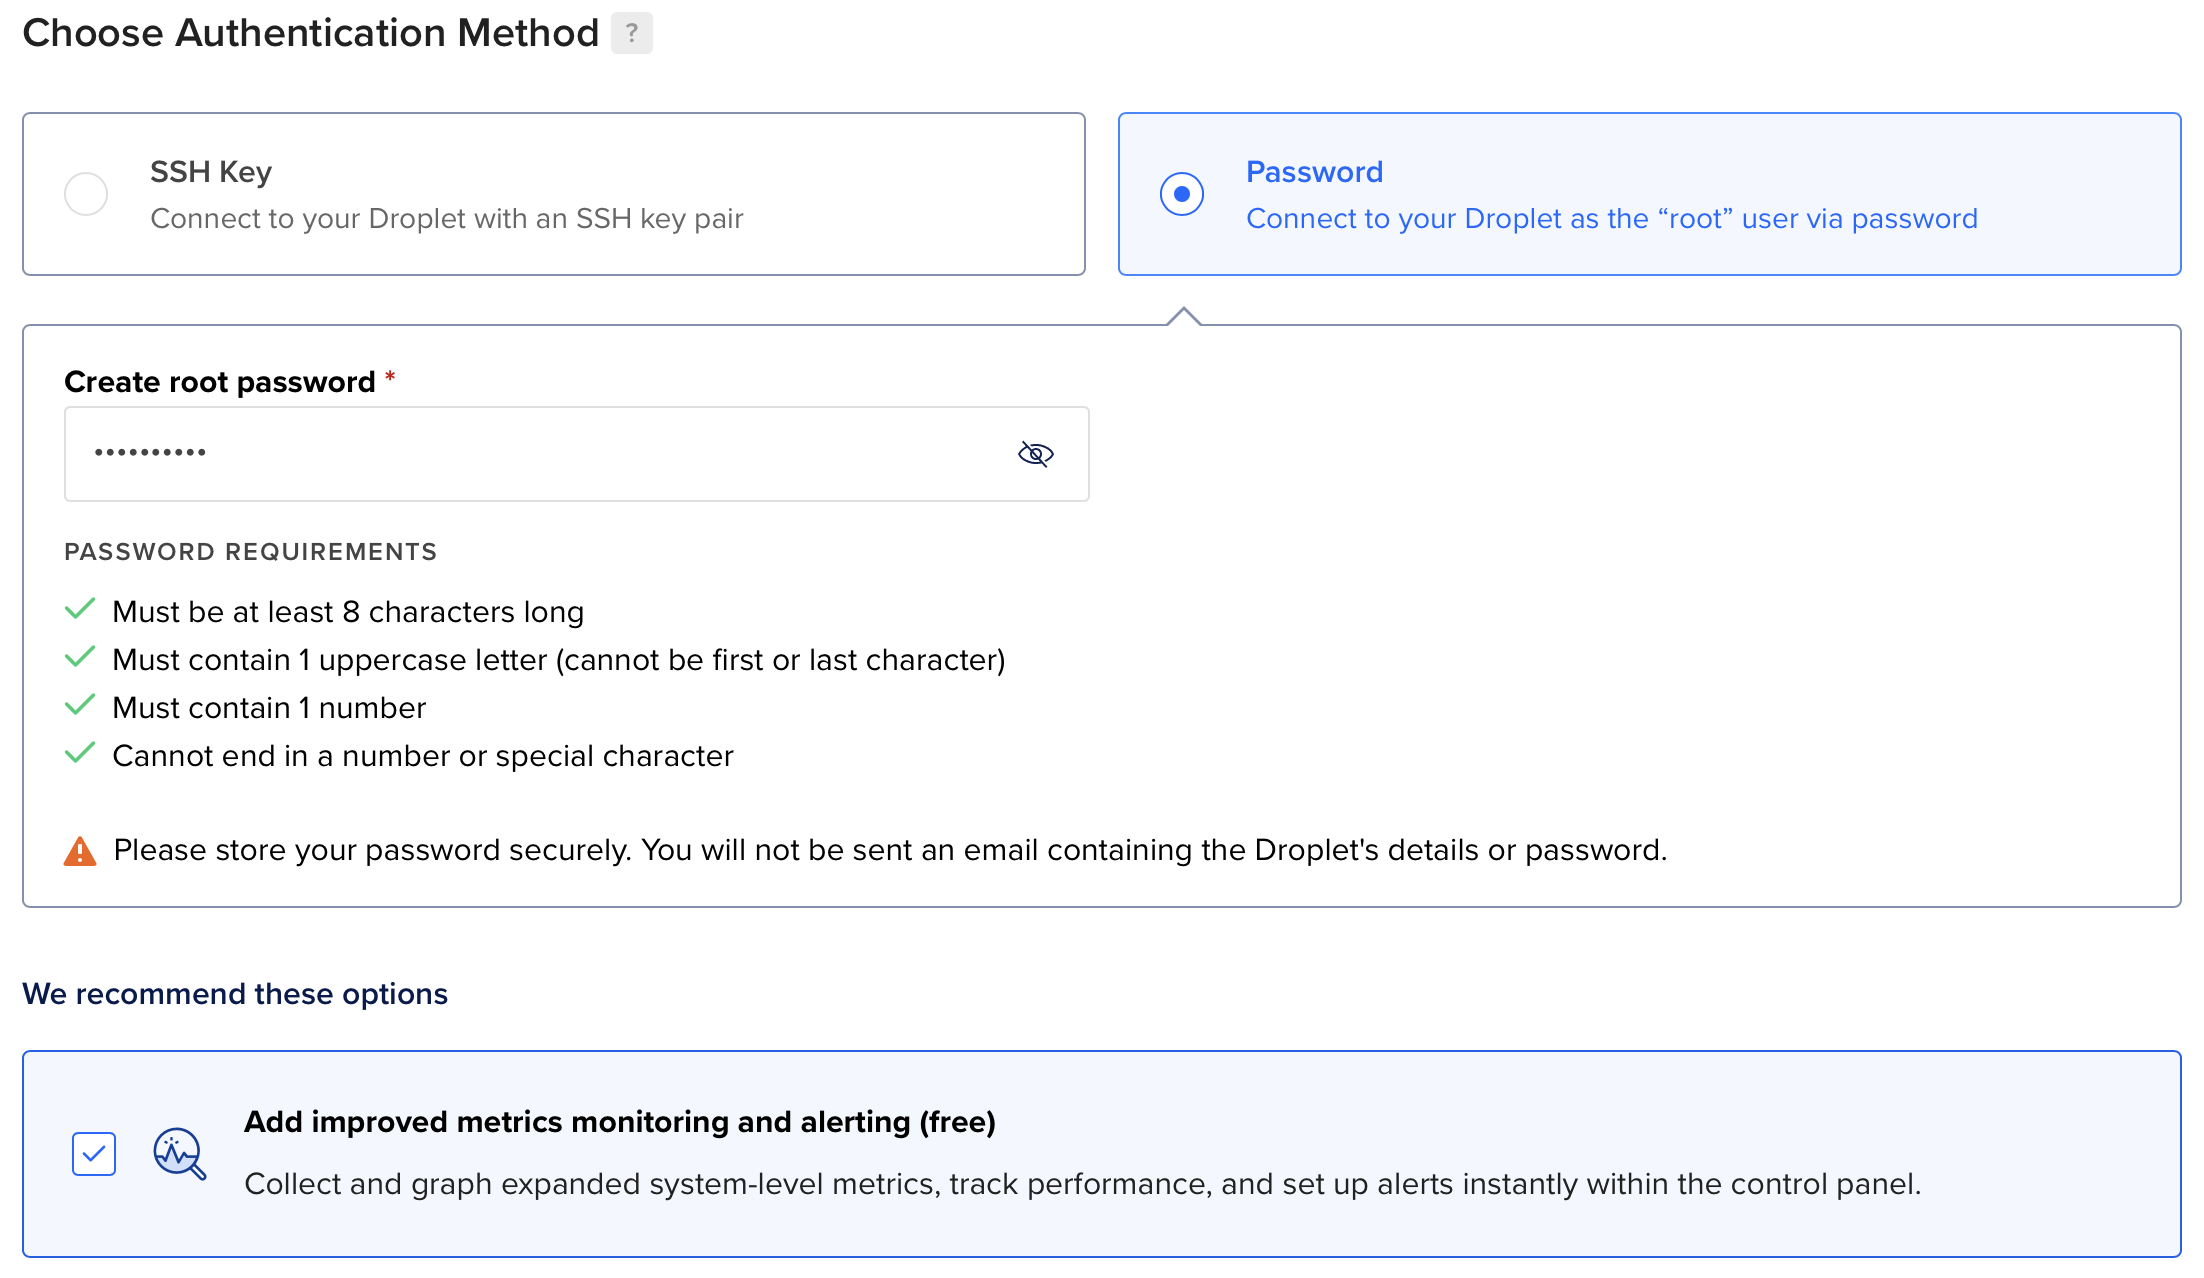
Set a root password and enable Add improved metrics monitoring and alerting (free). Make sure to store your password securely.
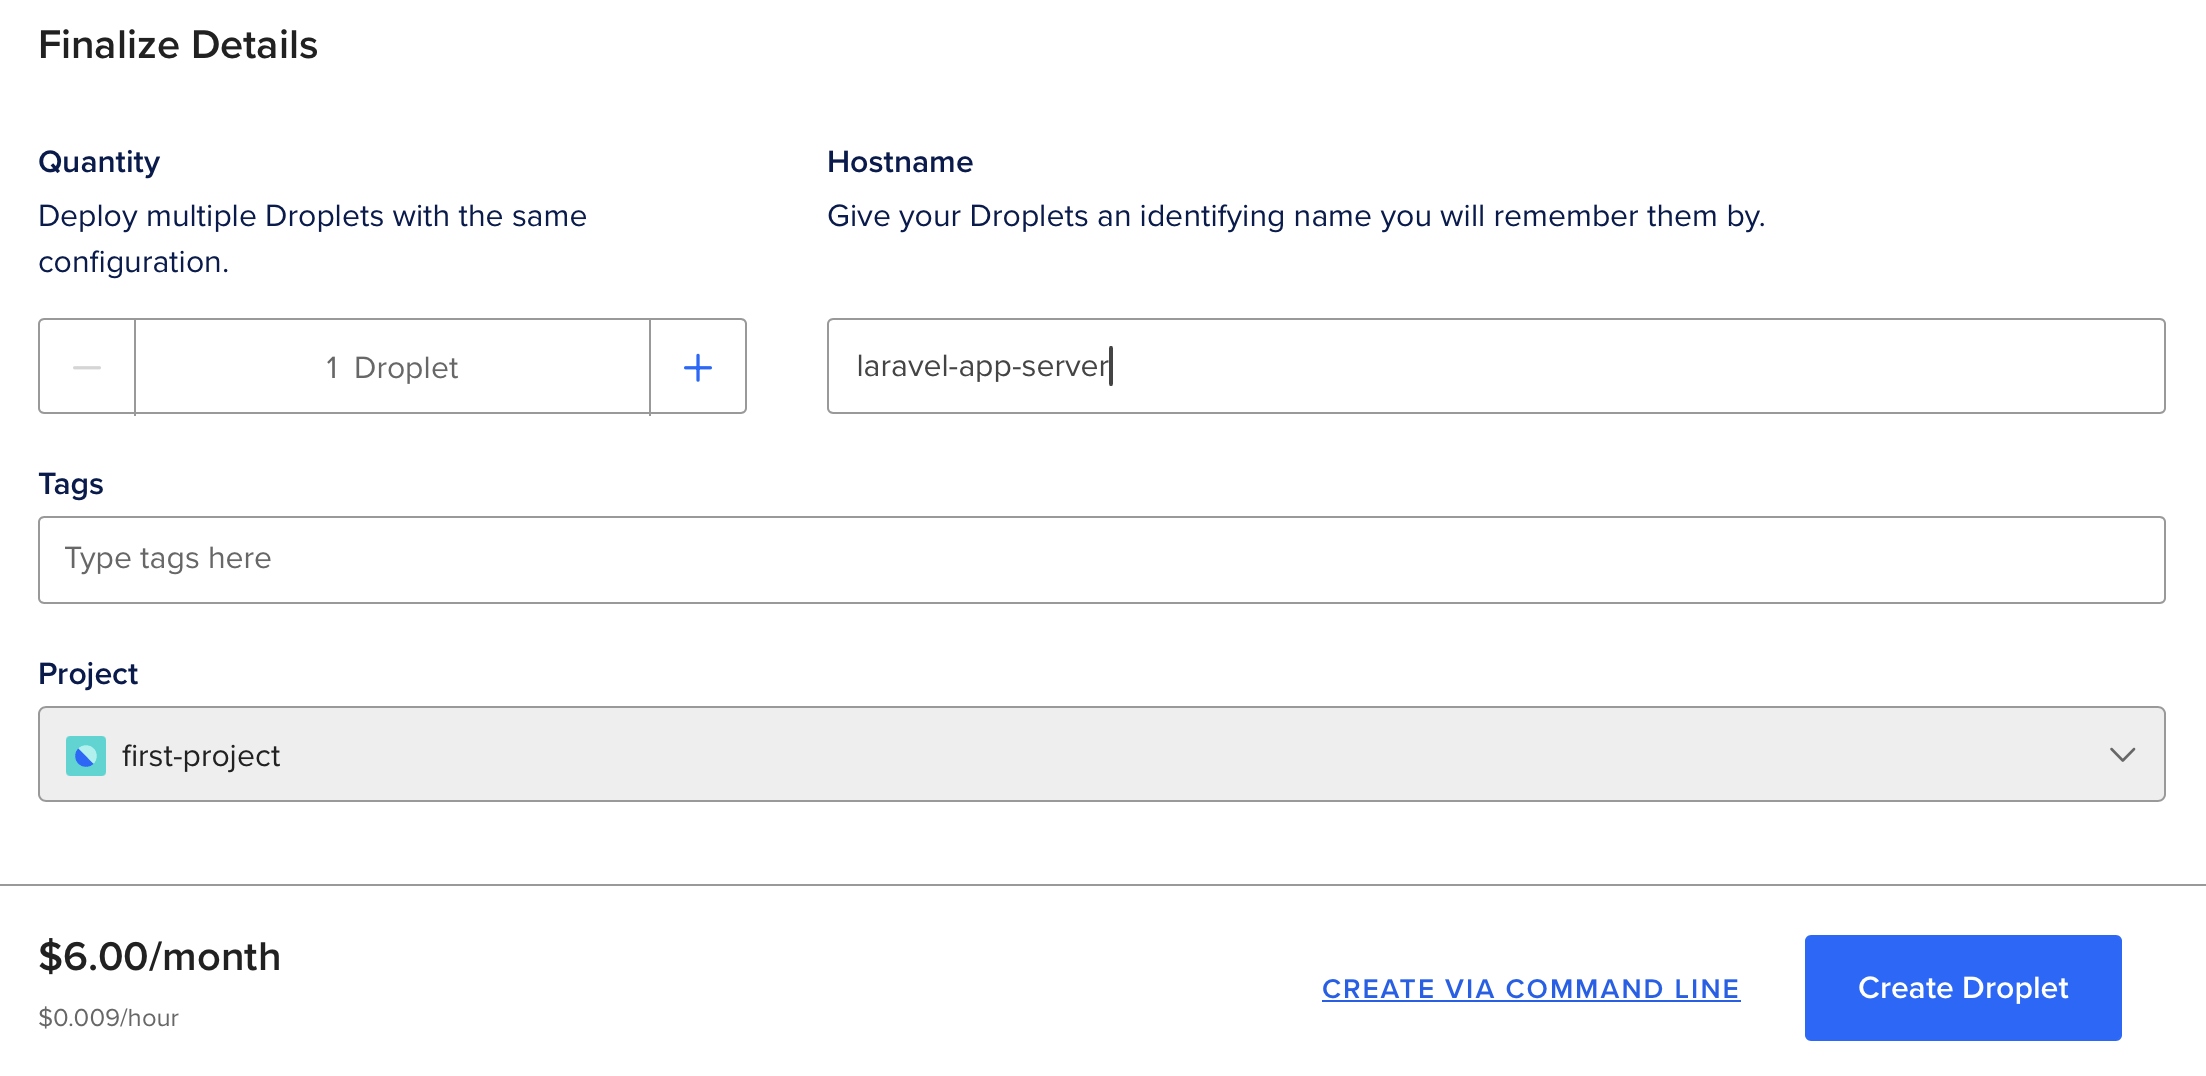
Give your droplet a hostname (e.g., “laravel-app-server”). Then click Create Droplet. DigitalOcean will provision your server in about a minute.
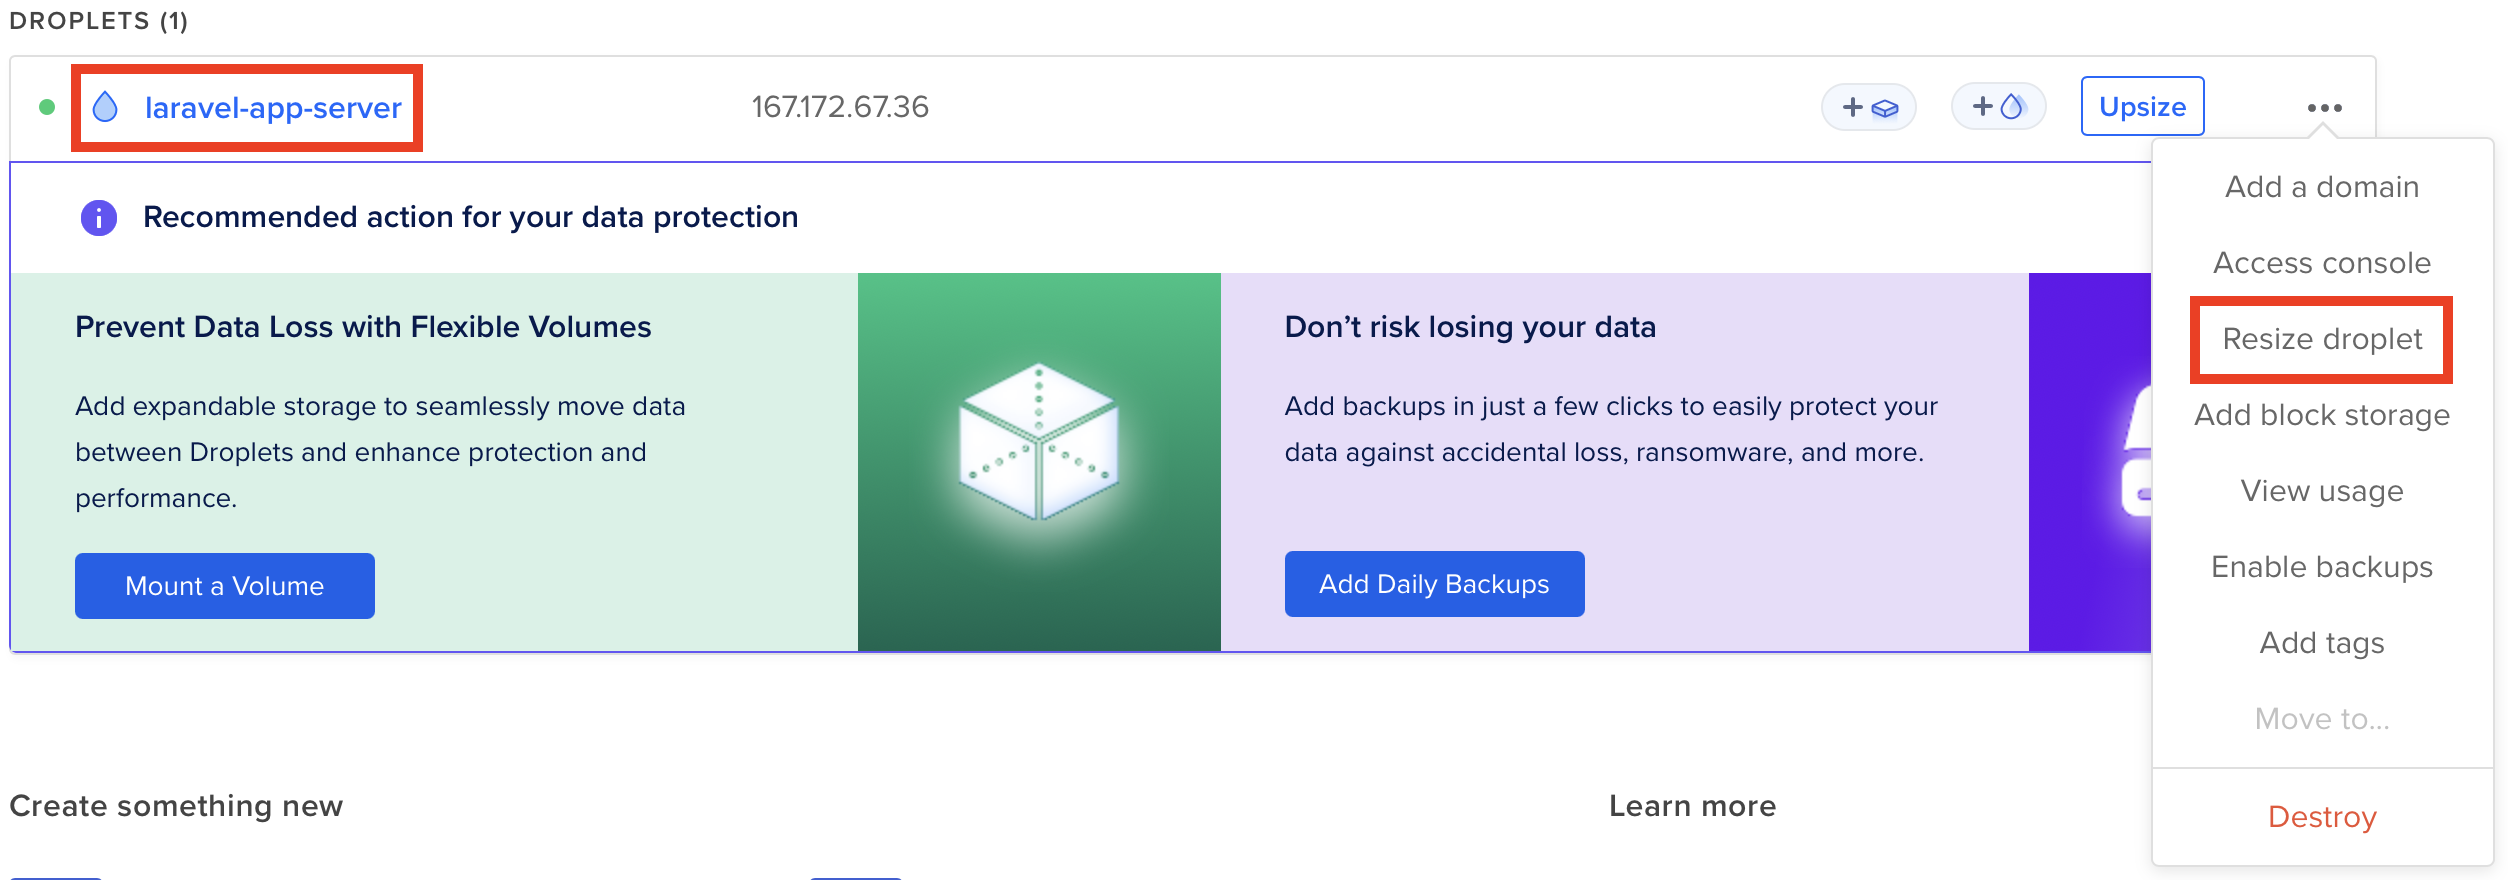
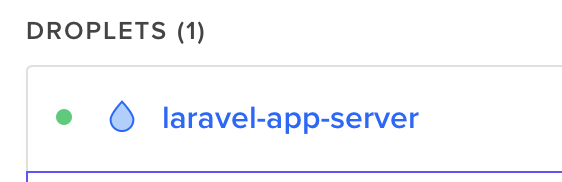
Once created, your Droplet (in this case “laravel-app-server”) will have a public IP address (visible in the DigitalOcean dashboard).
3. Install CloudPanel on the Server
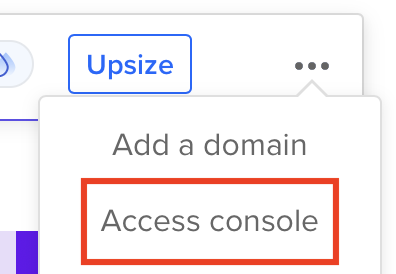
On your droplet, click the three dots, choose Access console.
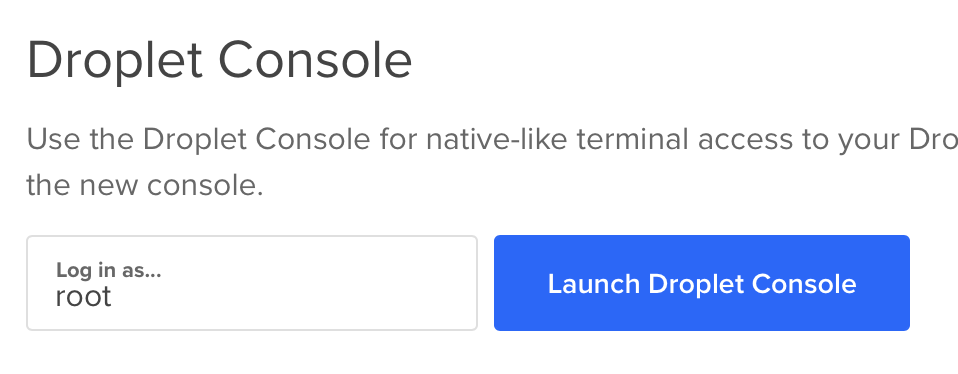
In the Droplet Console menu, click Launch Droplet Console.
A new web browser window will pop out showing the server’s terminal.
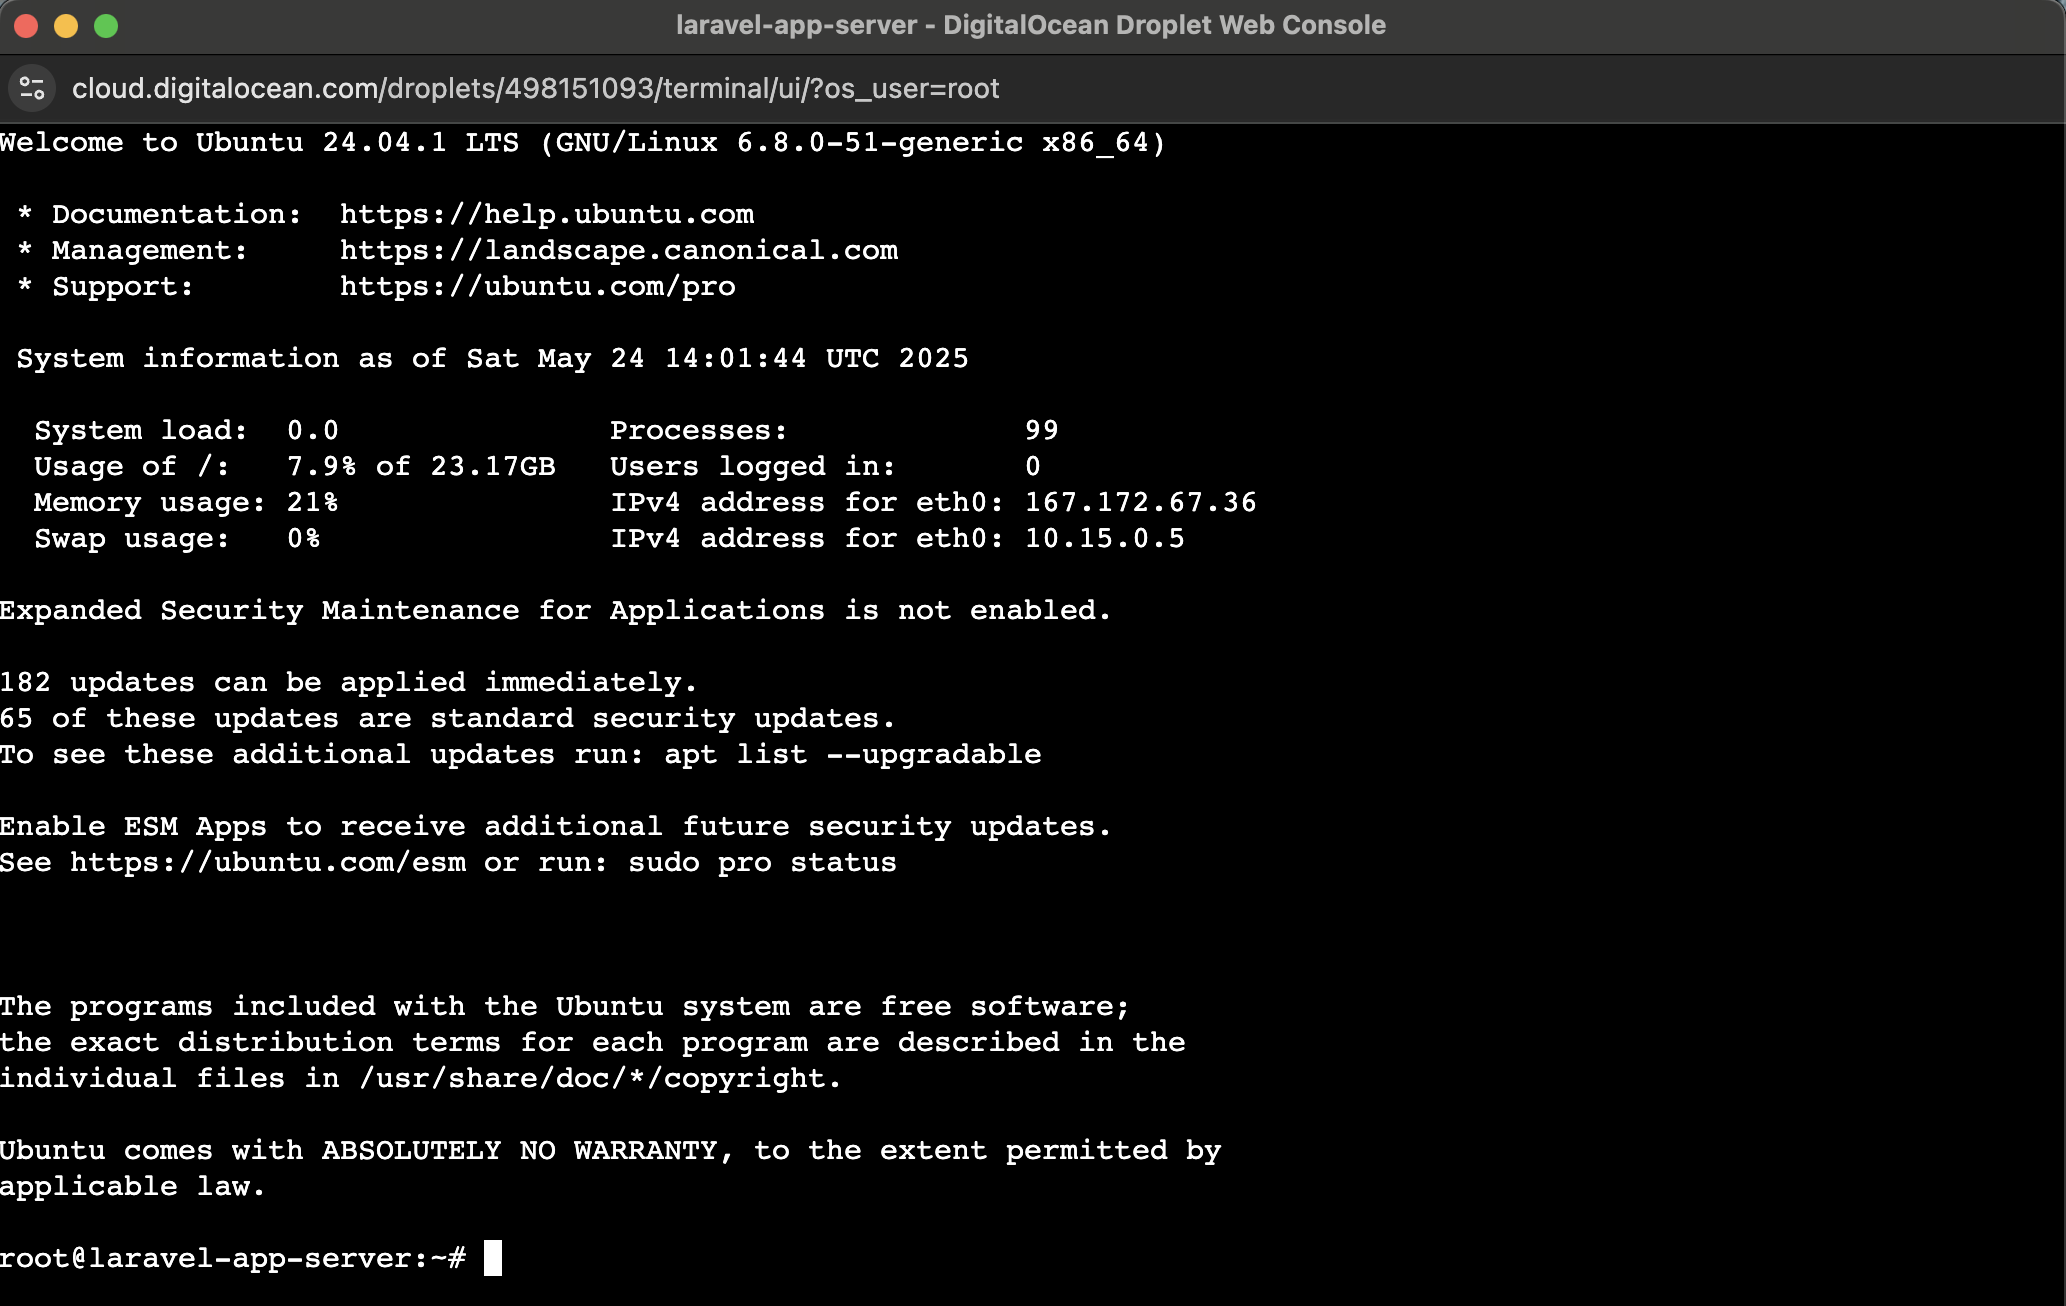
Copy the following command and paste it in the terminal.
1
 apt update && apt -y upgrade && apt -y install curl wget sudo
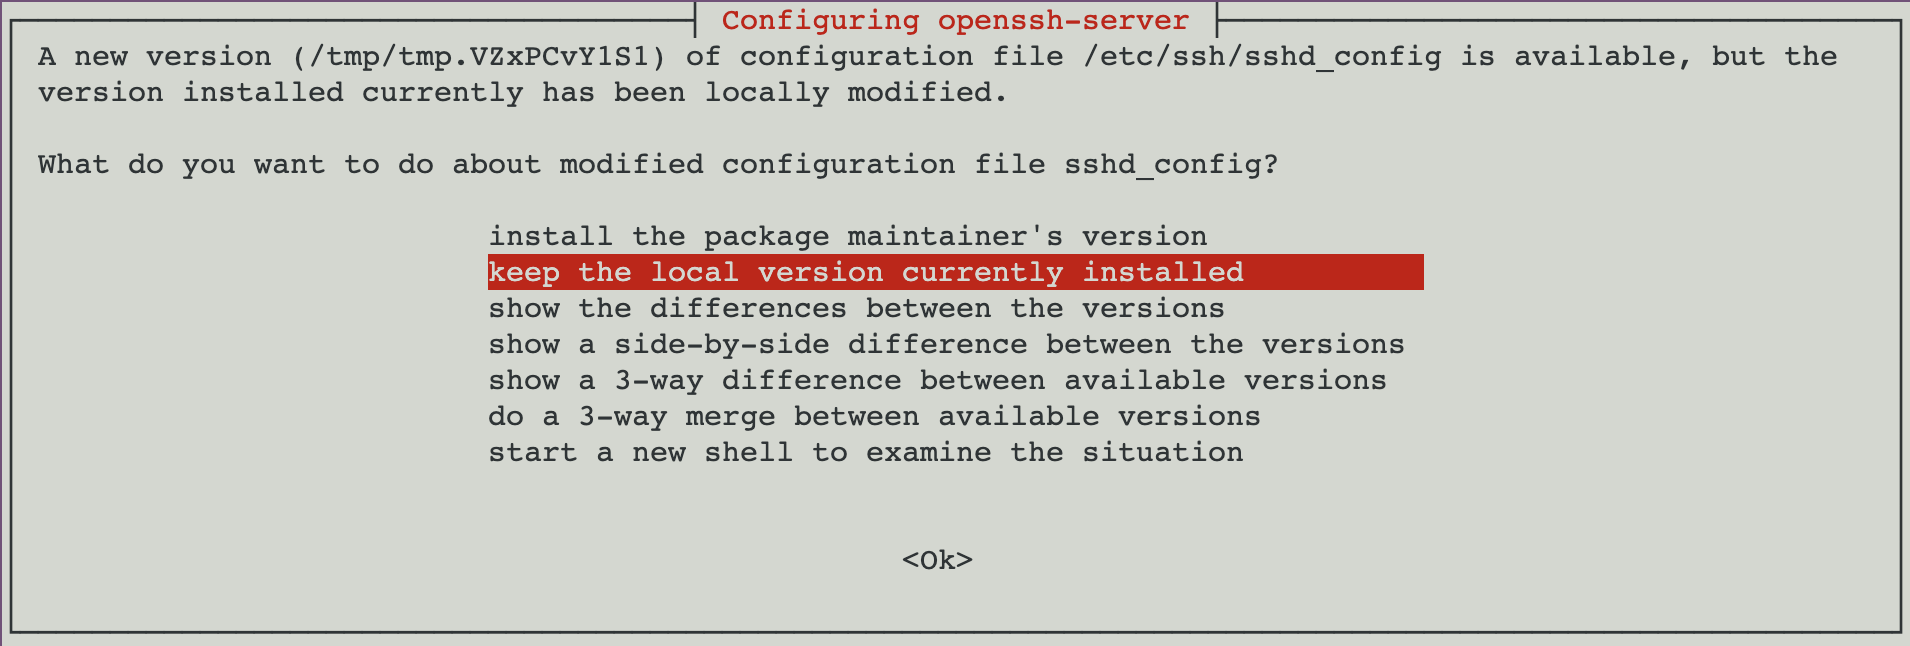
If an alert as below appears, choose keep the local version currently installed, then press Enter.
Once the process finishes, copy and paste the next command. This command will install CloudPanel – this can take a few minutes.
1
2
3
 curl -sS https://installer.cloudpanel.io/ce/v2/install.sh -o install.sh; \
 echo "a3ba69a8102345127b4ae0e28cfe89daca675cbc63cd39225133cdd2fa02ad36 install.sh" | \
 sha256sum -c && sudo DB_ENGINE=MARIADB_11.4 bash install.sh
Once the installation finishes, you will get the URL to the CloudPanel Web UI. In this case the URL is https://167.172.67.36:8443. Yours should be different. Access the URL through your web browser.

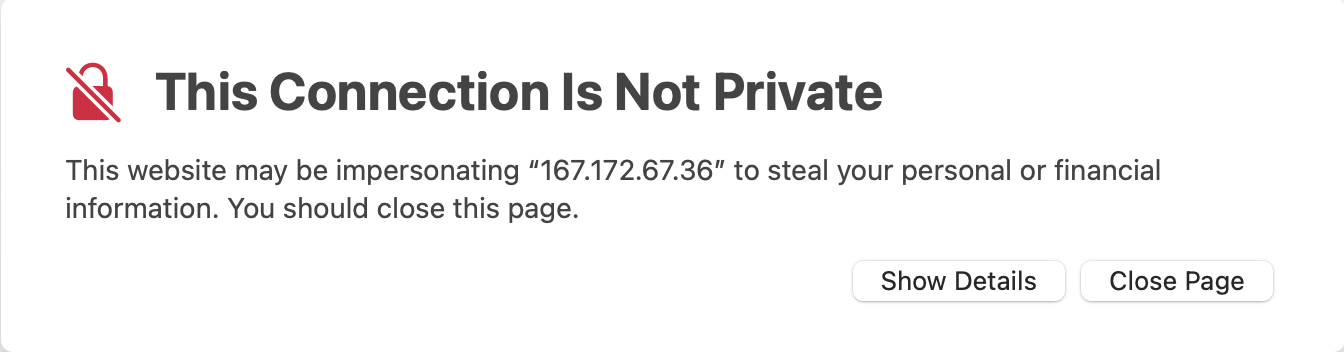
The first time, you’ll see a browser warning about a self-signed SSL certificate – this is expected. Proceed with the unsafe/advanced option to continue.
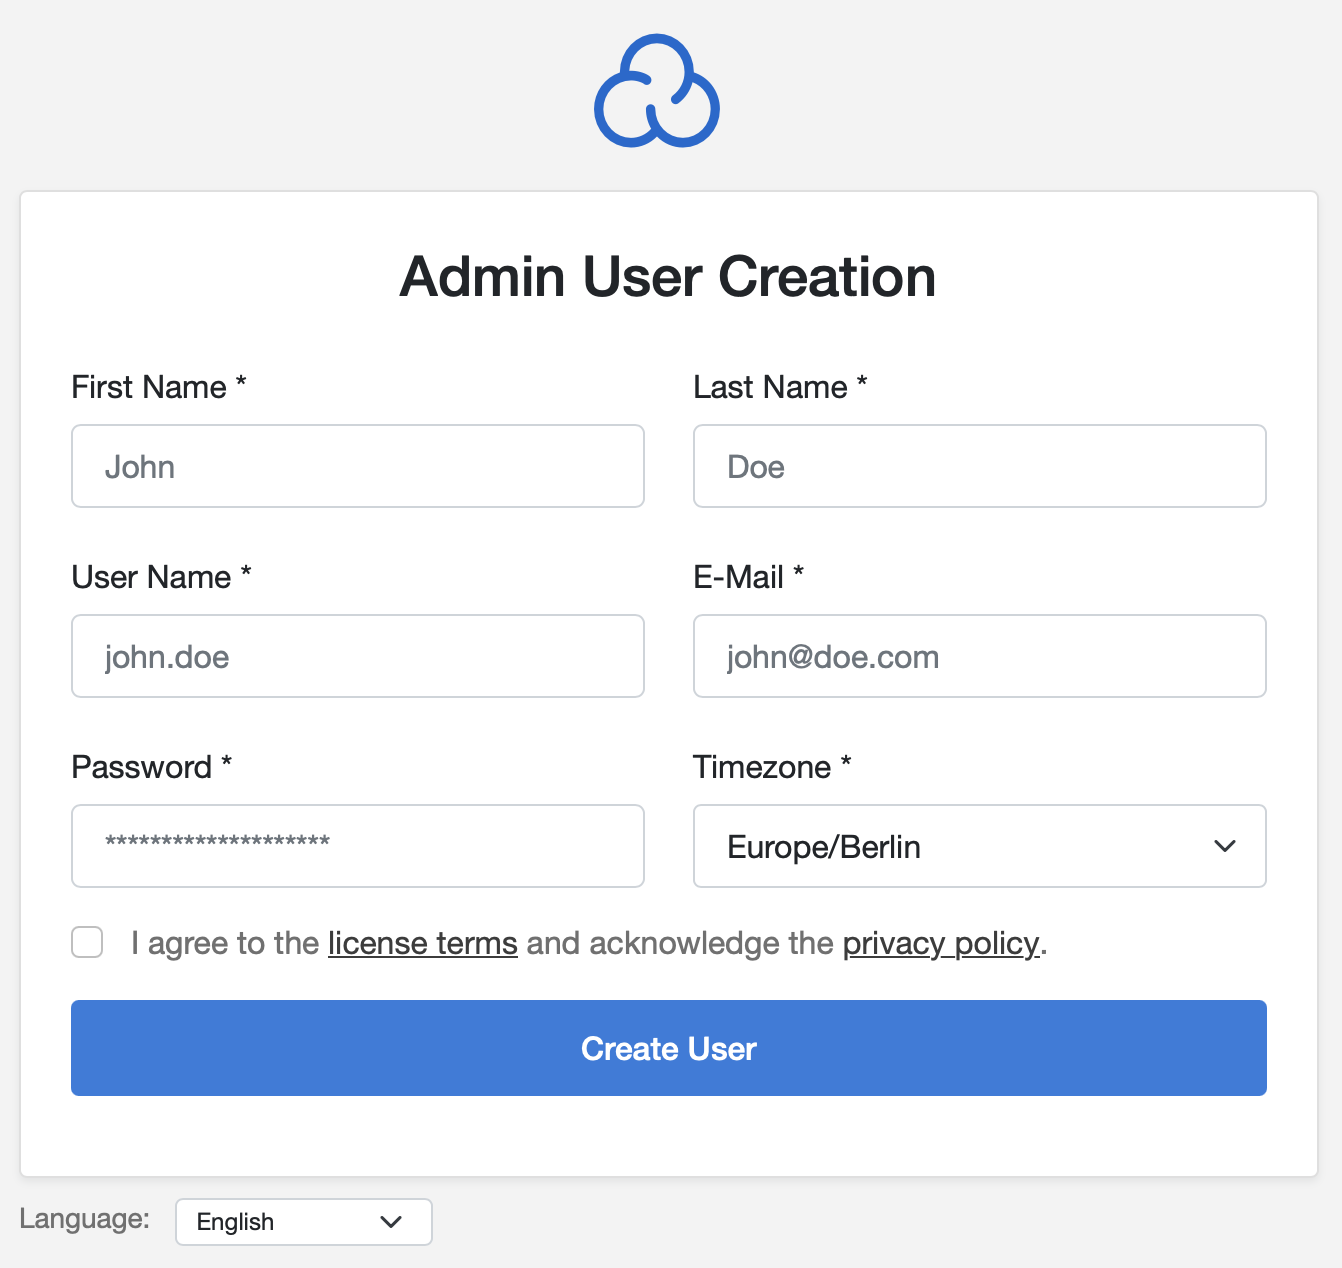
Upon first access, CloudPanel will prompt you to create an Admin account. Do this immediately. Fill in your admin credentials as prompted (remember them!), and submit to enter and login the CloudPanel dashboard.
4. Use CloudPanel to Set Up Your Laravel Site
- In the CloudPanel interface, click Add Sites button.
- Since this is a Laravel PHP application, select Create a PHP Site.
Enter the domain you purchased (e.g., yourdomain.com). If you want the site to primarily use www.yourdomain.com, you can enter that. You may also use a subdomain if you wish (e.g., shop.yourdomain.com, blog.yourdomain.com), etc. In the example below, a subdomain named
myappis used.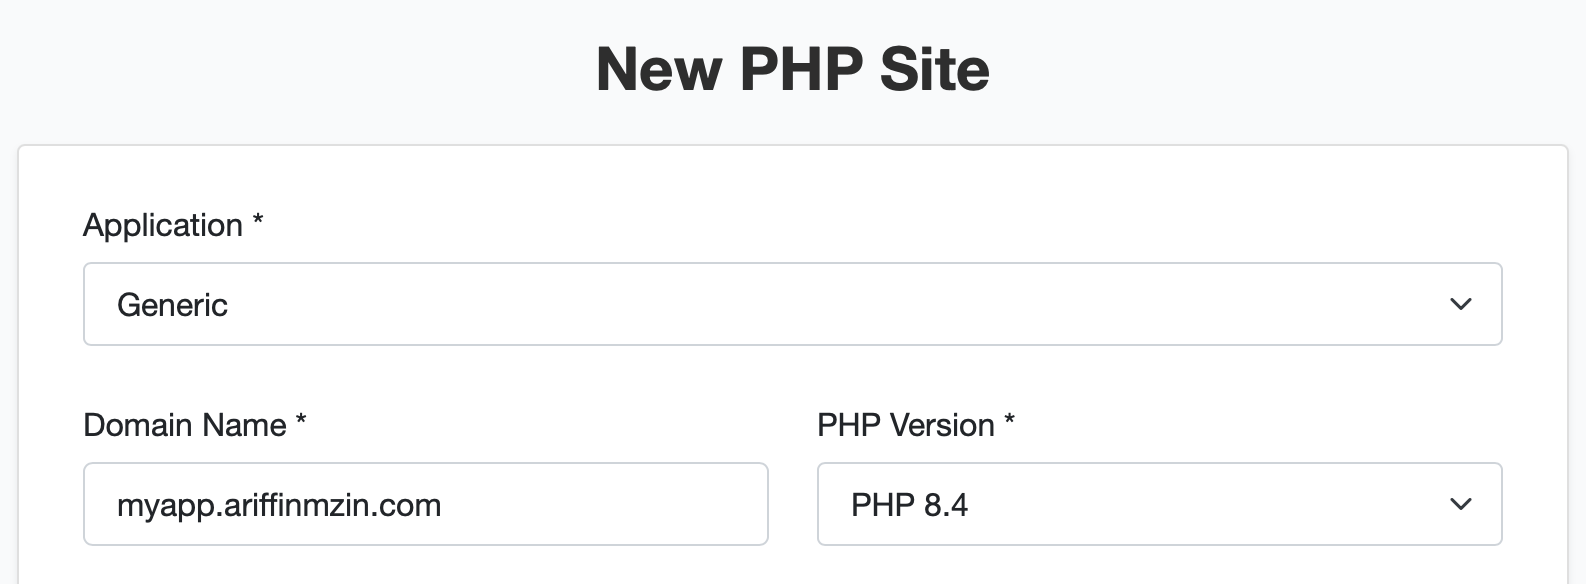
- Leave the Site User and Site User Password as it is or you may change it. Make sure to remember or keep it safe. Lastly, click Create.
Click Manage button. This should show site details and tabs like Vhost, Databases, SSL/TLS, etc.

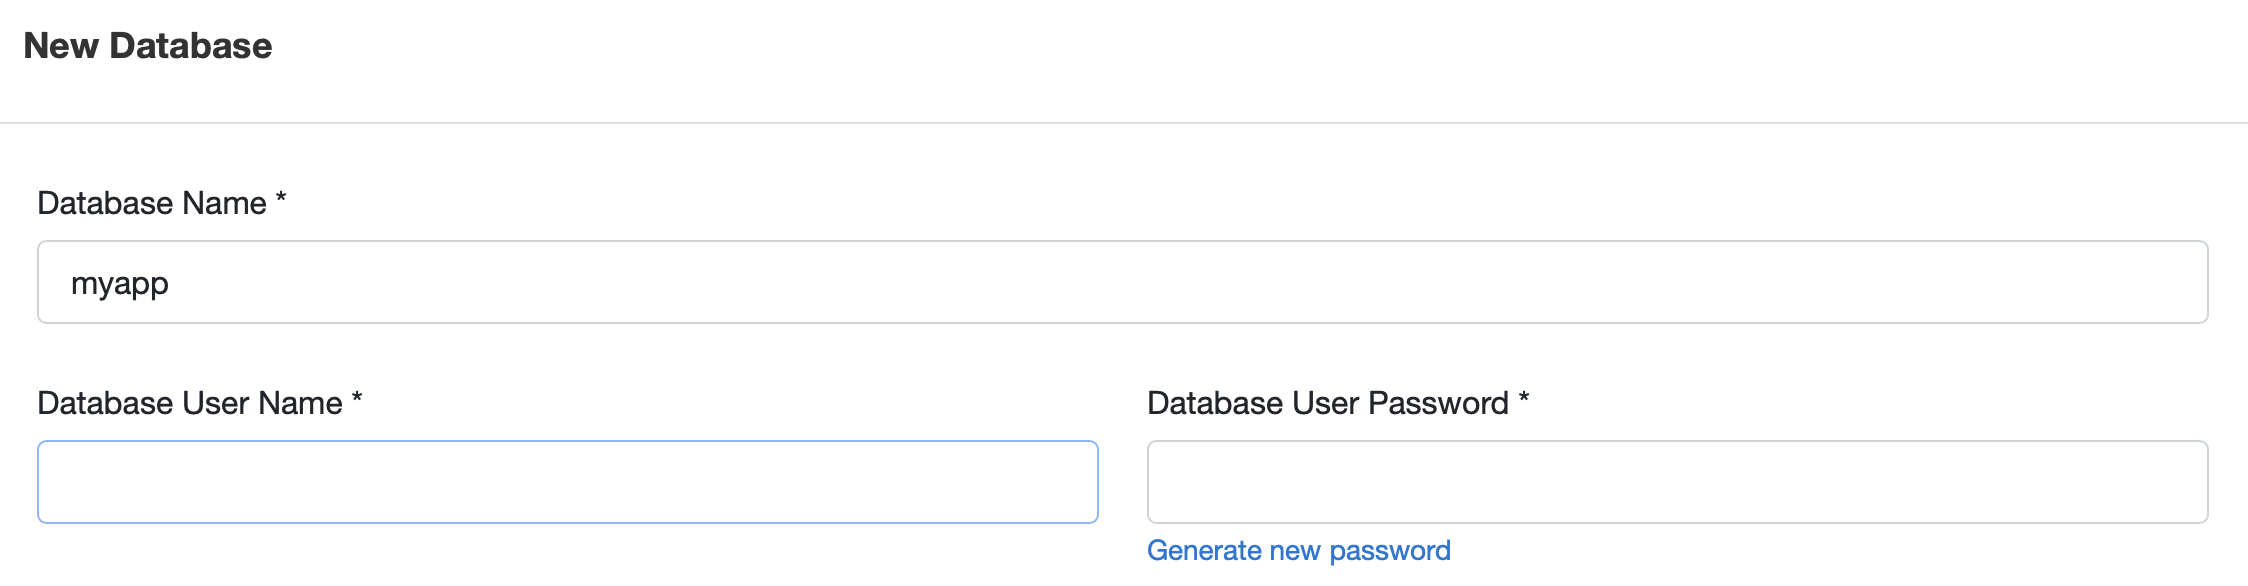
Go to the Databases tab for the site. Here, click Add Database. Enter a name for your database (e.g., laravel_db) and a new database user (e.g., laravel_user) with a secure password and click Add Database. Make sure to copy the database name, username, and password you just created. We will put these in Laravel’s
.envfile.
5. Deploy Laravel Application Code
In the terminal, type as below. You will see a folder named after the Site User as shown in the image at Section 4 (Use CloudPanel to Set Up Your Laravel Site), Step 5 above.

Next, type the command below. Replace
ariffinmzin-myappwith your folder name.1
cd /home/ariffinmzin-myapp/htdocs/Then type the following command. You will see your application folder. In this case, the application folder name is
myapp.ariffinmzin.com
Type the command below. Replace
myapp.ariffinmzin.comwith your application folder name.1
cd myapp.ariffinmzin.com/Once you are in the folder, type the following command.
1
 rm index.php
Go to your GitHub repository and copy the URL of the repository.
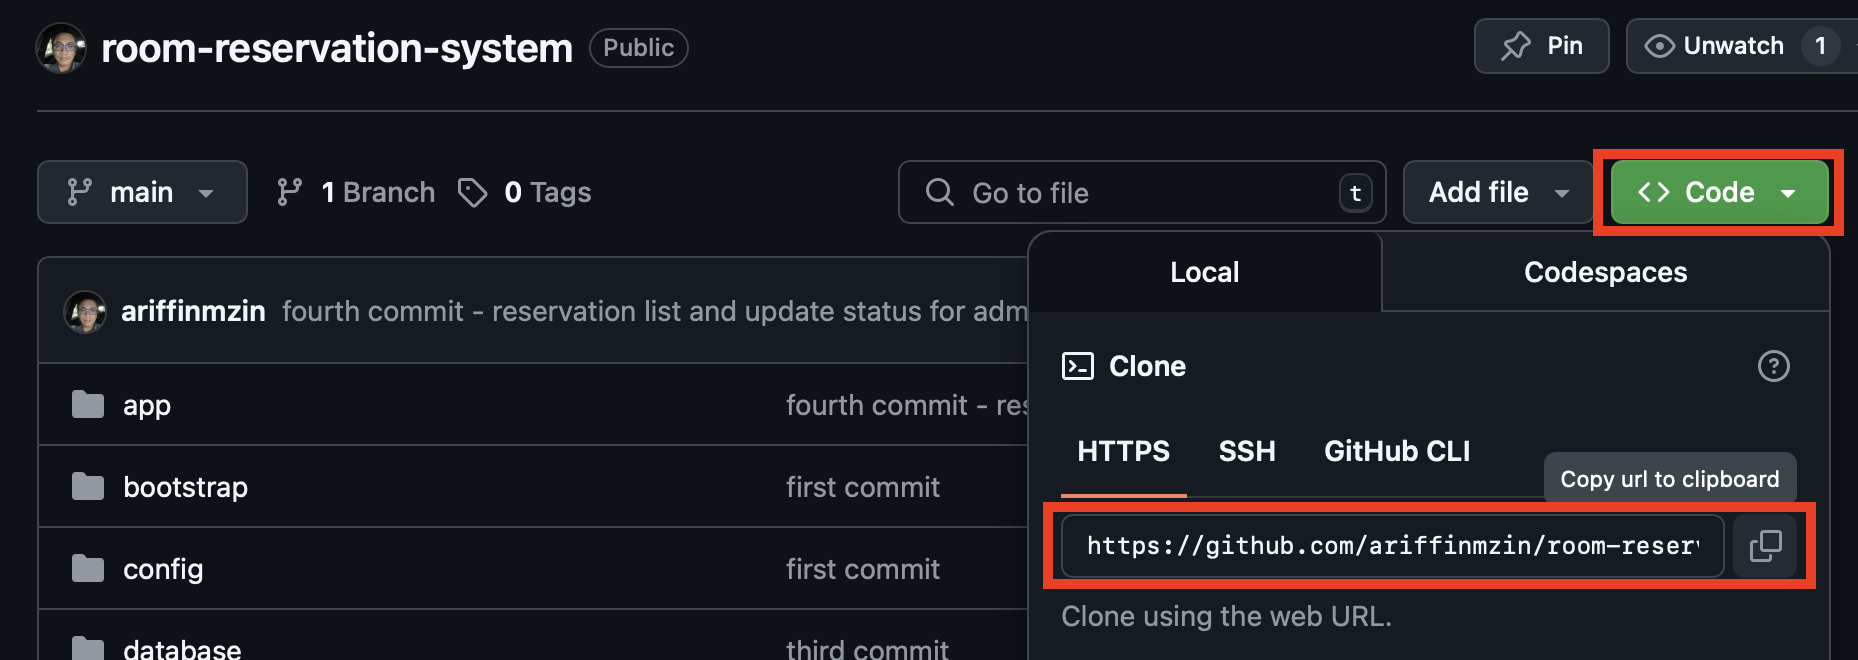
Type the following commands (one by one) in the terminal. Replace any relevant with your folder name and GitHub repository link.
1
 git init
1
2
 git config --global --add safe.directory /home/ariffinmzin-myapp/htdocs/myapp.ariffinmzin.com
 # replace ariffinmzin-myapp and myapp.ariffinmzin.com accordingly
1
2
 git remote add origin https://github.com/ariffinmzin/room-reservation-system.git
 # the link above is copied from step 6. replace it with your github repo
1
git pull origin main
The previous commands will clone the repository into a the
myapp.ariffinmzin.comdirectory. You can see all the Laravel project’s files as in the figure below.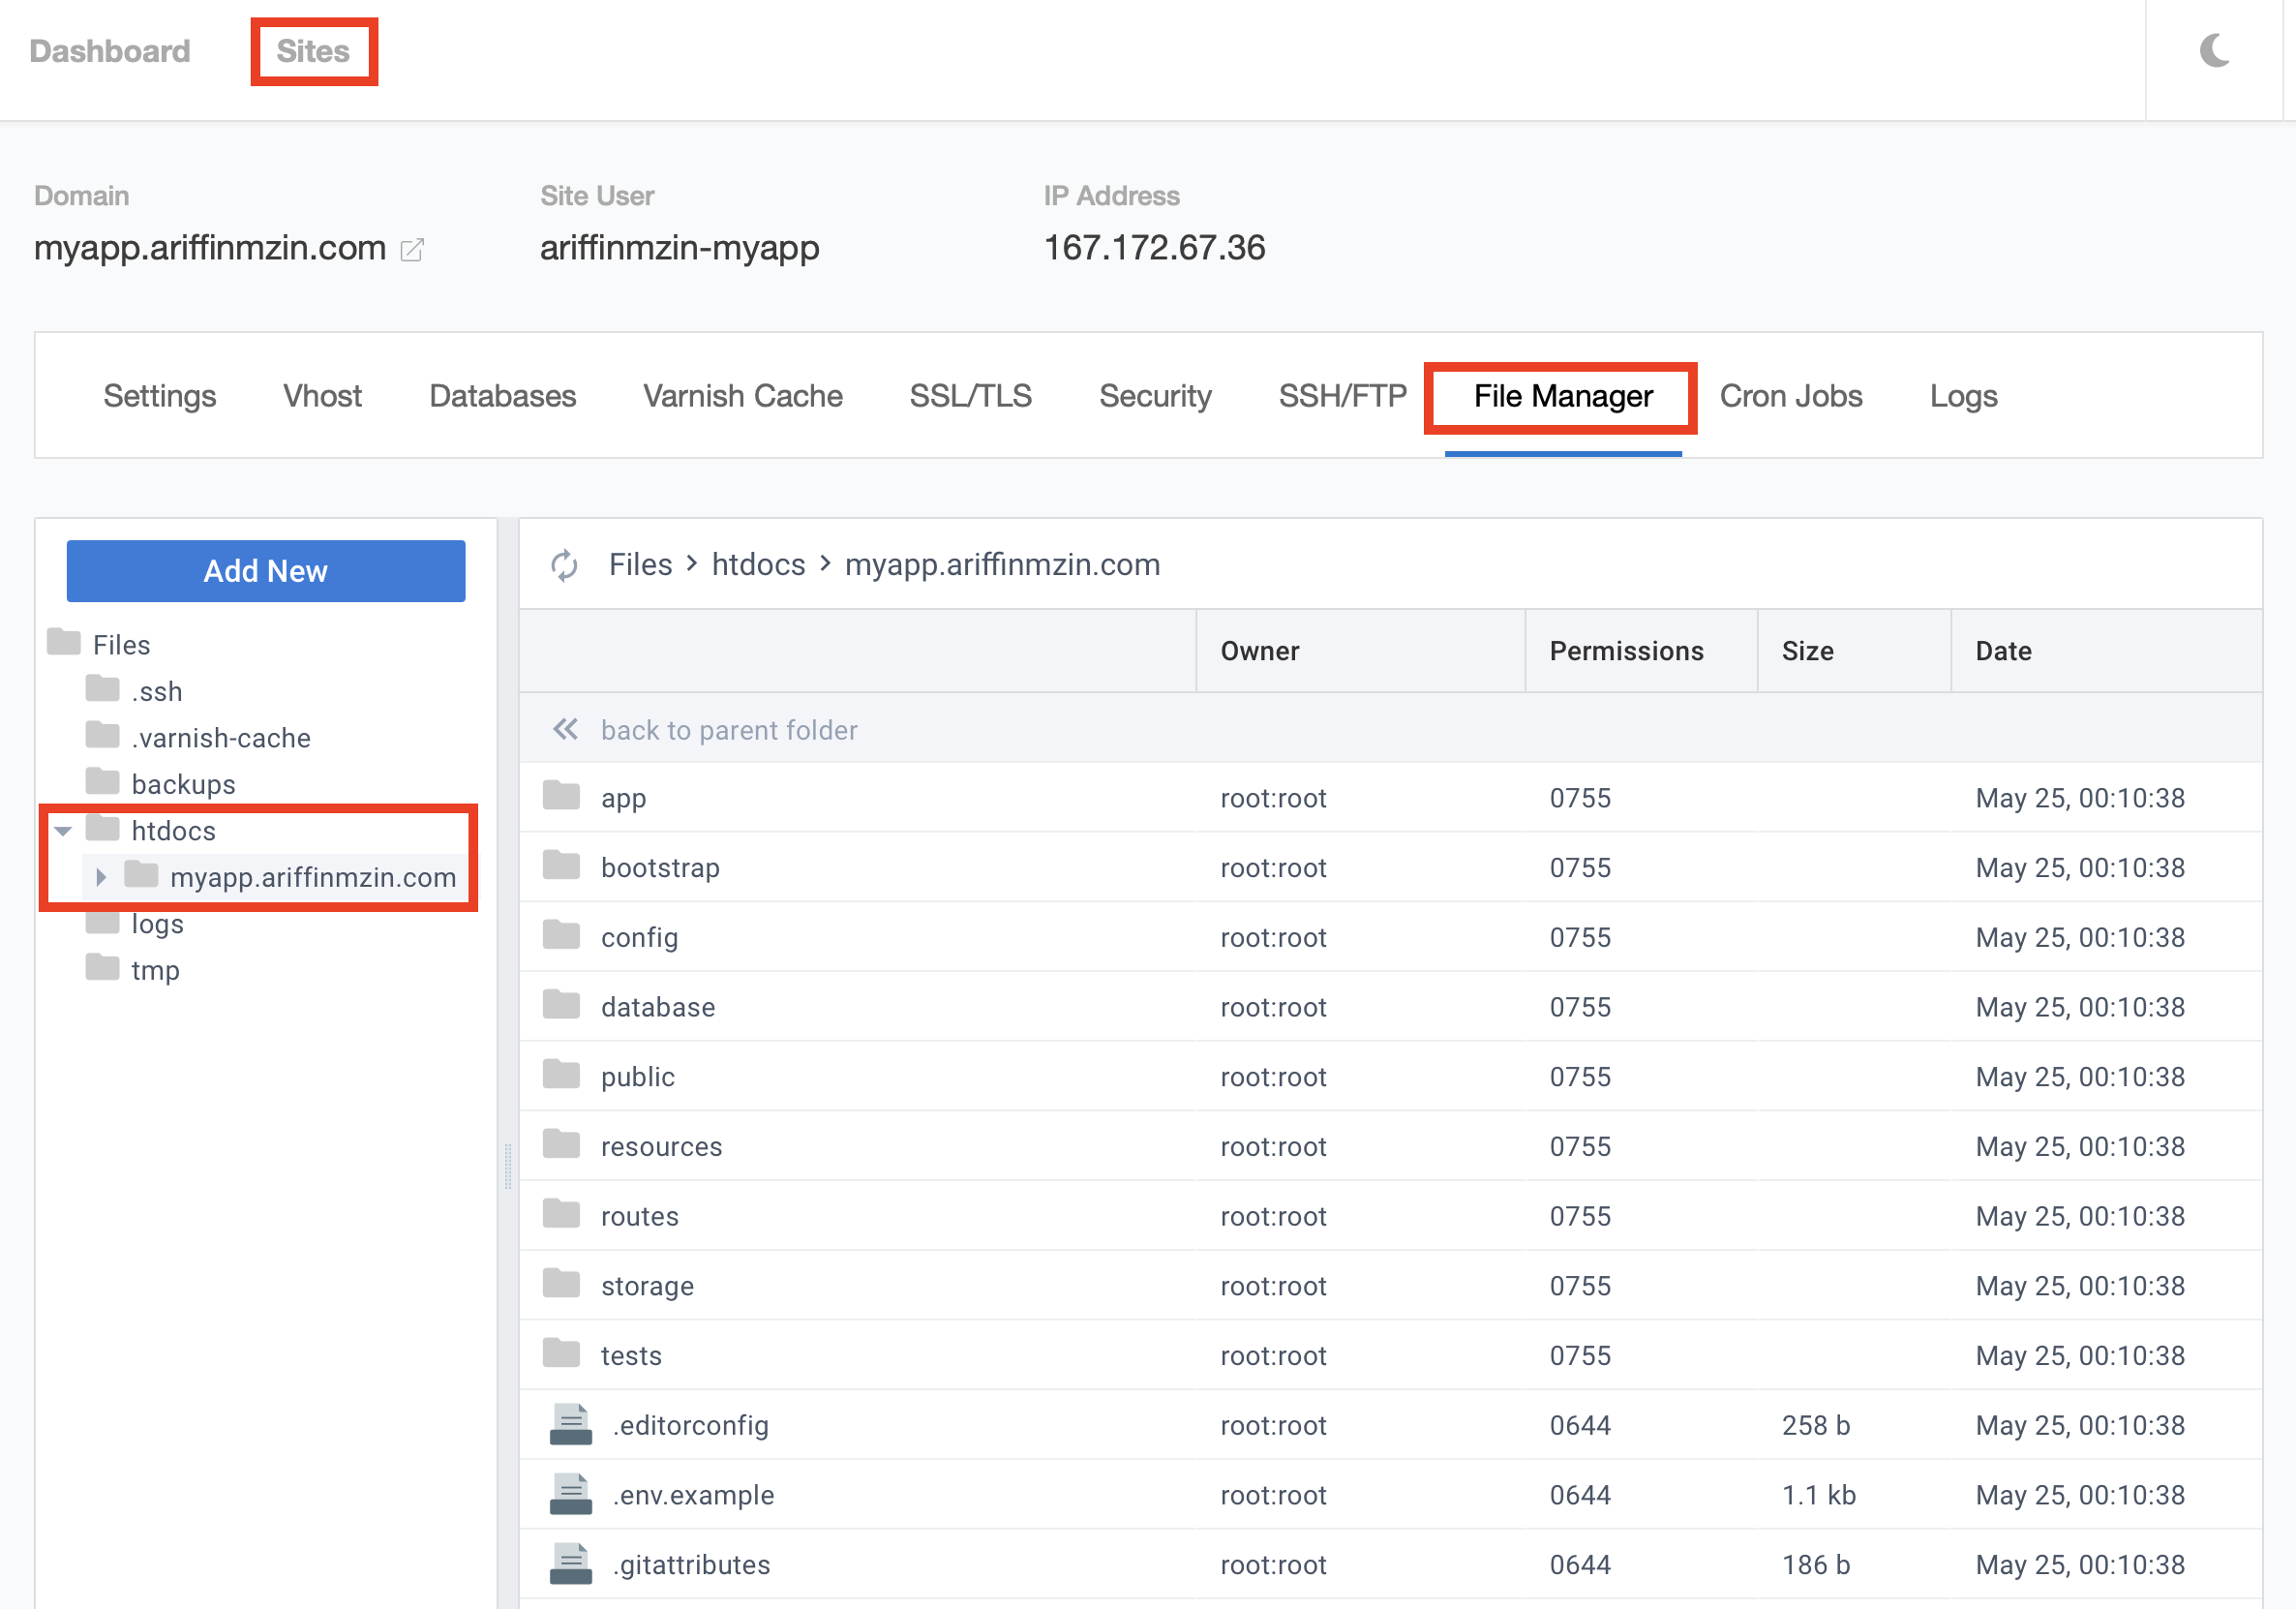
Then, click Add new file. Make sure you are in the correct folder (your Laravel project folder).
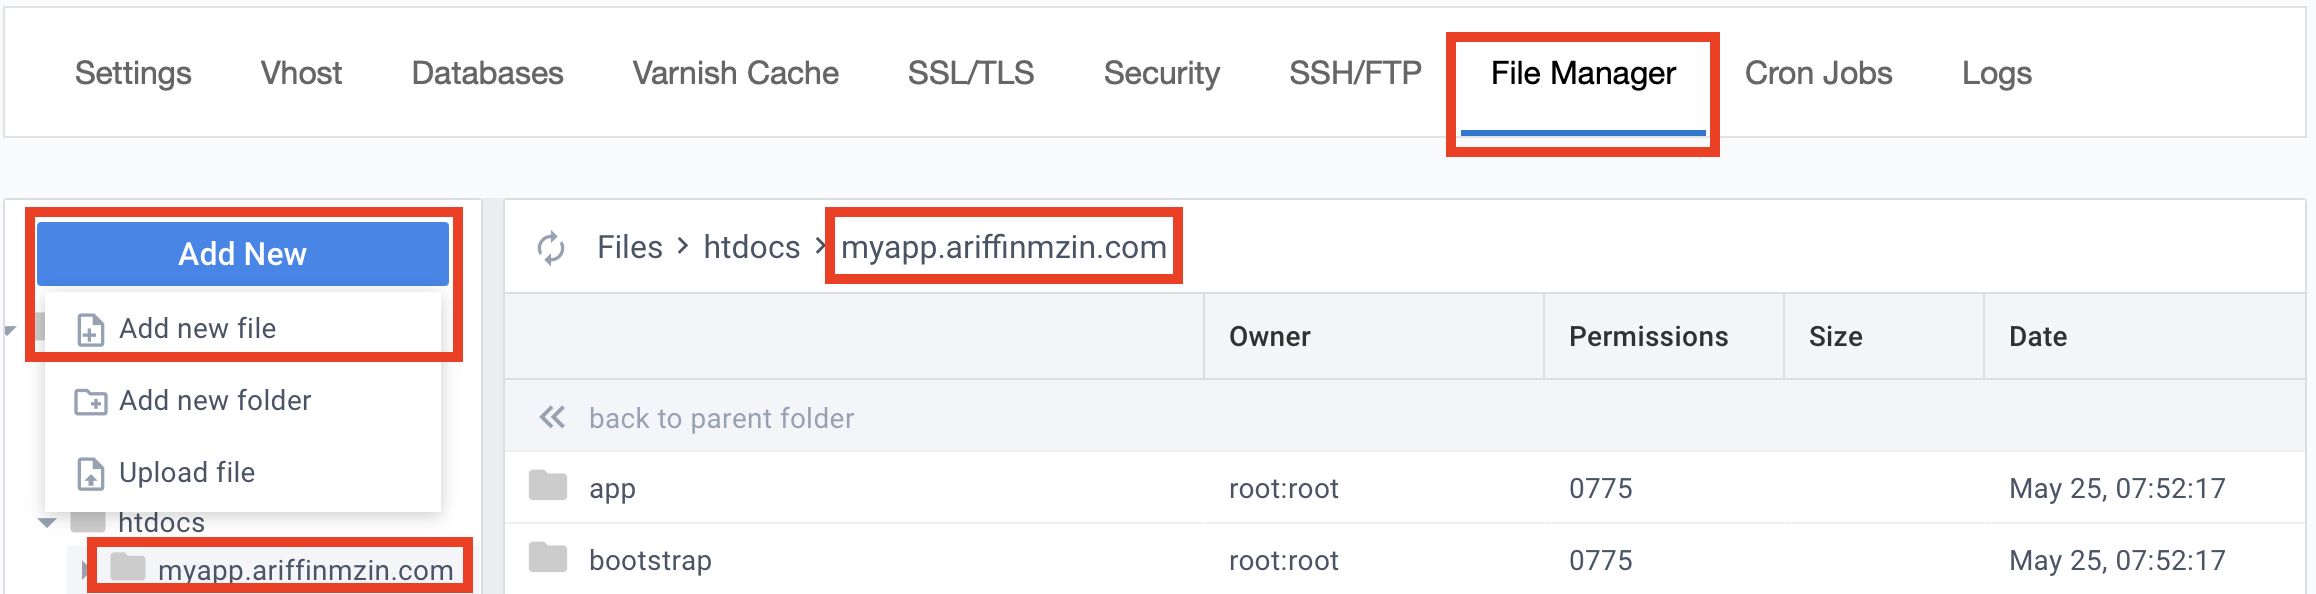
- Name the new file as
.env, then press Add. Double click the newly create
.envfile.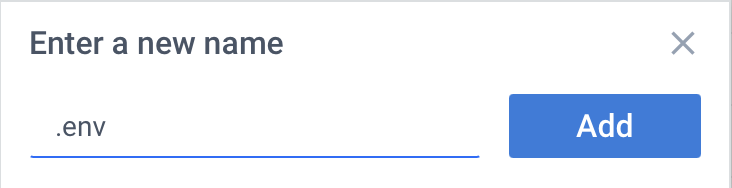
Copy the content of your local
.envfile and paste it on the CloudPanel’s File Manager interface. Make the necessary amendments as shown below or equivalent with your project’s requirements. Set theDB_DATABASE,DB_USERNAMEandDB_PASSWORDsimilar to the one in Section 4 (Use CloudPanel to Set Up Your Laravel Site), Step 6 above. Click Save.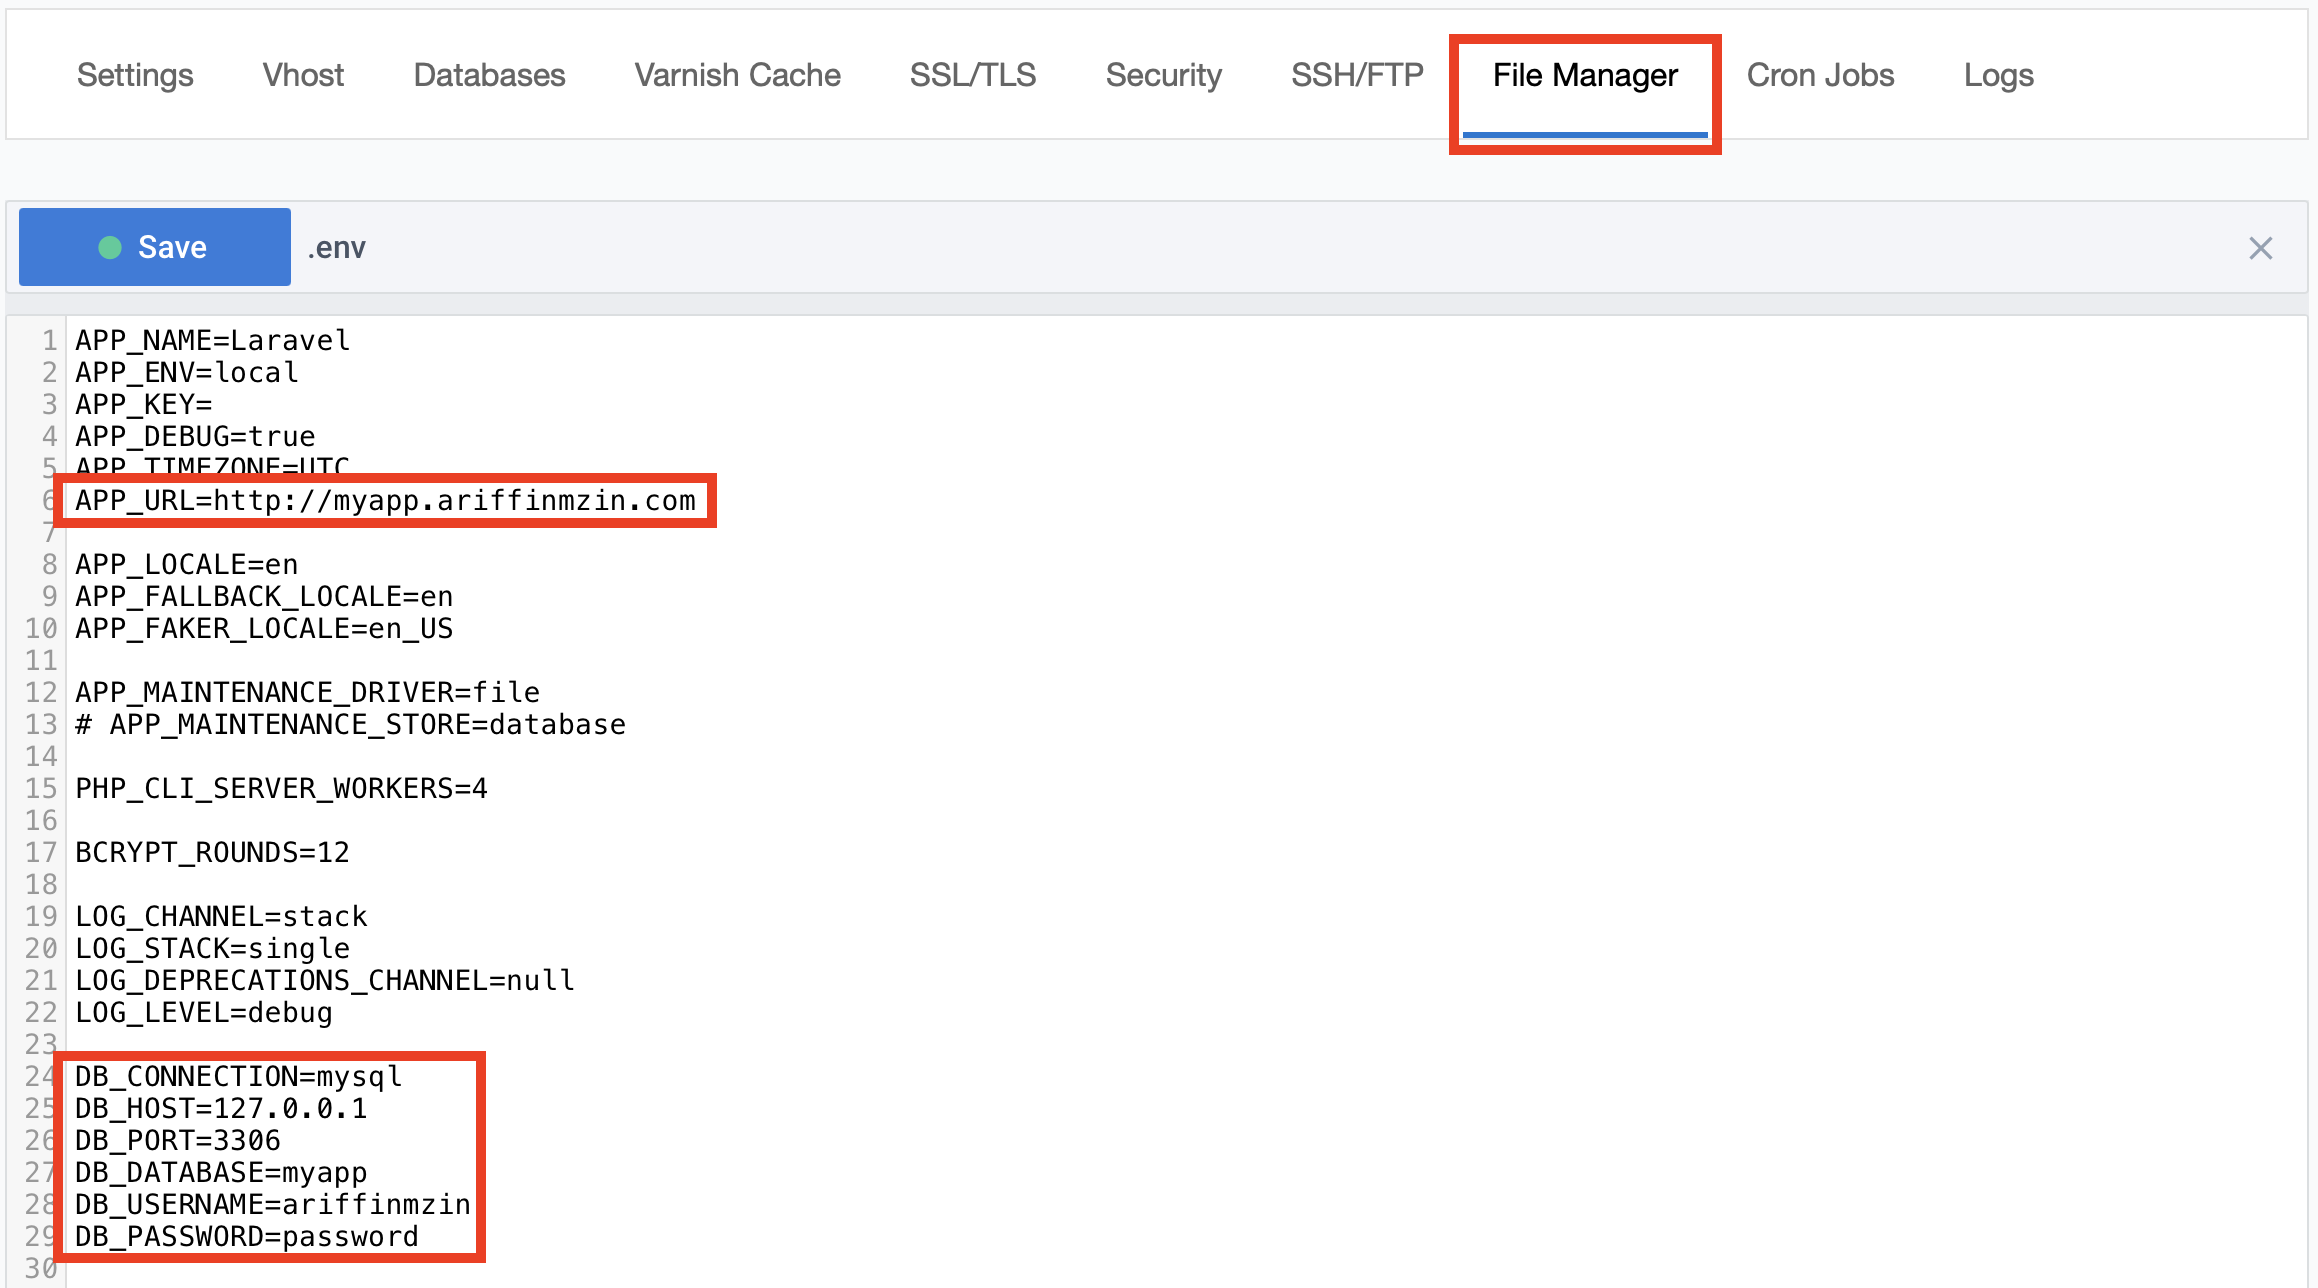
Next, in the terminal, run the following command.
1 2
cd /home/ariffinmzin-myapp/htdocs/myapp.ariffinmzin.com # make sure you are in your project's folder
1
composer installIf you see the prompt below, type Yes

1 2 3 4 5 6 7 8 9 10 11 12 13 14 15
# Download and install nvm: curl -o- https://raw.githubusercontent.com/nvm-sh/nvm/v0.40.3/install.sh | bash # in lieu of restarting the shell \. "$HOME/.nvm/nvm.sh" # Download and install Node.js: nvm install 22 # Verify the Node.js version: node -v # Should print "v22.16.0". nvm current # Should print "v22.16.0". # Verify npm version: npm -v # Should print "10.9.2".
1
npm install1
php artisan key:generate
1
php artisan migrate
Lastly, set the Root Directory to include the
publicfolder.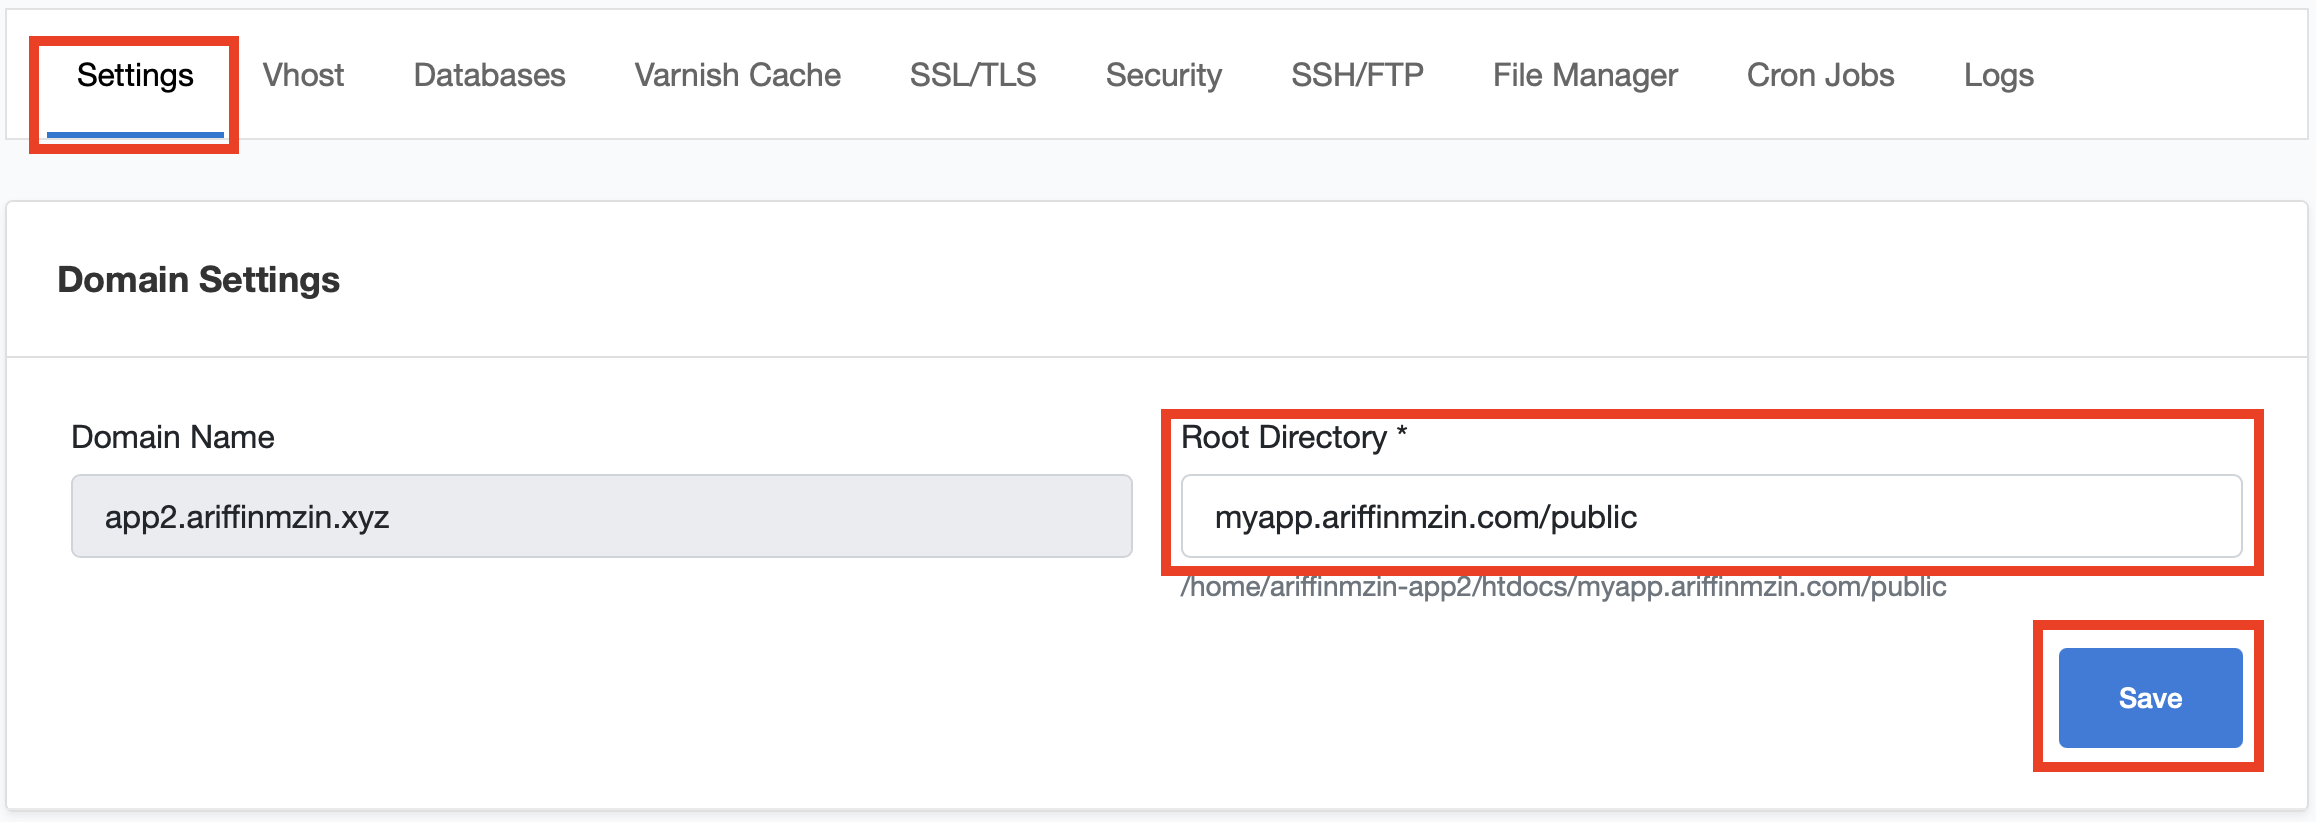
6. Point Your Domain to the Server (DNS Configuration)
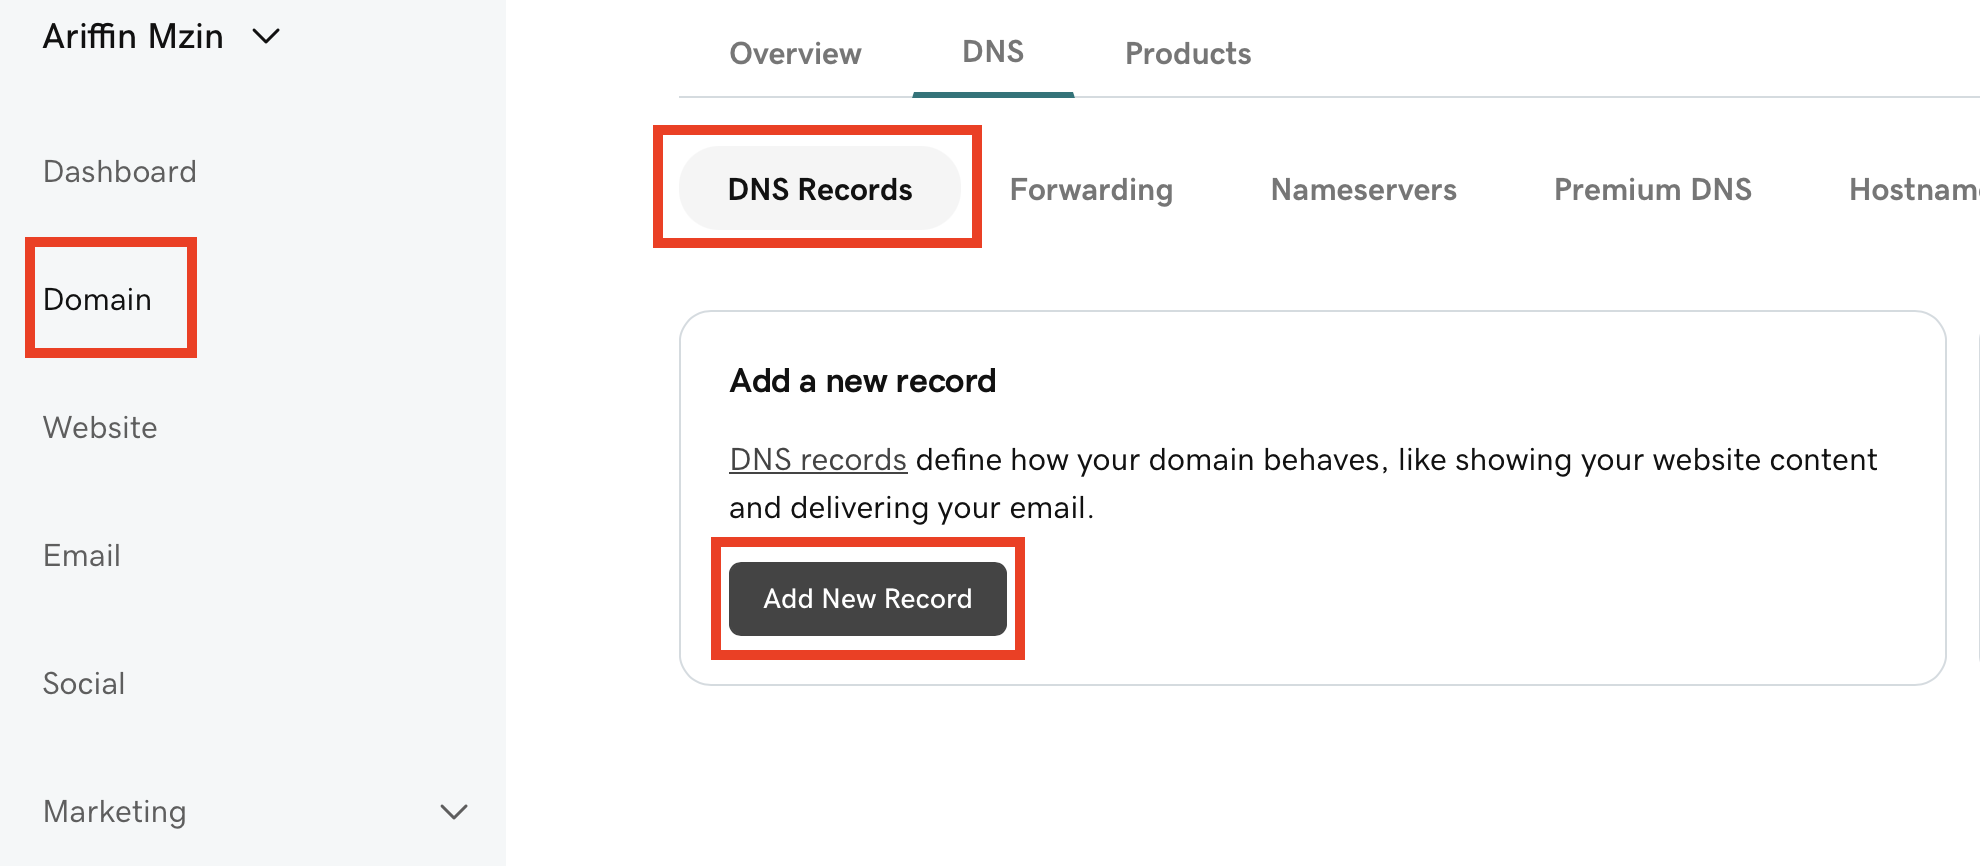
- Log in to GoDaddy, go to your My Products > Domains, and click Manage DNS for your domain.
In the DNS Records section, click Add New Record
Set the record as the figure below, then click Save. In this case Name is set to
myapp(subdomain, e.g.myapp.ariffinmzin.com), and value is your Digital Ocean Droplet’s IP address. If you do not use any subdomain, replace Name with@.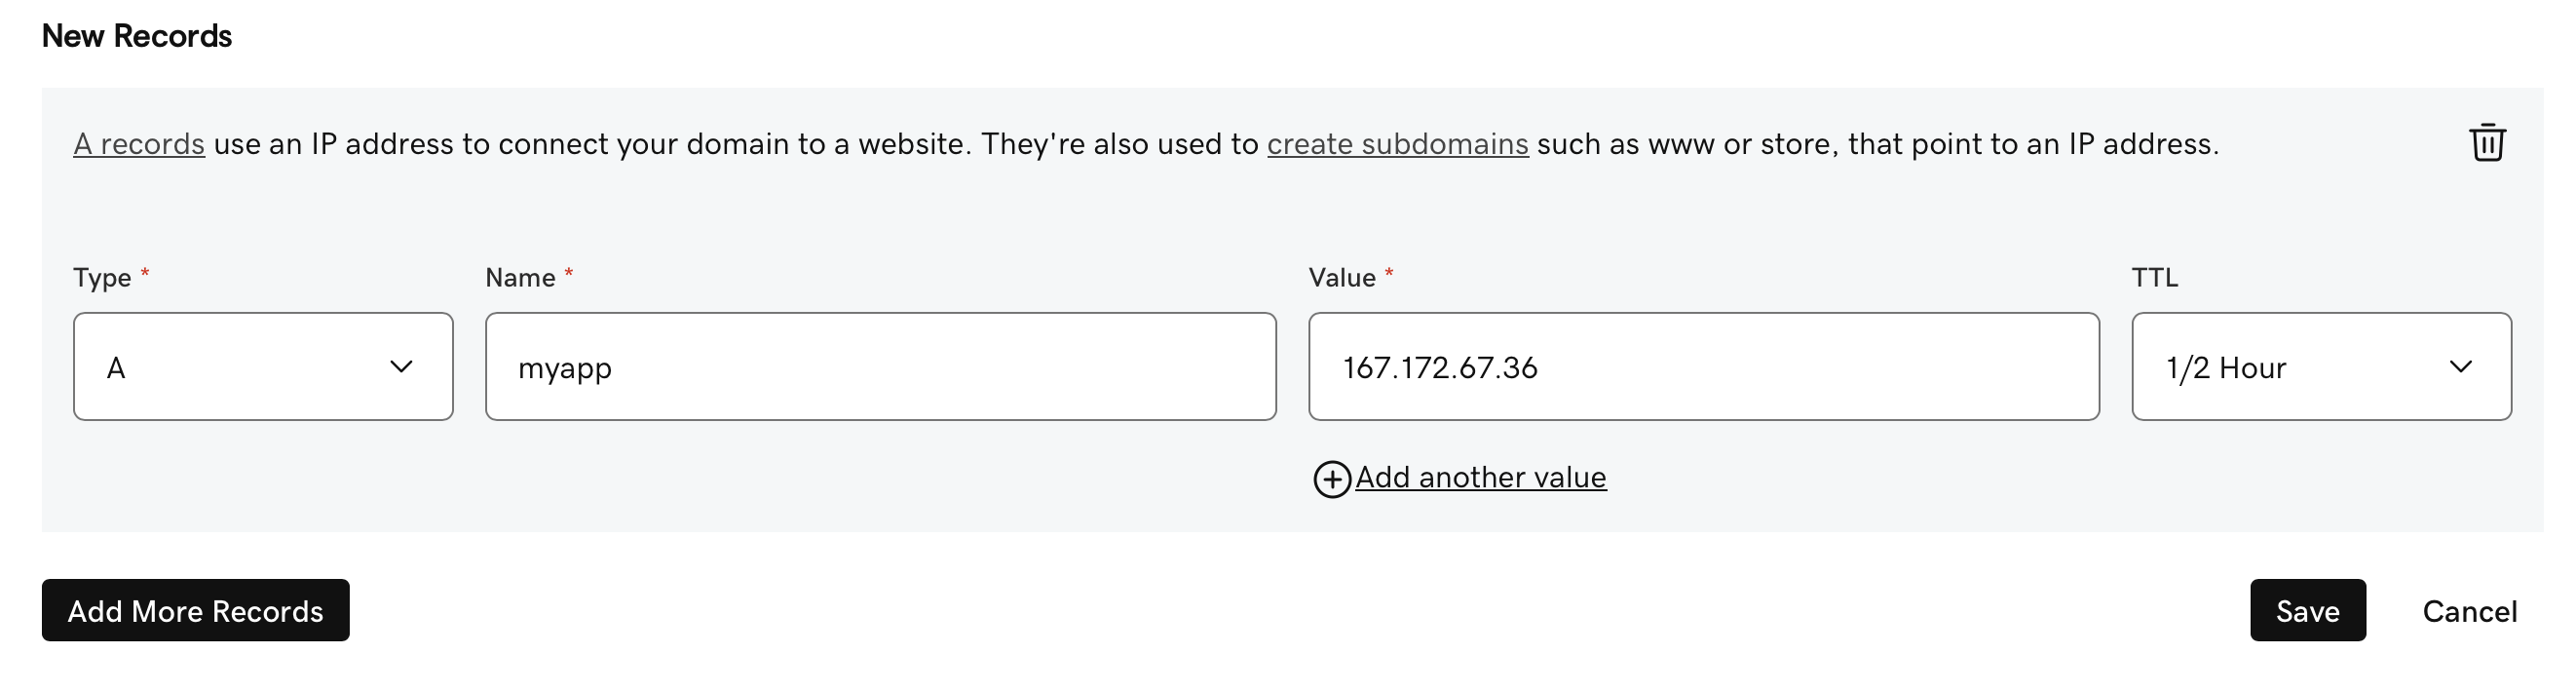
7. Acessing Your Laravel’s Web Application
- Access your URL on the browser, in this case
https://myapp.ariffinmzin.com. If you find the following error, run the following command (replace
ariffinmzin-myappandmyapp.ariffinmzin.comequivalent to your project).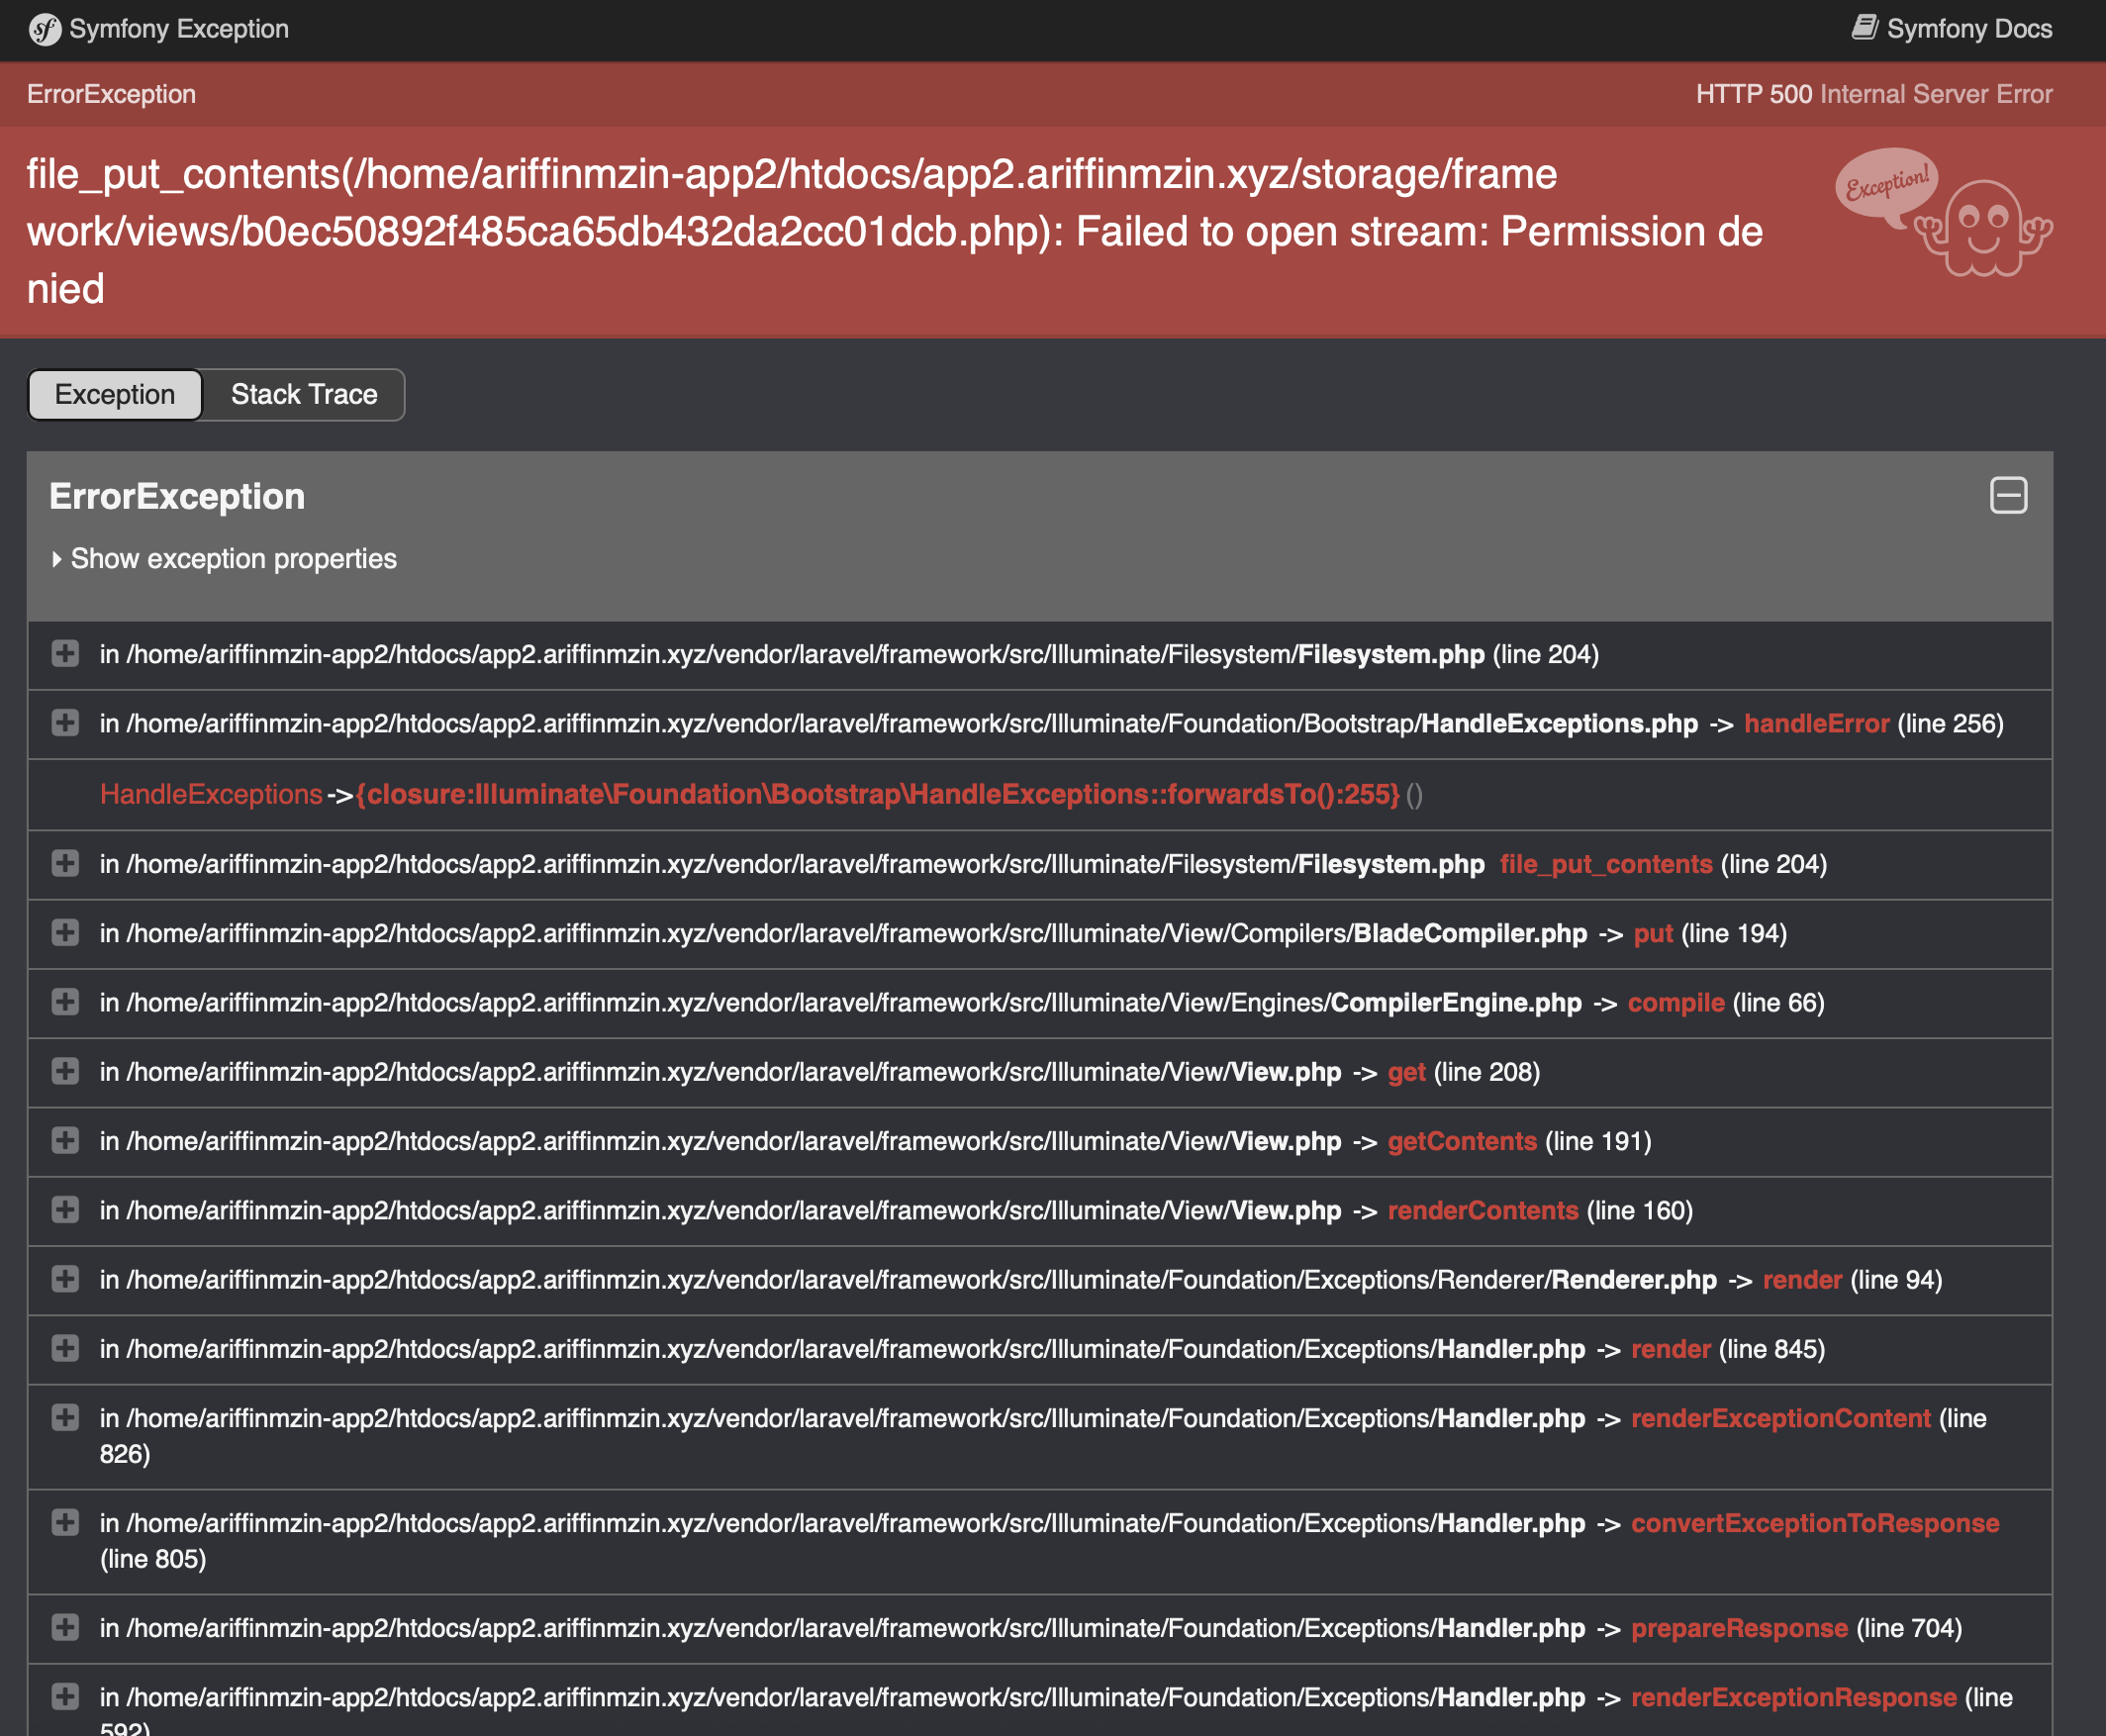
1 2 3 4 5 6 7 8 9 10 11 12 13 14 15
# replace ariffinmzin-myapp with your actual site user SITE_USER=ariffinmzin-myapp SITE_PATH=/home/$SITE_USER/htdocs/myapp.ariffinmzin.com # adjust if your folder name differs # 1) change ownership so the site user fully owns the project chown -R $SITE_USER:$SITE_USER $SITE_PATH # 2) grant safe write permissions find $SITE_PATH/storage -type d -exec chmod 775 {} \; find $SITE_PATH/storage -type f -exec chmod 664 {} \; find $SITE_PATH/bootstrap/cache -type d -exec chmod 775 {} \; find $SITE_PATH/bootstrap/cache -type f -exec chmod 664 {} \; # 3) (optional but recommended) clear and rebuild caches sudo -u $SITE_USER bash -c "cd $SITE_PATH && php artisan config:clear && php artisan view:clear && php artisan cache:clear"
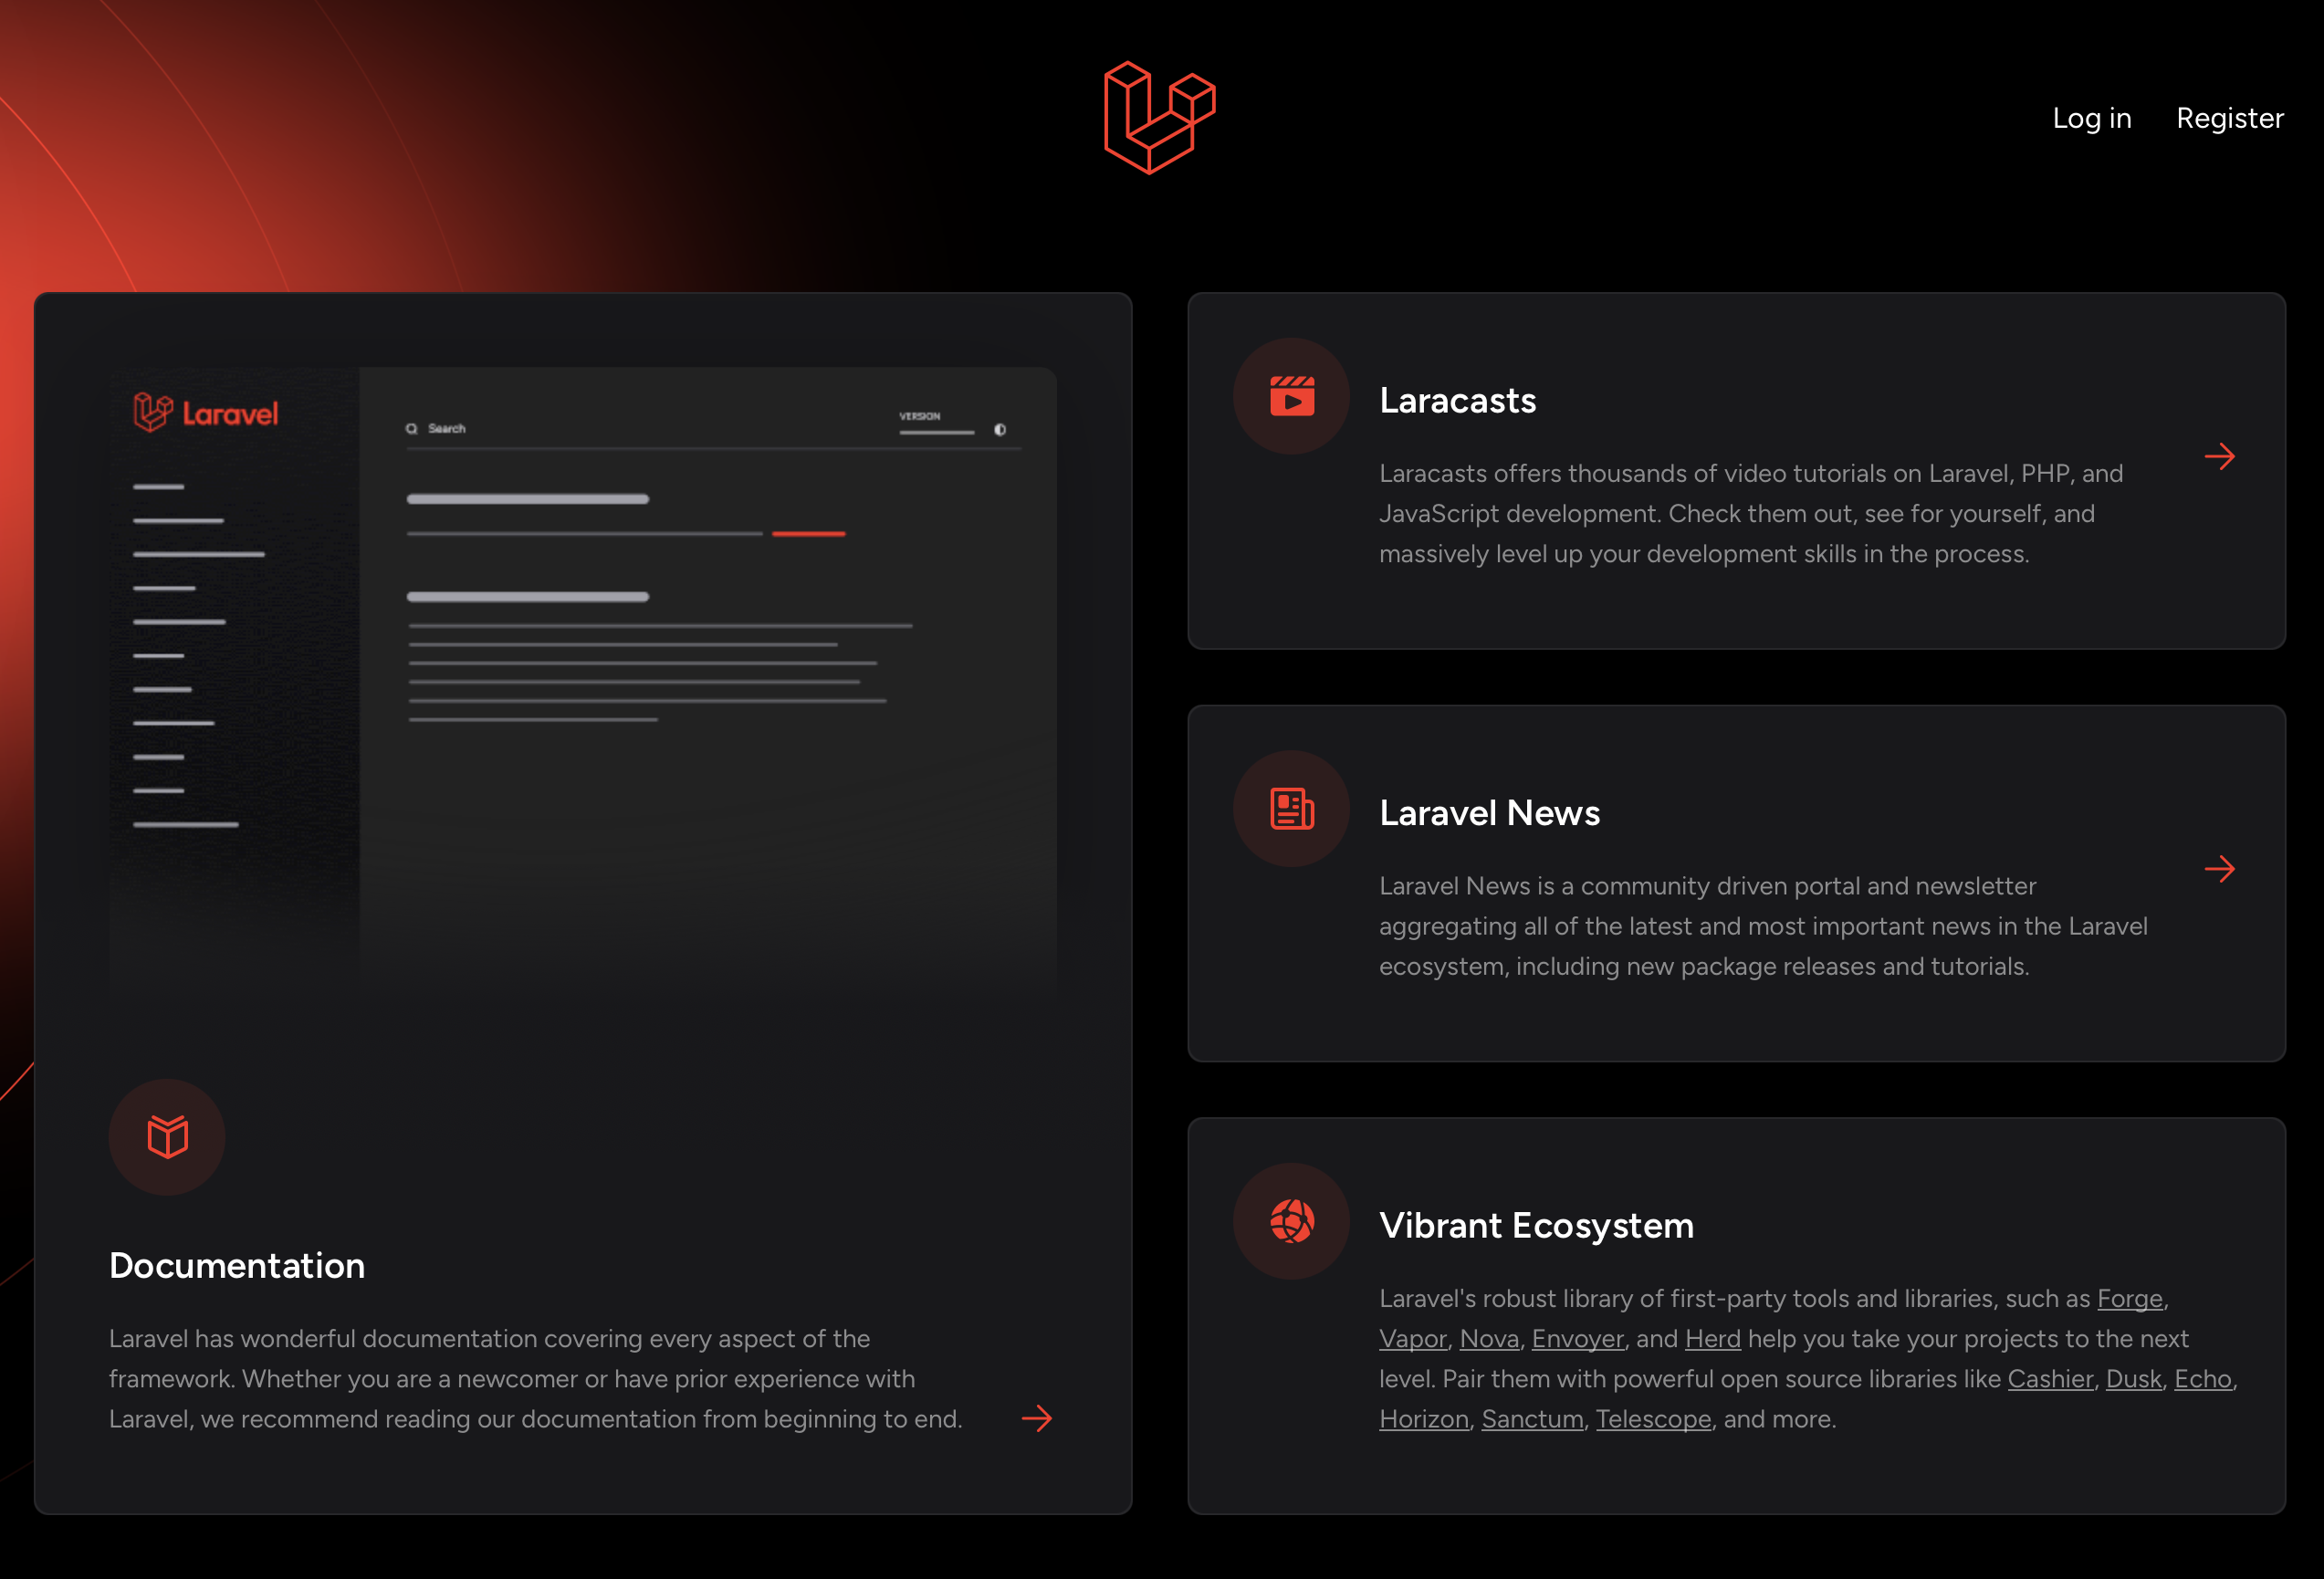
Refresh your browser, you will see your web application is up and running.
8. Destroying The Droplet
When your FYP is complete and you no longer need the server, it’s a good idea to destroy your Droplet to stop billing. Warning: this action is irreversible and will permanently erase all data on the Droplet.
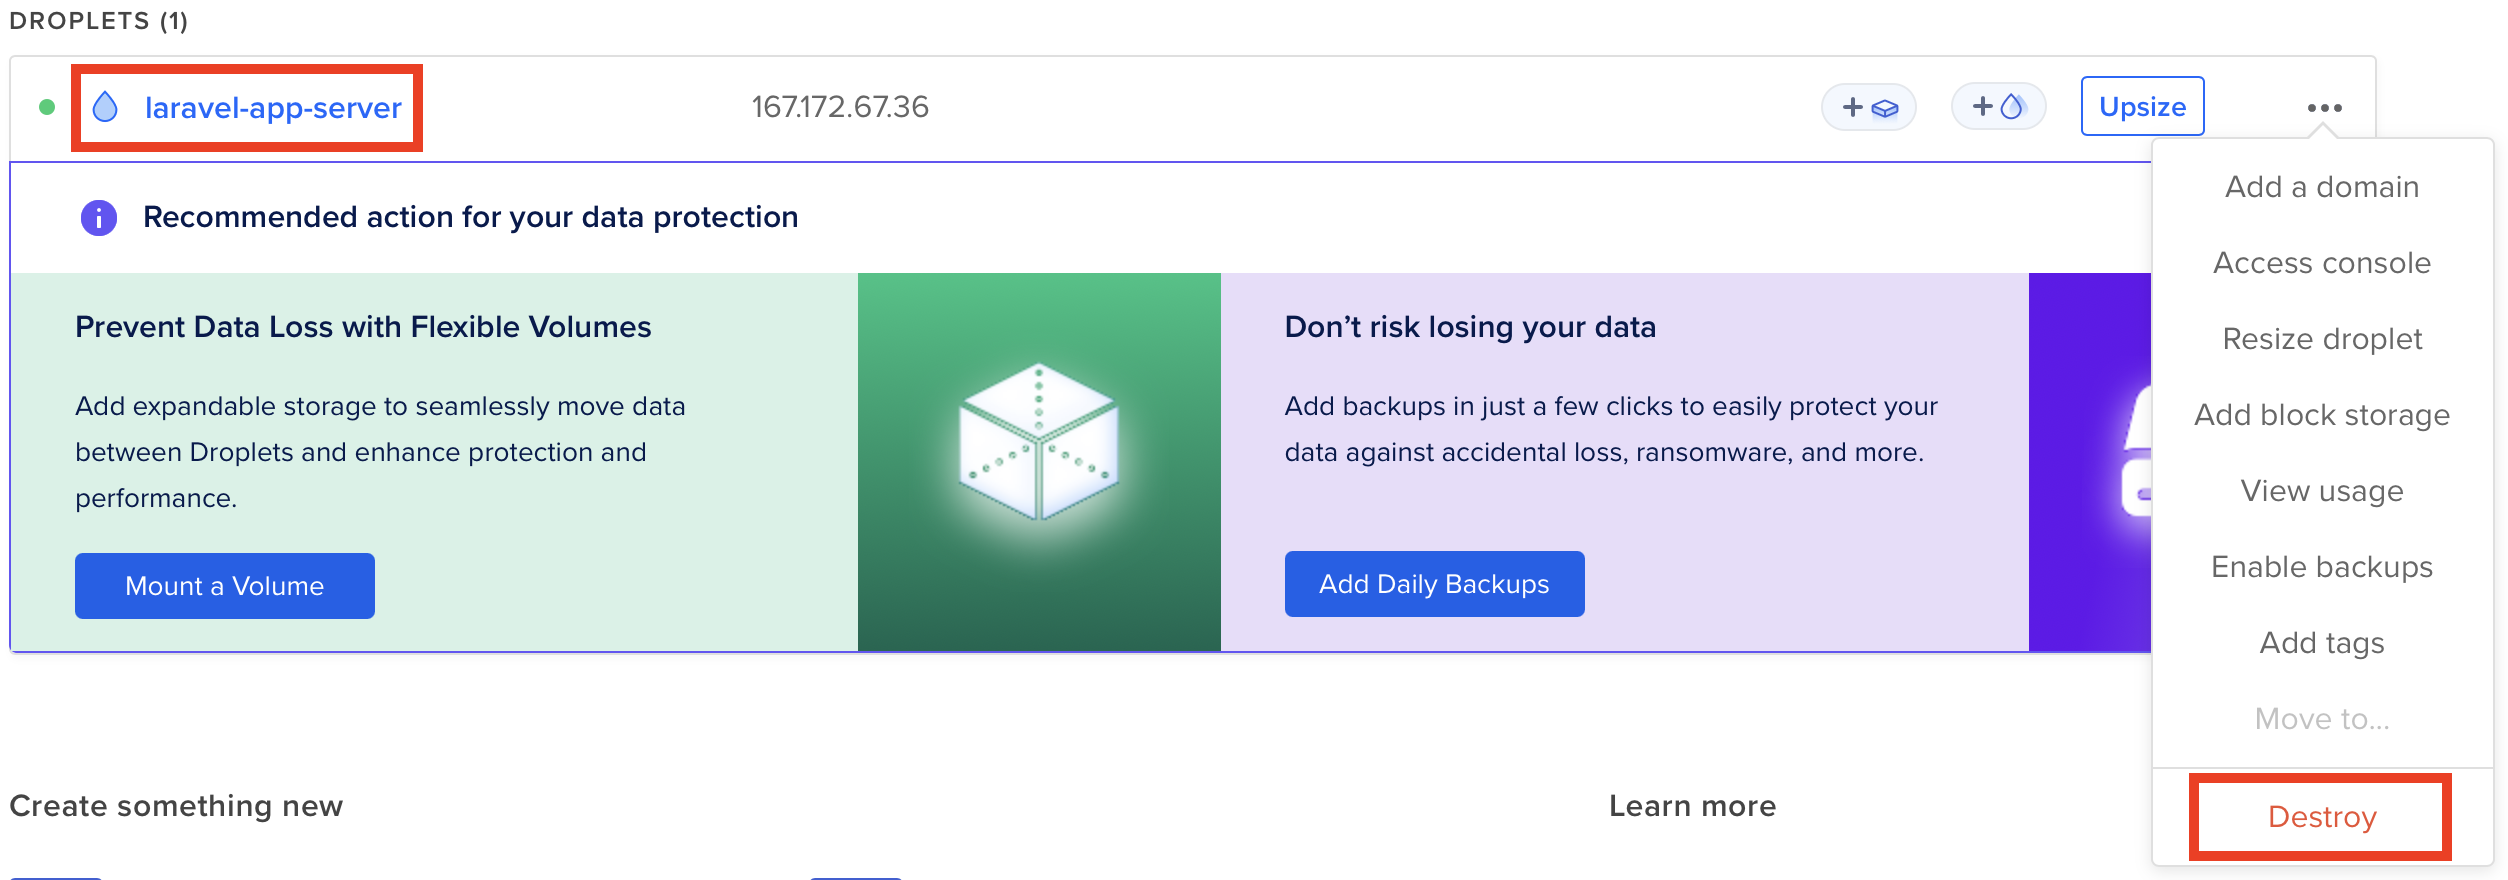
In the DigitalOcean dashboard, locate your Droplet (e.g., laravel-app-server) and click the three-dot menu at the top right of its card. Choose Destroy from the dropdown.
On the Destroy Droplet confirmation page, click the Destroy this Droplet button to confirm.
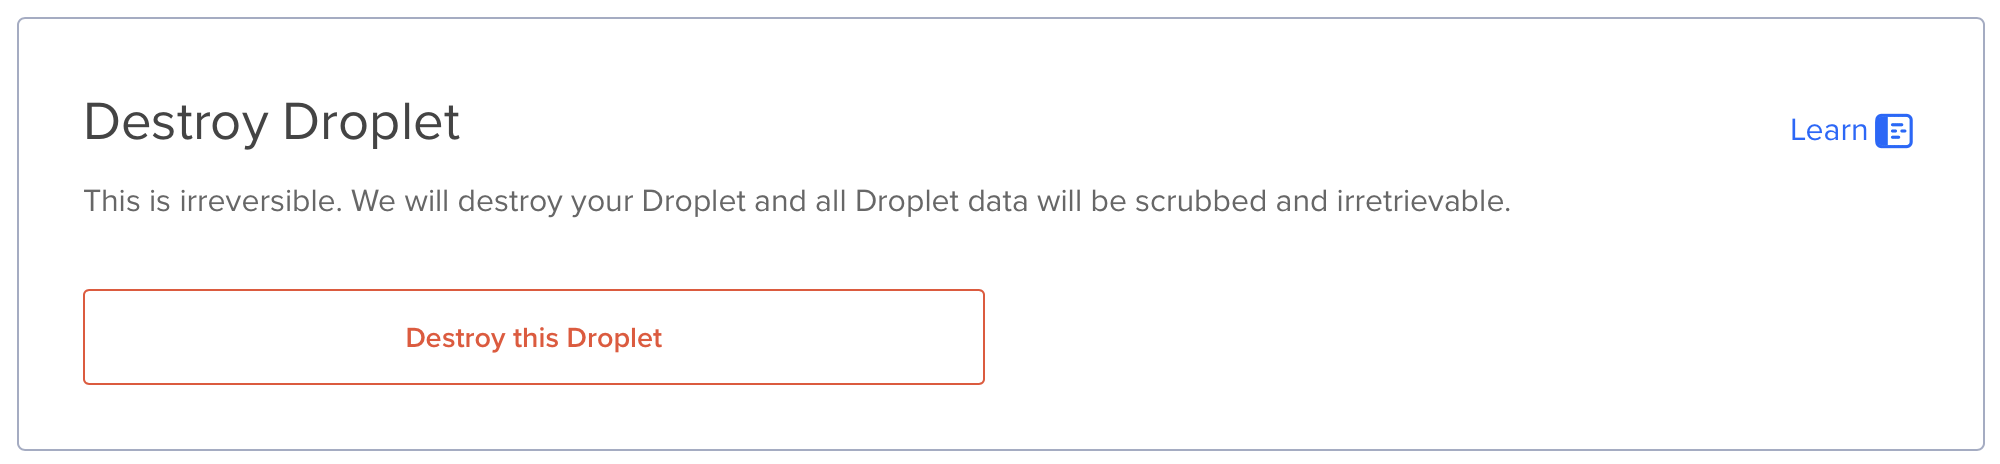
Once destroyed, all data is scrubbed and cannot be recovered.
9. Tips
You can access the PhpMyAdmin by clicking the Manage button.
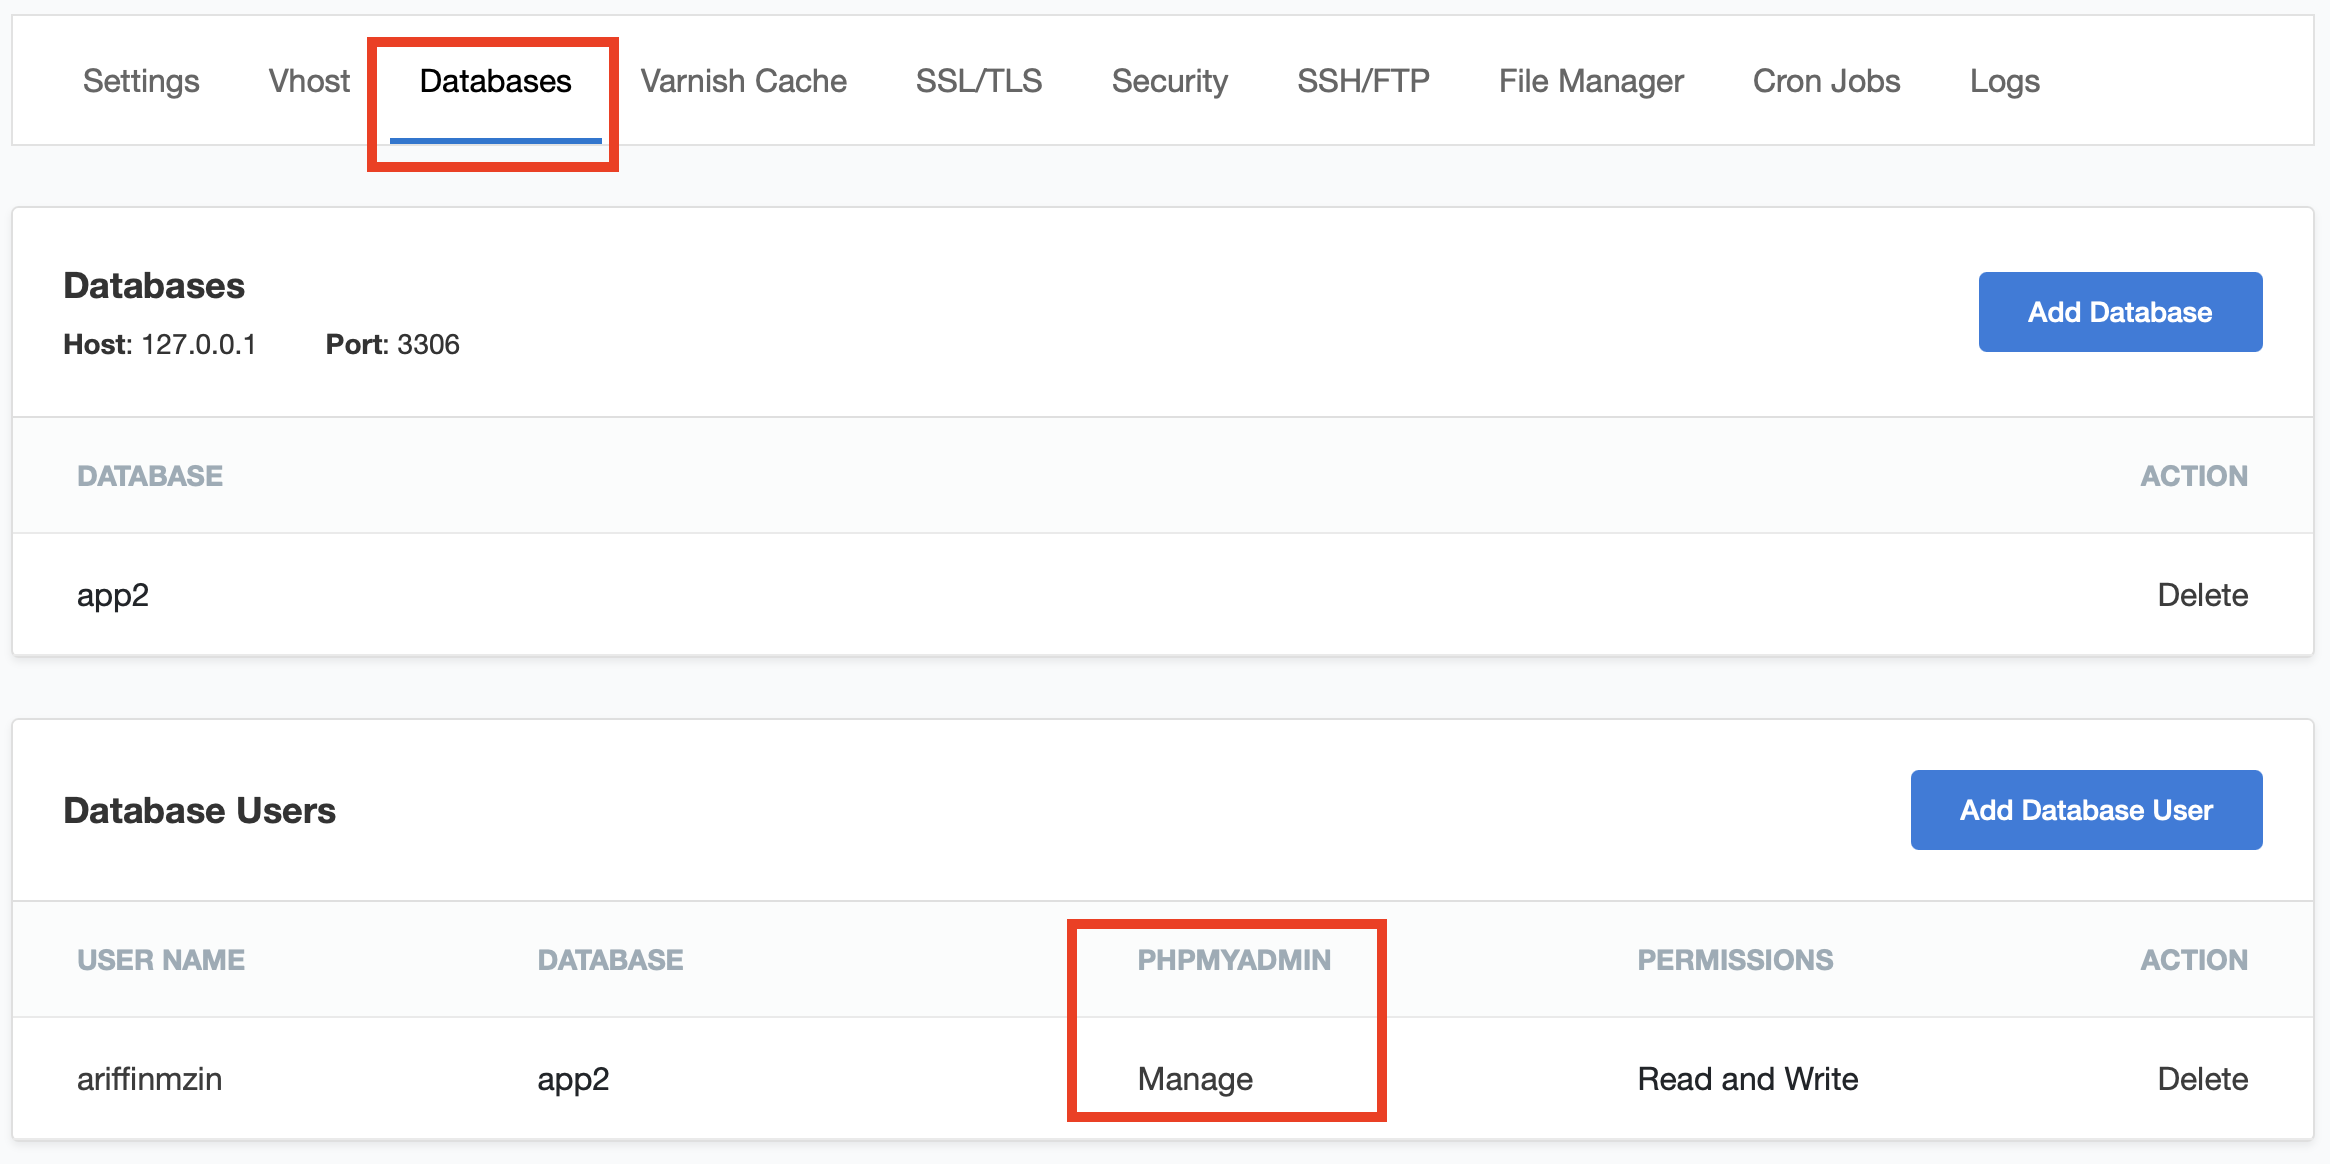
If you have a new push (changes) on your GitHub repository, you can always update on the server by running the following command in the terminal.
1
 git pull origin main
You can choose Resize Droplet from the three-dot menu to scale up your server’s CPU, memory or disk if you need more resources.